I did a Hyper-V 102 version of this a while ago; and now I’ve finally got around to doing the same for ESX. There may be other guides, I haven’t looked. I like really simple step-by steps myself.
- Download the Hass.io VMDK file 2.6k. It’s a pre-built appliance – no skill needed! I love it.
- Your setup may differ – but I downloaded the file and re-named it to reflect the desired name of my VM.


I rename it here, because once it’s uploaded to the ESX Datastore it doesn’t appear that you can change its name in the web interface and I always like my disk names to clearly reflect their appropriate VM. - Log into your ESXi 6.7 web management interface. Select the “Storage” node on the left, and open the Datastore Browser.

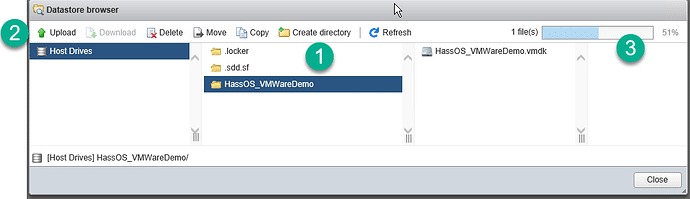
- Create a directory; name it for the VM as shown. Then with that directory selected, click “Upload” and wait for the file to upload to the Datastore.
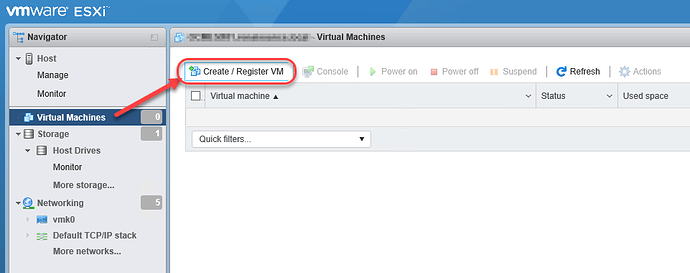
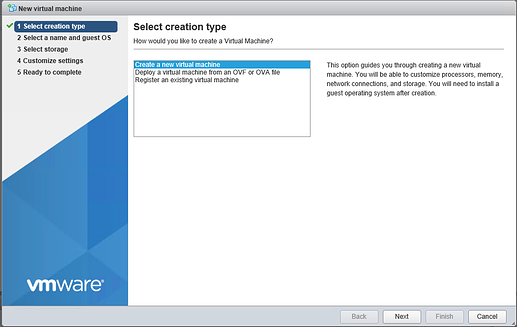
- Once you have your folder containing your disk, choose the “Virtual Machines” node in the web interface. We want to create a new VM:
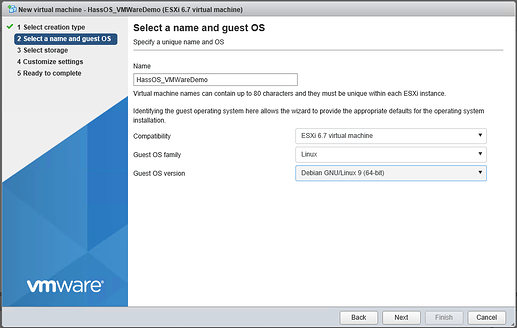
- These are the basic settings I used. Name your VM, tell ESX that it’ll be Linux, and choose Debian 9. I imagine the only relevant bit under the hood here is perhaps processor architecture.
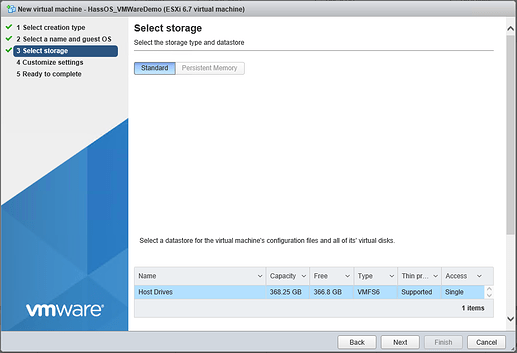
- Choose the Datastore where you created the folder in step 4. I only have the one in this lab:
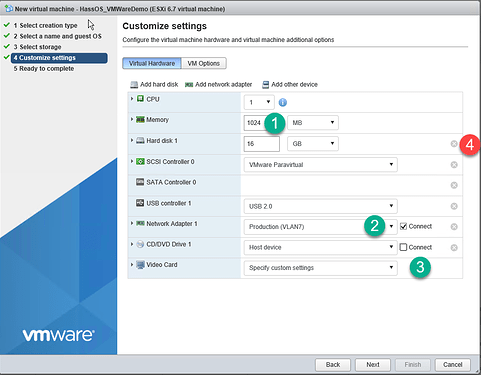
- We have to change a few settings – some will be your preference, some are needed. Here I…


- Change the amount of memory the VM will have
- Select the network that it will connect to
- Disconnect, or you could remove, the optical drive
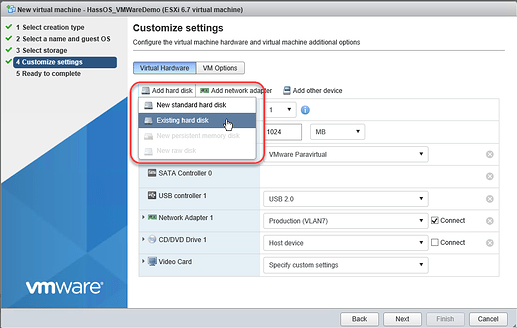
- DELETE THE HARD DRIVE. We don’t want one created for us.

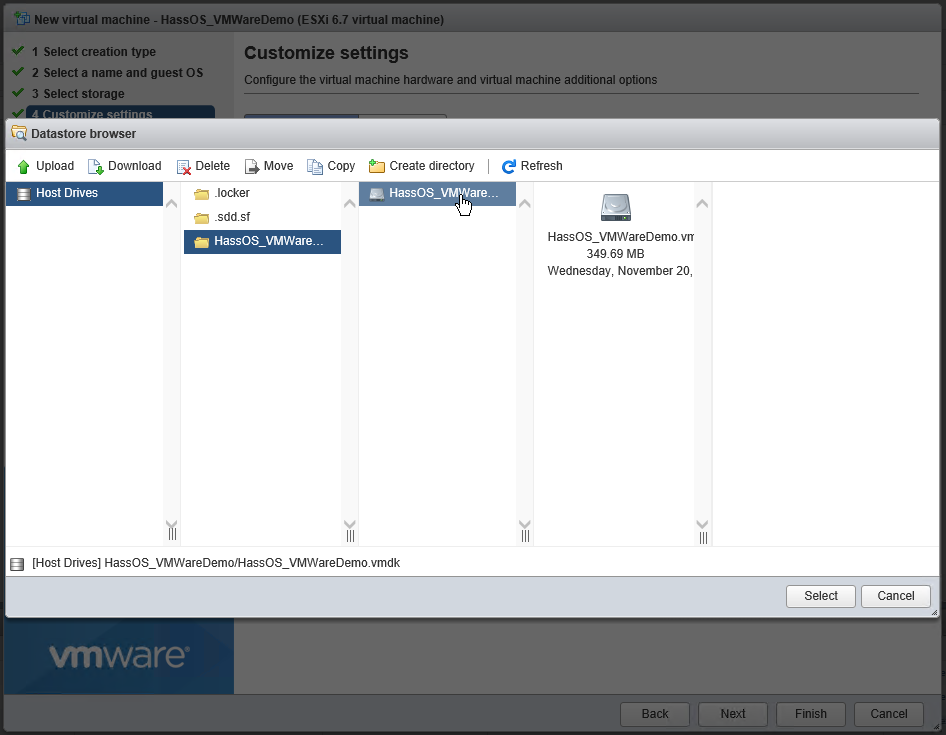
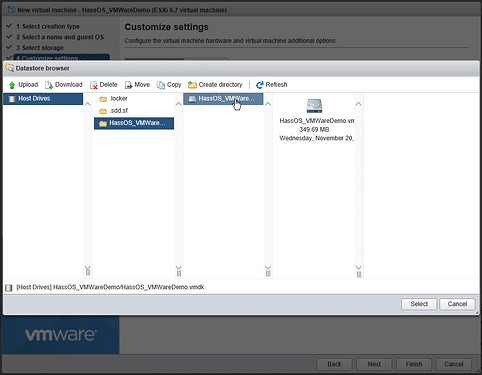
- Now we attach the disk we uploaded to the Datastore.
Browse to the disk in its folder:
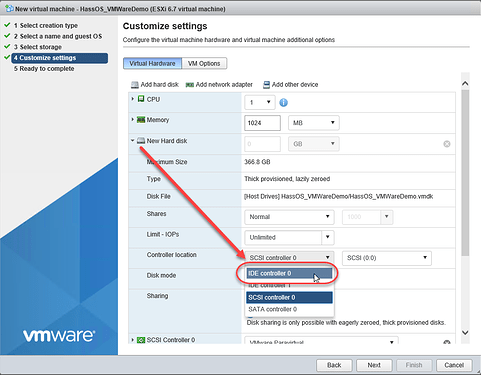
- But wait. There’s more. We need the emulated hardware for the VM to suit the drivers and so forth the image comes with. Change the drive you just connected from a SCSI one to an IDE one:
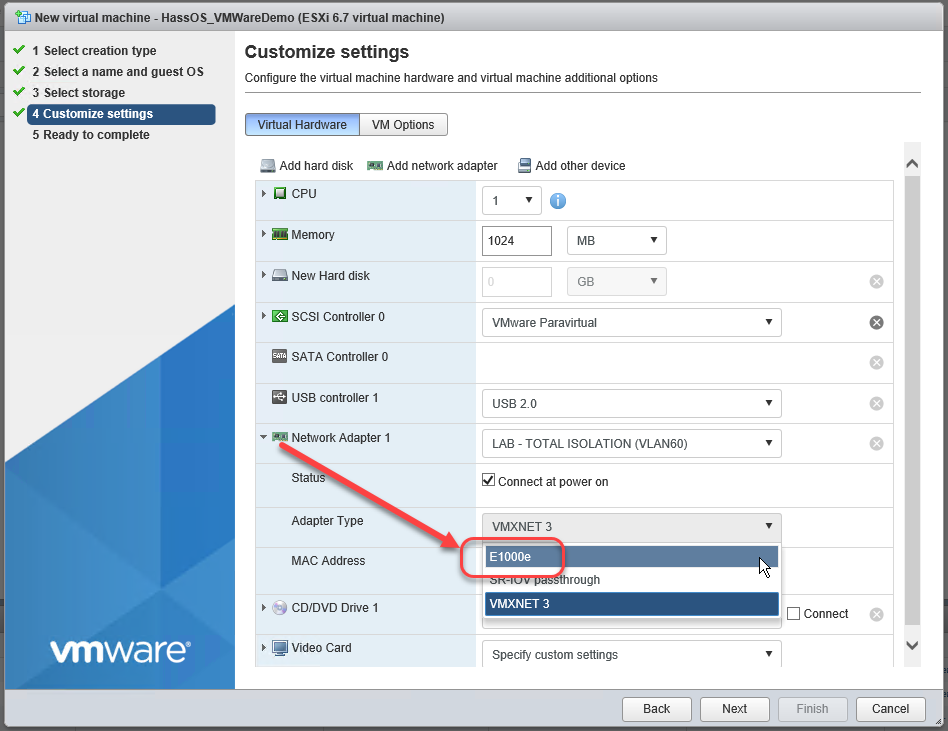
- Change the Network Adapter to become an E1000e.

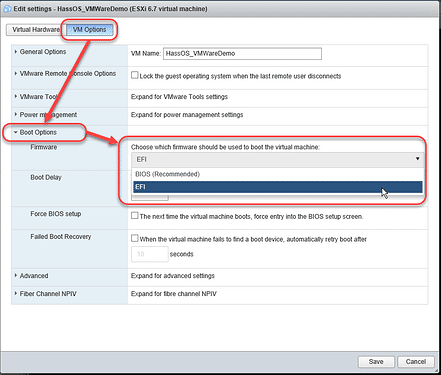
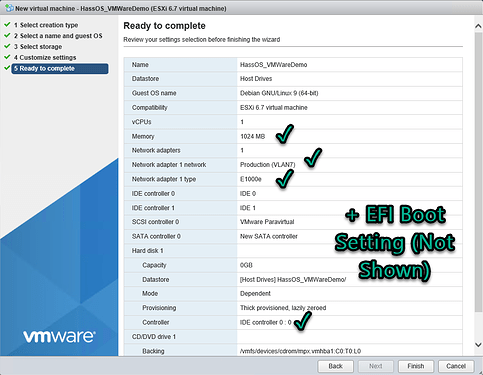
- And finally, in the “VM Options” tab, change the Boot Options for this VM to use EFI:
- Your summary page should look a little like this:
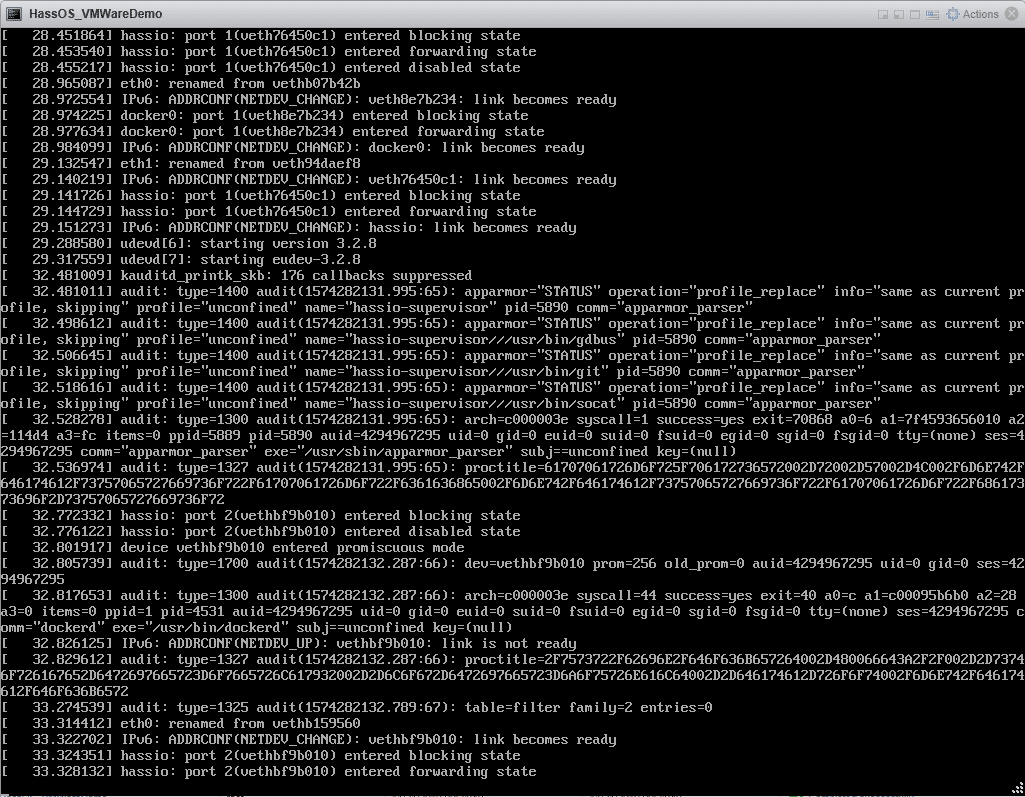
- Power it on. Magic happens as it sets itself up. This can take a few minutes.
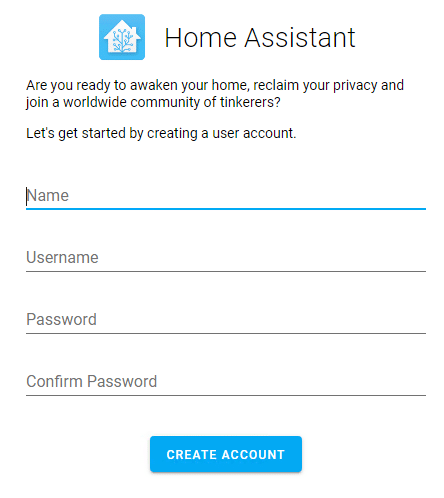
- Browse to its IP on port 8123. You’ll have to get that from your DHCP server or router. If you’re creating ESXi VMs I’m picking you know how to do that. At some point fairly early in the automatic setup, it will start hosting this web page:

And then this one – you’re done!
- The Hass.io 91 instance is a containerized build with its own internal NAT. For most intents and purposes you can just control and reboot the whole thing through the Home Assistant web interface. One very handy thing I’ve found is the use of VMWare Snapshots, especially when upgrading or making big changes. I take these with the VM off.
- There is still setup within Home Assistant that should be done – most notably the Hostname under the “Hass.io 91” panel > “System” tab.