Microsoft’s latest operating systems ship in with an esd file (\sources\install.esd) which replaces wim (same directory) in older operating systems (Windows 7 and below).
For people who use Windows Deployment Server (WDS), esd are not friendly (don’t know why microsoft doesn’t add the functionality) when it come to deployment of the OS across the network. The following command prompts can convert the esd to wim thus allowing the deployment across the network for newer OS (Windows 8 +)
3 Steps total
Step 1: Copy ESD file from source to different folder
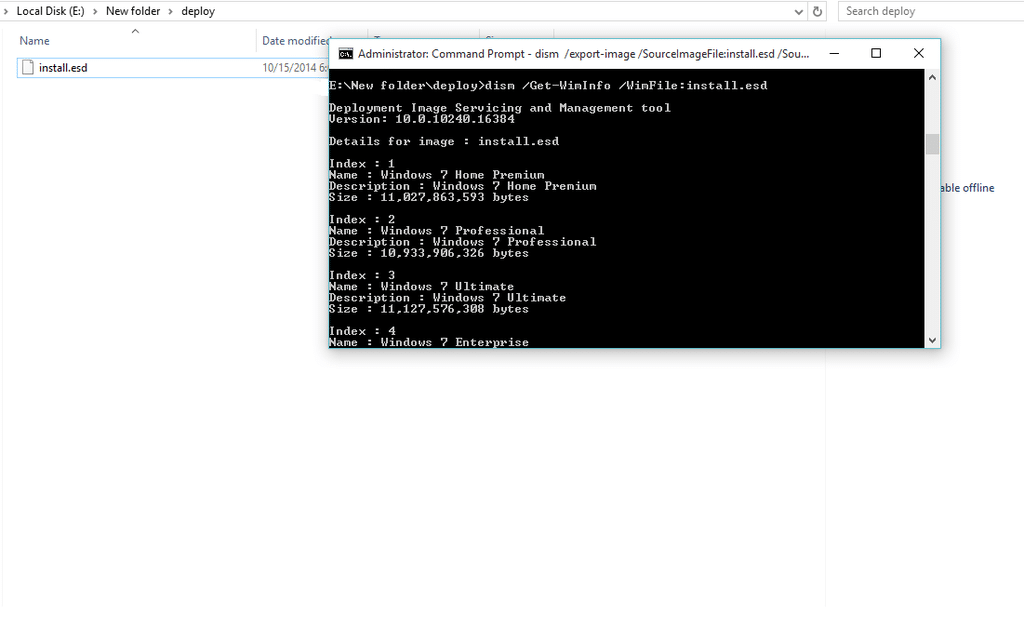
Get details about what images are inside the ESD file with the command. We’ll need to take note of the index No. that we need;
dism /Get-WimInfo /WimFile:install.esd
Step 2: Export the ESD to WIM
Take note of the index of the particular OS version you’d like to install (in case the esd has many images therein) the number is what is inserted in the SourceIndex. Am choosing index 1 (Windows 7 Home Premium)
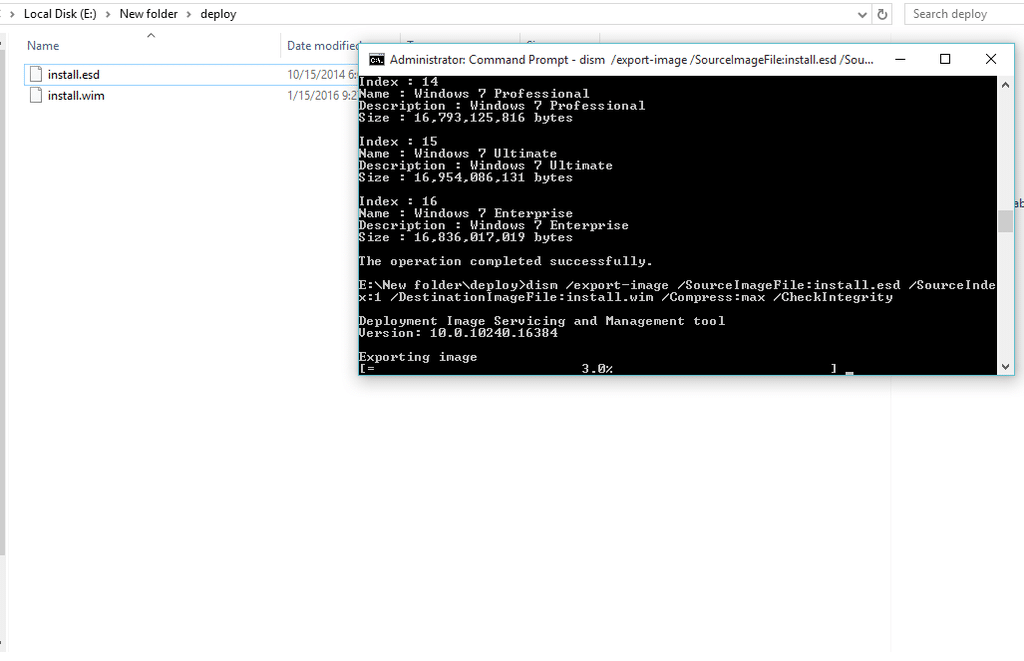
dism /export-image /SourceImageFile:install.esd /SourceIndex:1 /DestinationImageFile:install.wim /Compress:max /CheckIntegrity
Step 3: WIM
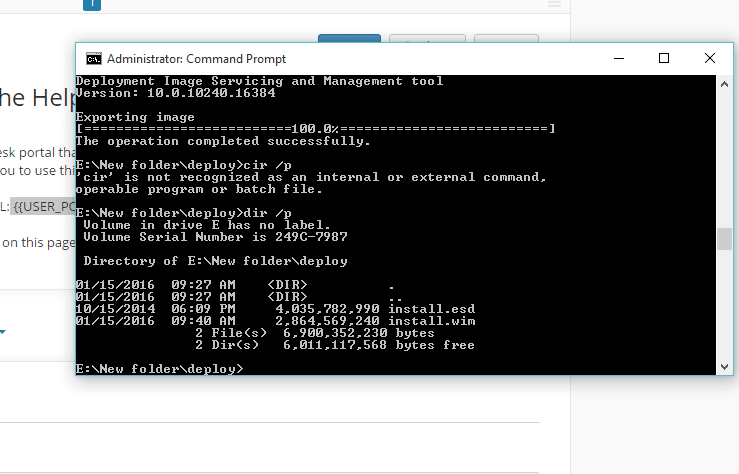
After the progress reaches 100% and integrity checks are through, you’ll have a WIM file alongside the ESD file
The WIM file can be copied back to the \sources folder and used in WDS. In the case of multi images in a single ESD, step 2 should be repeated with the change in the SourceIndex No. only. This will append the index files to the same WIM file.
It should be noted that ESD are highly compressed, and when converted to WIM, the WIM might be slightly bigger.