Source: https://adamtheautomator.com/dfs-replication/
File sharing in an organization plays a critical role in the collaboration between users. Microsoft included in Windows Servers the DFS namespace and DFS Replication to help provide highly available resilience and traffic optimized shares.
These shares can be in multiple locations, and users won’t need to remember each shared content location or worry about its availability. And in this tutorial, you’ll learn how to configure a DFS infrastructure namespace and DFS replication.
Read on and start replicating your data automatically!
Prerequisites.
This tutorial comprises hands-on demonstrations. You can follow along by having the following in place:
- At least a Windows Server 2016 – This tutorial uses Windows Server 2019
- Active Directory Domain Services (AD DS).
- A user account as a member of the Domain Admins groups in a domain – This tutorial uses a domain namespace called Remote.local. This domain hosts two domain controllers named DCR and DCR1.
Installing DFS Namespace and Replication
Distributed File System (DFS) allows the grouping of logical share resources between multiple servers and branches. Included in a Windows Server OS, DFS is a free and great option for data sharing and replication.
Related:Writing DFS PowerShell Scripts: Managing DFS Links
To take advantage of DFS, below are two of DFS’s components that you’ll have to install:
- DFS Namespace (DFS-N) – DFS namespace allows the building of the namespace and the logical folder structure. These folders can be on multiple servers, as you’ll see later.
- DFS Replication (DFS-R) – DFS Replication replicates folders to other members in the network.
Microsoft did a great job making almost everything a wizard-base, so a couple of clicks and you’re ready to go.
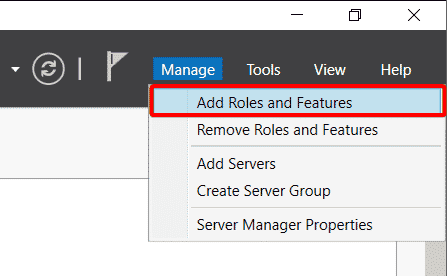
1. Log in to the first server (DCR1), and open Server Manager.
2. On the Server Manager, click on Manage (top-right) —> Add Roles and Features to initiate adding features to your server.
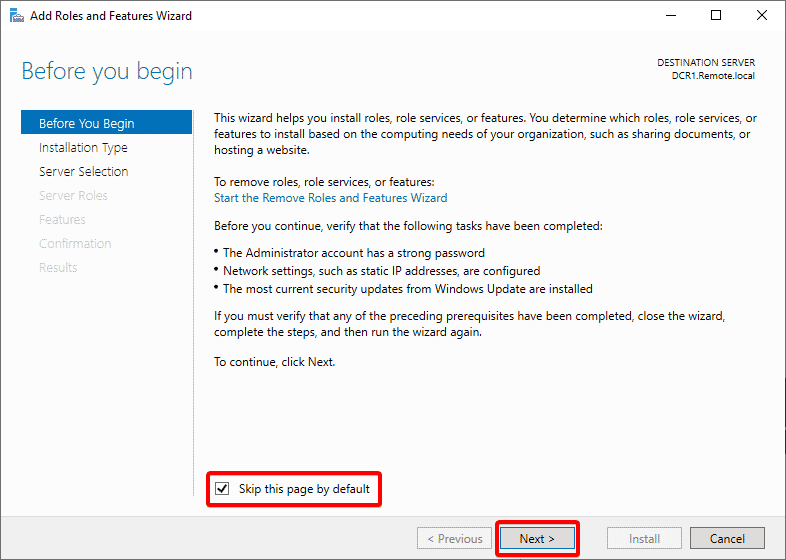
3. Tick the Skip this page by default option, and click Next. Doing so lets you skip this page when you add another feature in the future since this section is just an introduction to the wizard.
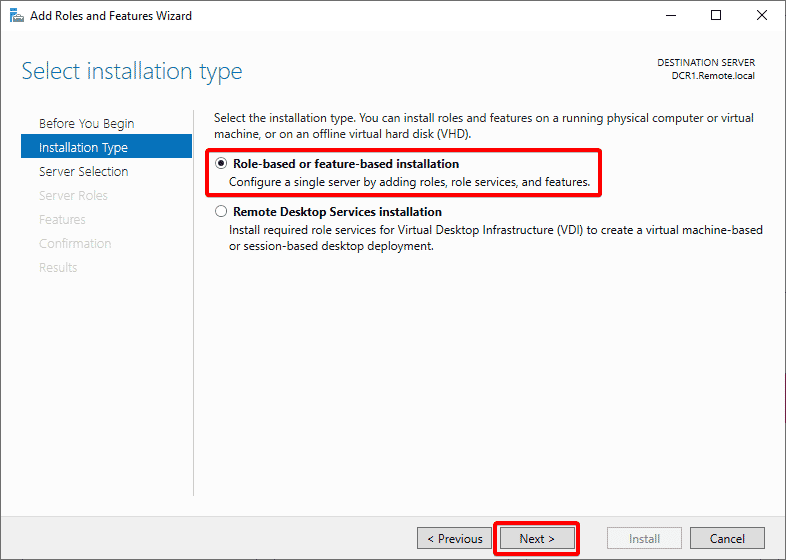
4. Now, select the Role-base or Feature-base installation and click Next since you’re working on a single server, not part of VDI.
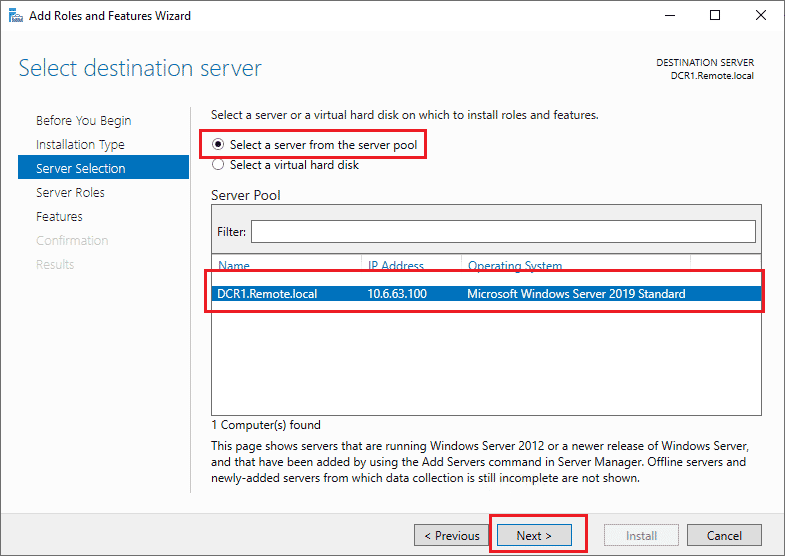
5. In the Select destination server page, select the installation’s destination server from the list and click Next.
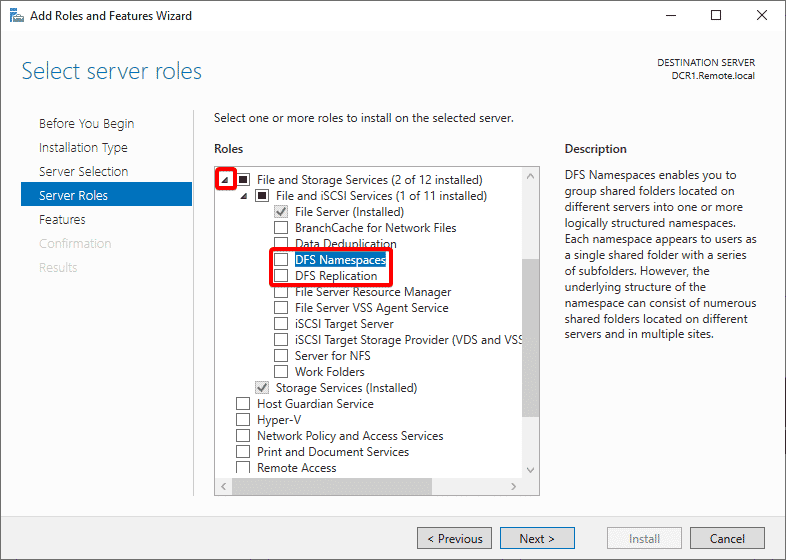
6. Next, expand File and Storage Services and File and iSCSI Services. Tick the boxes for the DFS Namespaces and DFS Replication.
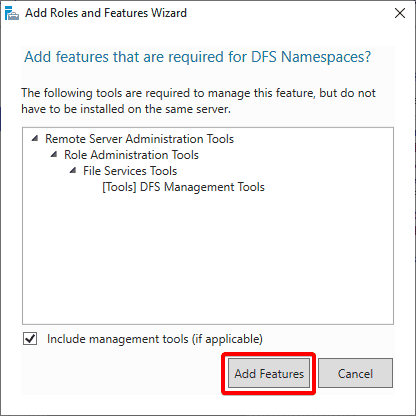
Regardless of which box you tick first, you’ll get a pop-up window where you’ll confirm the features (step seven).
7. Click on Add Features, as shown below, to confirm the additional features.
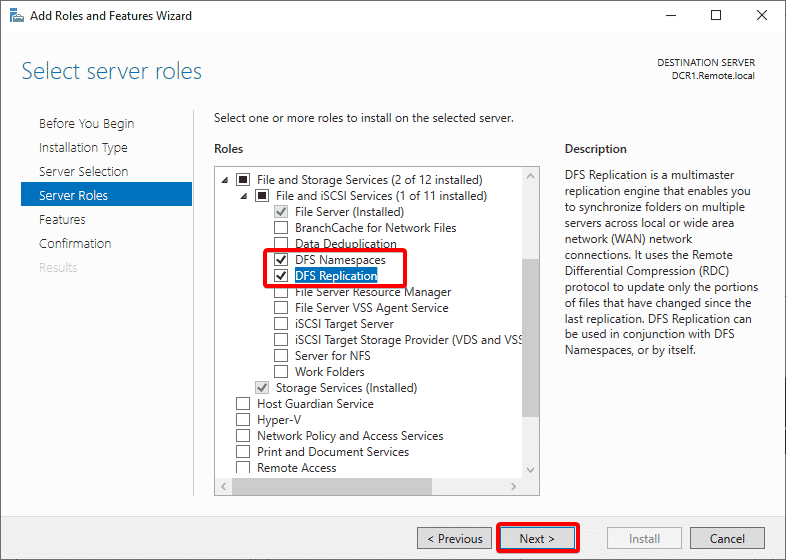
8. Ensure both DFS Namespaces and DFS Replication options are ticked and click on Next.
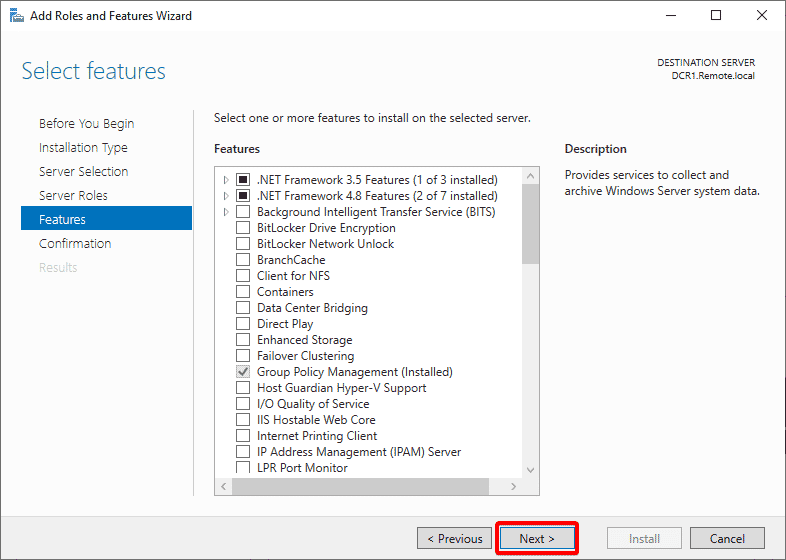
9. On the Features page, leave the defaults and click Next.
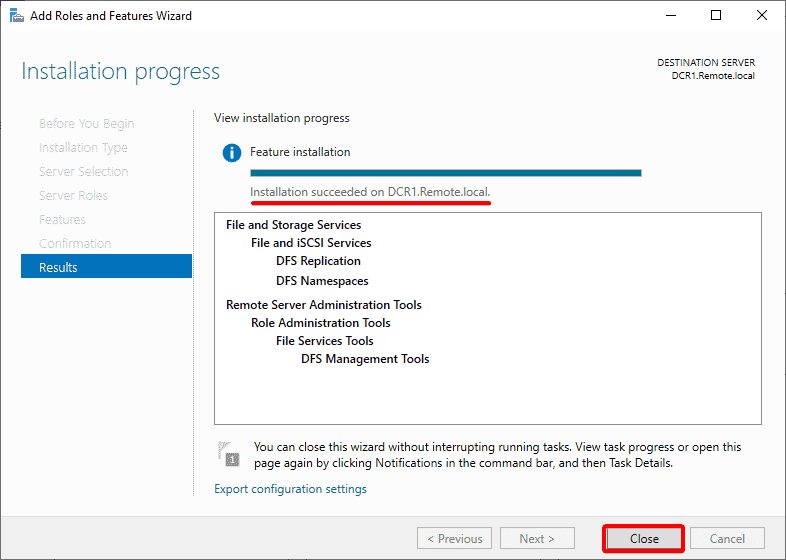
10. Review your installation selections and click the Install button to install DFS Namespaces, DFS Replication, and the binaries on your server.
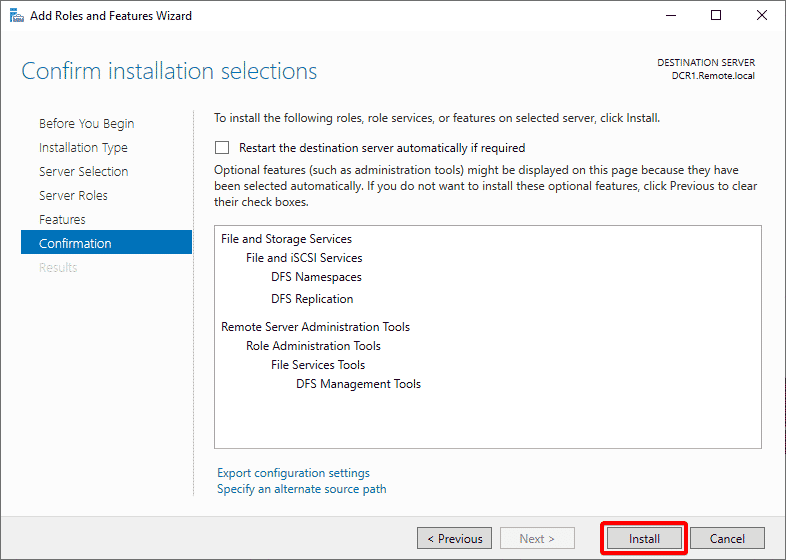
11. Once installed, click on the Close button to close the wizard.
12. Finally, log in to the other server (DCR), and repeat steps 2-11 to install DFS Namespace and Replication.
Configuring DFS Namespace and DFS Replication
Now that the binaries are installed and available on your server, you must configure the service and create the DFS infrastructure. You’ll build the namespace structure and the required folders.
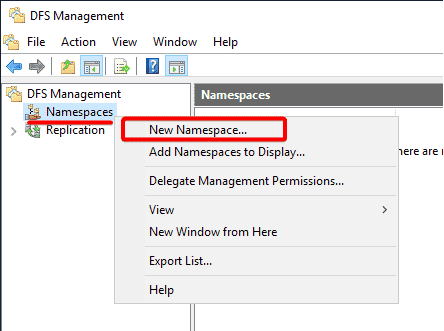
1. Open the DFS Management console in the Administrative Tools.
2. On the DFS Management, right-click on Namespaces and select New Namespace.
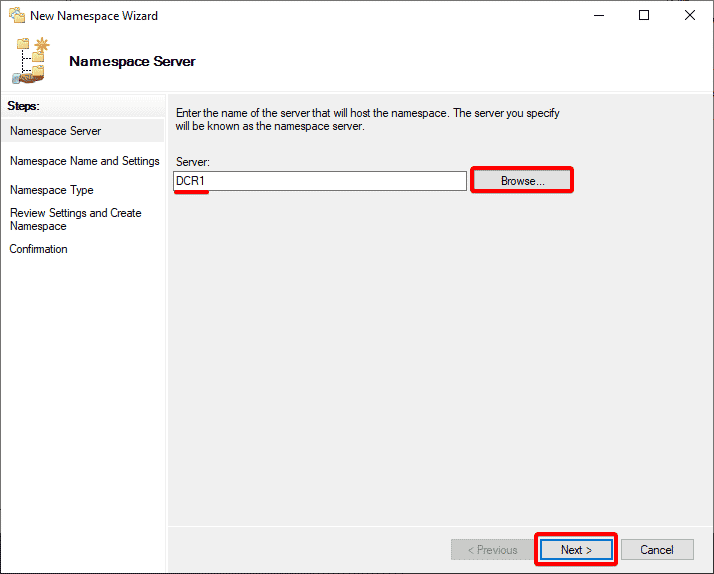
3. Input the server’s name (DCR1), or click on Browse to locate the server hosting the namespace, and click Next.
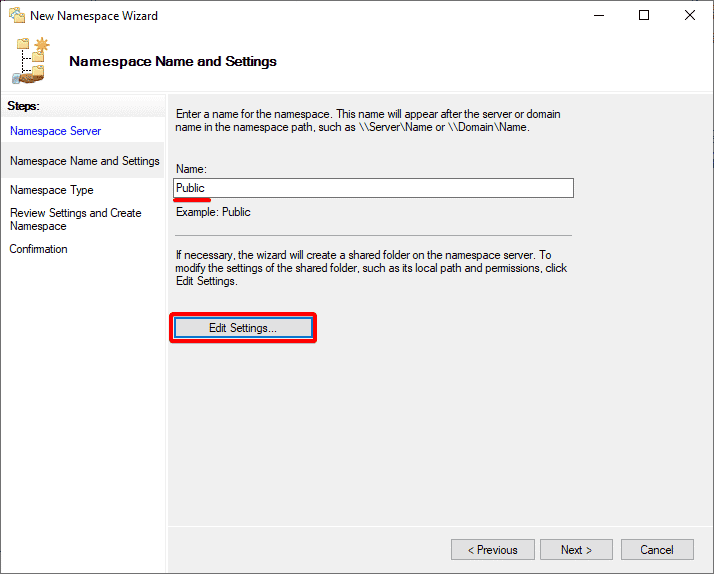
4. Now, type Public as the namespace’s Name, and click Edit Settings. A pop-up window appears where you’ll define a shared folder location and the sharing permission (step five).
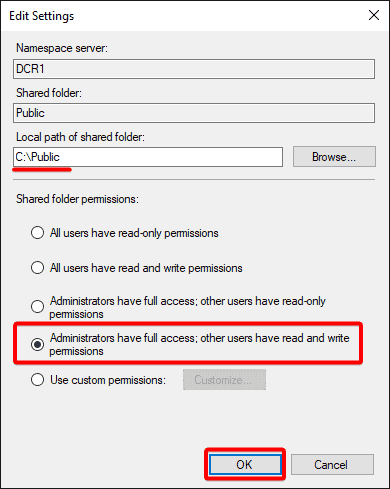
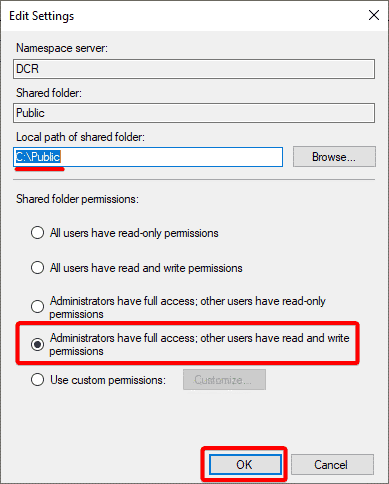
5. In the Edit Settings window, configure the settings of the shared folder with the following:
- Point the Local path of the shared folder to whatever path you want. This tutorial’s choice is the C:\Public folder.
- Select the shared folder permissions that fit your need, and click OK. For this tutorial, choose the Administrators have full access: other users have read and write permissions option.
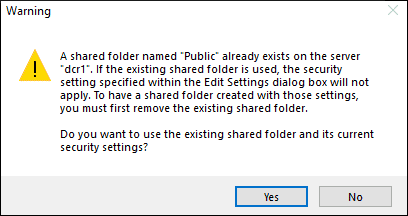
Don’t manually create the shared folder and point the wizard to the folder. Doing so makes folder permission management harder. Why? The specified sharing permission in the Edit Settings window won’t apply. As a result, you’ll get the following error message.
Related:Icacls: The Ultimate Guide in Managing File Permissions
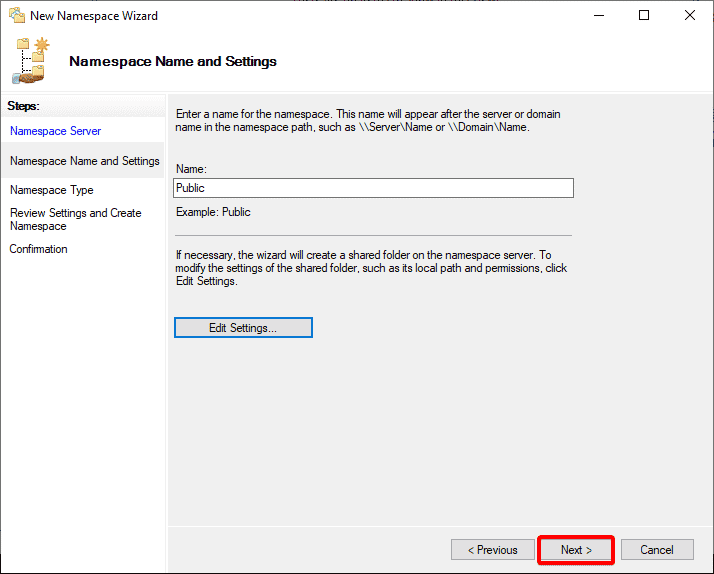
6. After defining the shared folder’s location, click on Next.
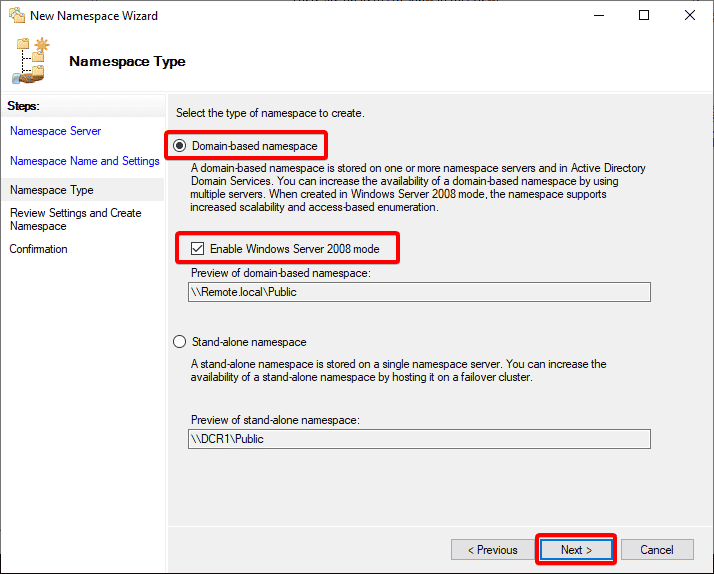
7. Now you must select any of the namespace types below to create:
- Domain-based – The namespace server settings are stored in one or more servers and Active Directory. Users can connect to the domain namespace to get the shared folder which looks like \\mydomain.local\MyShare.
- Stand-alone namespace – The namespace settings are stored in a single server, making hosting the namespace server on a Failover Cluster.
If you select the Stand-alone namespace option, users can access the namespace root using the server name \\DCR1\Public.
Tick the Enable Windows Server 2008 mode option, and click Next to increase scalability, and enable access-based enumeration,
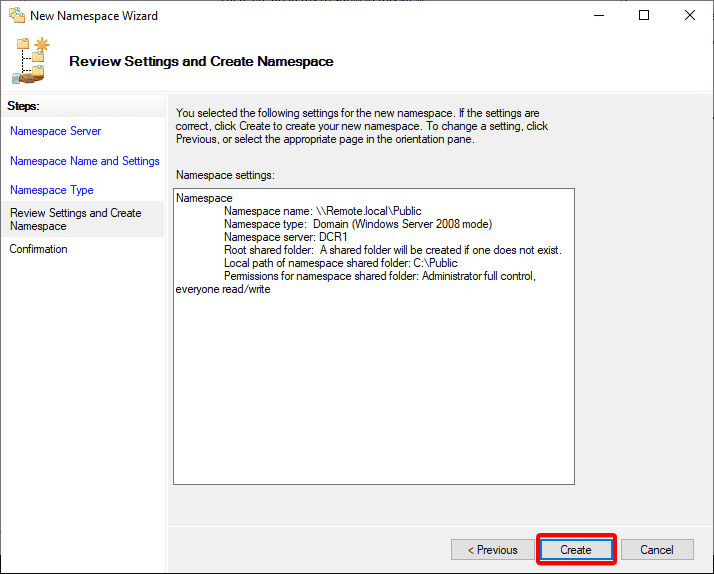
8. Review the settings you selected for the namespace, and click Create to finalize creating the new namespace.
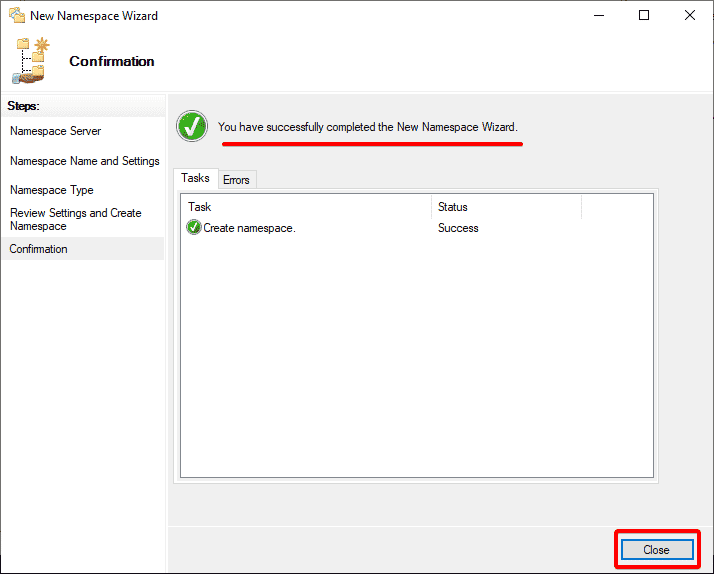
9. Finally, click Close to close the wizard after successfully creating a new namespace.
Adding More Namespace Servers
The namespace server is ready, and that’s great. But right now, only one server is added as a namespace server. Why not add more servers to the namespace? The more servers you add, the better the availability.
To add more servers to your namespace:
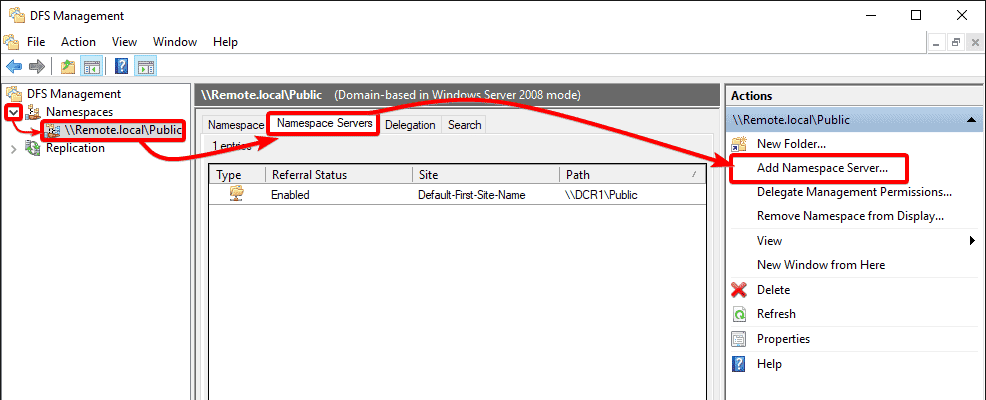
1. Expand Namespaces, click on the newly-created namespace —> Namespace Servers tab, and click on Add Namespace Server in the Actions panel (right-most). Doing so opens a pop-up window where you can specify the server to add (step two).
2. In the Add Namespace Server window, input the server’s name to add, and click on Edit Settings to modify the shared folder’s settings.
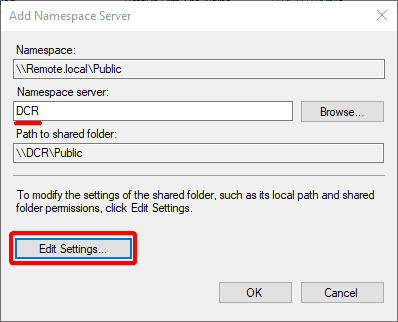
3. Specify the shared folder’s path and permissions as you did in step five of the “Configuring DFS Namespace and DFS Replication” section, and click OK.
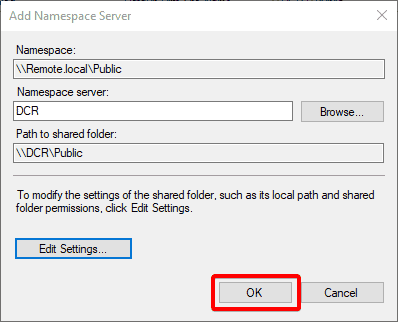
4. Now, click OK in the Add Namespace Server window to save the changes and add the new namespace server.
Once added, you’ll now see two namespace servers in the list below.

Configuring DFS Namespace Folder and Folder Target
Did you know you can aggregate multiple share resources in a single virtual share folder namespace? For instance, a company may have a shared folder for three different folders.
Even if these shared folders are on different servers and locations, the folder namespace aggregates so users can access them without remembering each folder location.
To configure the DFS Namespace folder and folder target:
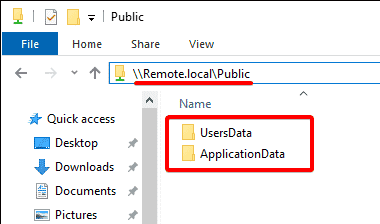
1. In the DCR1 server, create two regular folders named UsersData, and ApplicationData in the domain namespace’s shared folder (\\Remote.local\Public).
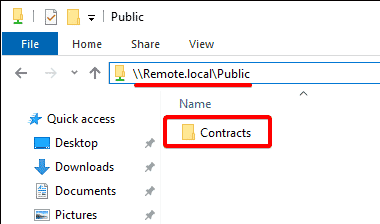
2. Next, switch to the DCR server, and create a regular folder called Contracts in the \\Remote.local\Public.
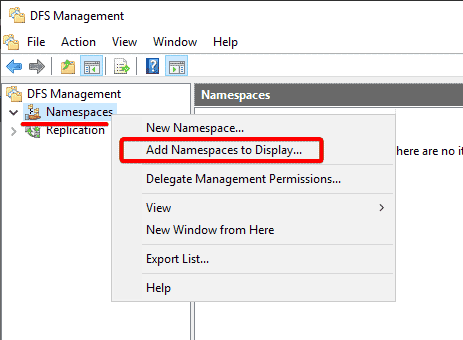
3. Open DFS Management in the DCR server, right-click on Namespaces, and select Add Namespaces to display.
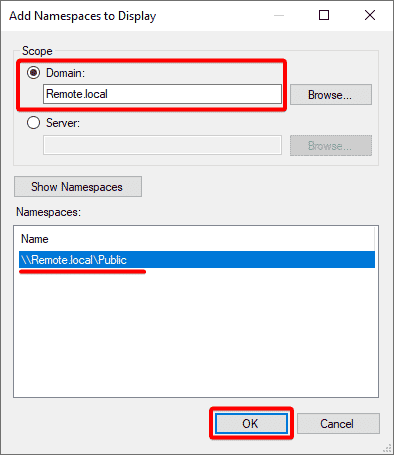
4. Now, specify the domain (Remote.local), select the namespace, and click OK to display the namespace in the DFS Management.
5. Right click on the Public namespace, and select New Folder to initiate adding a new folder.

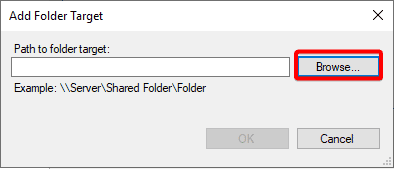
6. Click on Add, and a pop-up input box opens where you’ll target the shared folder path to add (step five).

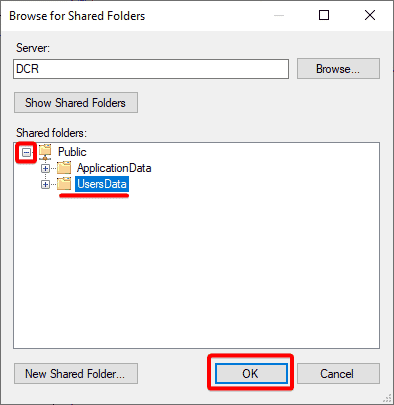
7. Click on Browse, and a new window opens where you’ll locate a shared folder.
8. Next, expand the Public folder, select the UsersData folder, and click OK to select the folder to add.
The folders you see below are shared folders from the DCR1 server.
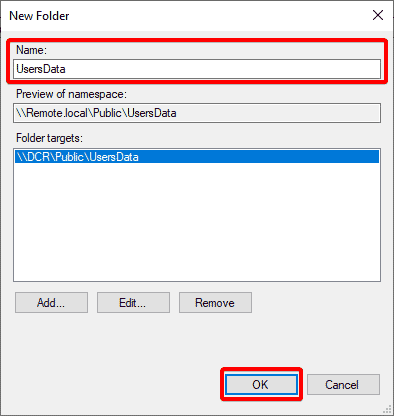
9. Set the folder’s name to UsersData, and click OK to add the folder as a shared folder.
10. Next, repeat steps five to nine to add the ApplicationData folder.
11. Switch to the DCR1 server, and follow the same steps five to nine to add the Contracts folder.
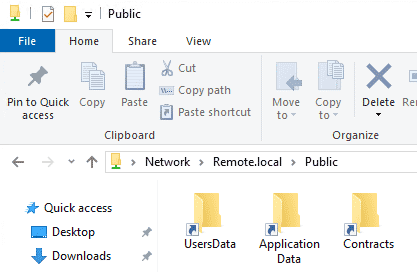
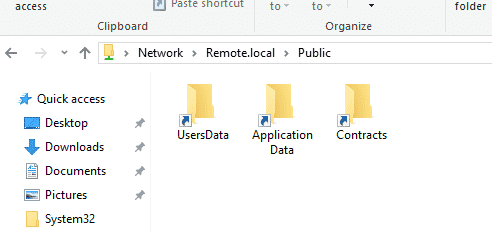
12. Finally, open File Explorer on both DCR and DCR1 servers and navigate to the Public namespace (\\Remote.local\Public).
Regardless of which server you’re in, you’ll see the three virtual folders (UserData, ApplicationData, and Contracts), as shown below.
Configuring the DFS Replication
You’ve just completed a milestone of creating one shared folder (Public) under the Remote.local namespace and adding multiple folders. But now, if you try adding contents to the namespace, those contents will remain on the same server.
As a solution, you’ll configure the DFS Replication to ensure the added content gets replicated to all other servers for high availability.
To configure the DFS Replication:
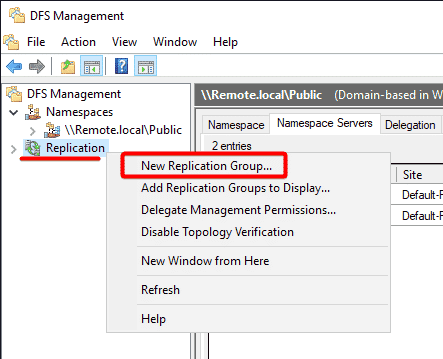
1. On the DFS Management in the DCR1 server, right-click on Replication, and select New Replication Group to initiate adding a new replication group.
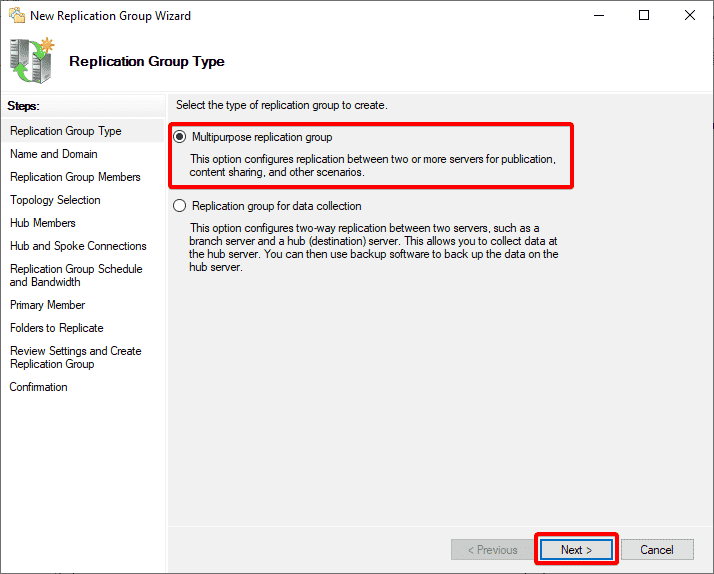
2. Next, choose a replication type that fits your need; there are two replication types as follows:
- Multipurpose replication group – Provides replication between two servers or more, usually used for file sharing.
- Replication group for data collection– Provides replication between two servers in different locations, usually for backup purposes between a branch office and the main office. This way, the backup software performs a backup of the replicated data instead of running the backup over the WAN.
Remember that only two servers can be in this replication group type, not more.
For this tutorial, select the Multipurpose replication group option and click Next since you share folders between two servers.
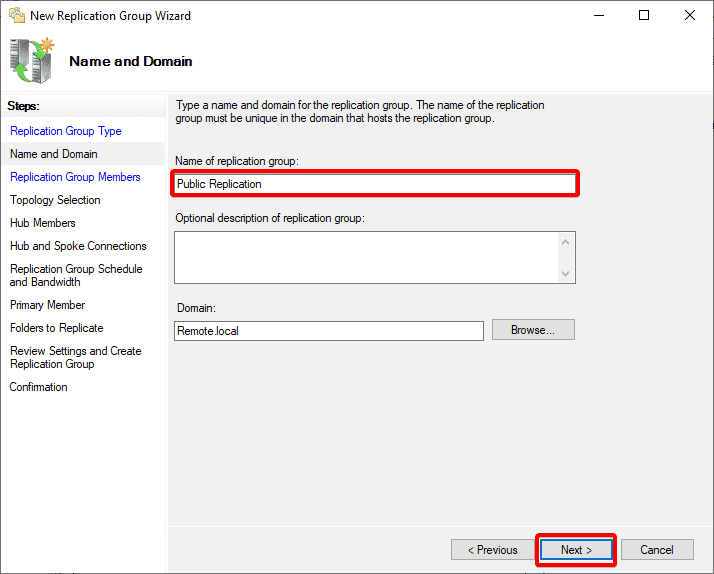
3. Input a unique name for the replication group (Public Replication), and click Next.
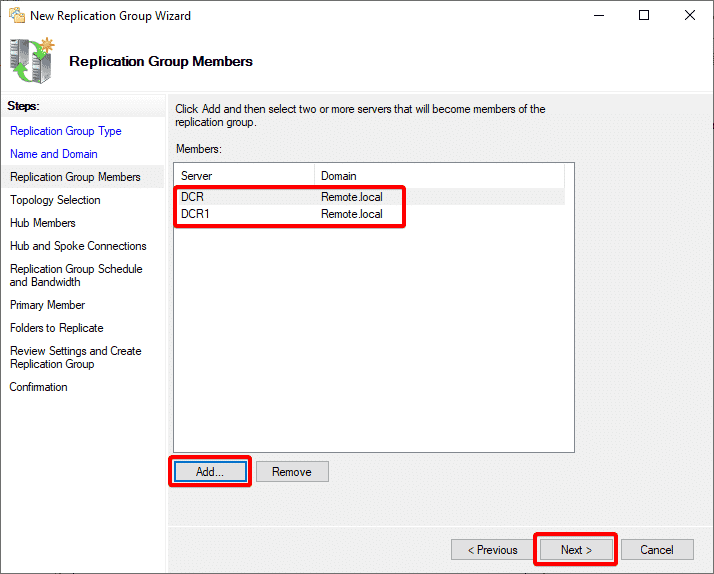
4. Now, on the Replication Group Members page, click on Add to locate the servers to add as members in the replication group, and click Next.
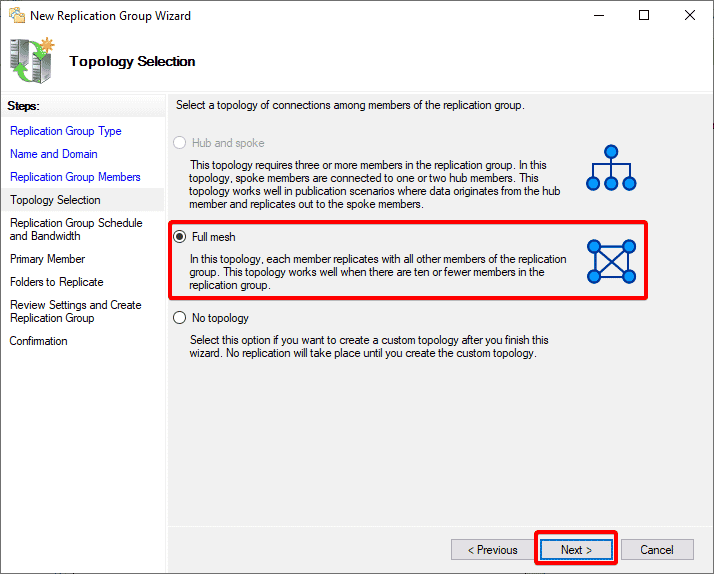
5. Choose a topology to set how servers replicate the contents from one server to another.
There are three topology options as follows:
- Hub and Spoke – This option requires at least three servers. One is the initial master Hub, and the other servers are the Spoke. This option is handy when the data originates from the Hub and should be replicated in multiple locations.
Each replica is a two-way replication with the Hub but spoke servers don’t replicate content between each other. But with this option, all replication stops until the Hub is up again when the Hub is down.
Since you’re only working on two servers, this option is disabled by default.
- Full Mesh – This option lets all servers replicate everything with each other.
- No Topology – With this option, no replication will be placed until you configure the replication topology.
For this tutorial, select the Full Mesh topology, and click Next. This topology works well regardless if you have ten or fewer replication group members,
Make sure to evaluate your network and connectivity speed between branches, as the replication can exhaust the bandwidth.
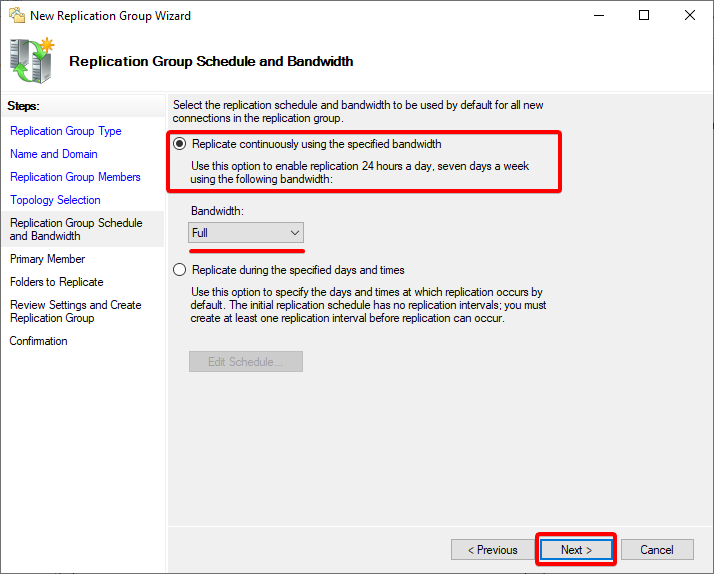
6. Next, select the Replicate continuously using specified bandwidth option to perform replications continuously. Keep the Bandwidth at default (Full), and click Next to create a bandwidth throttle.
But if you prefer a specific schedule for replications to execute, choose the Replicate during the specified days and times option instead.
7. Select the primary member (DCR), and click Next. The immediate member is the server that initializes the replication and sends the content to all other members.
Ensure the destination folder on different nodes is empty as the content from the primary member is authoritative during the initial replication.

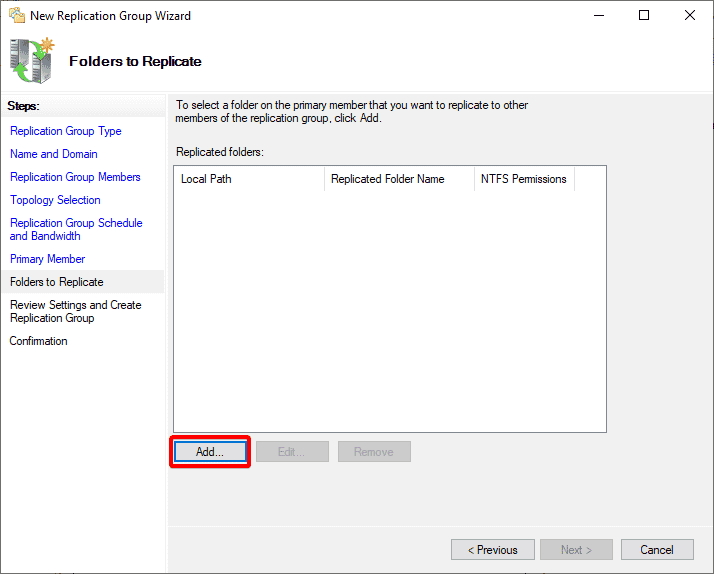
8. On the Folder to Replicate page, click on Add, and a pop-up window appears where you can select a folder to replicate.
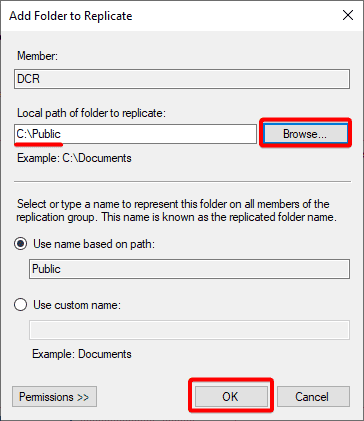
9. Click on Browse to locate the folder to add for replication, which is the primary source of the content to replicate to other nodes, and click OK.
Note that you can only add a folder from the primary member you selected in step seven.
You can customize and change the NTFS permission (not the folder sharing permission) as you want by clicking on Permissions
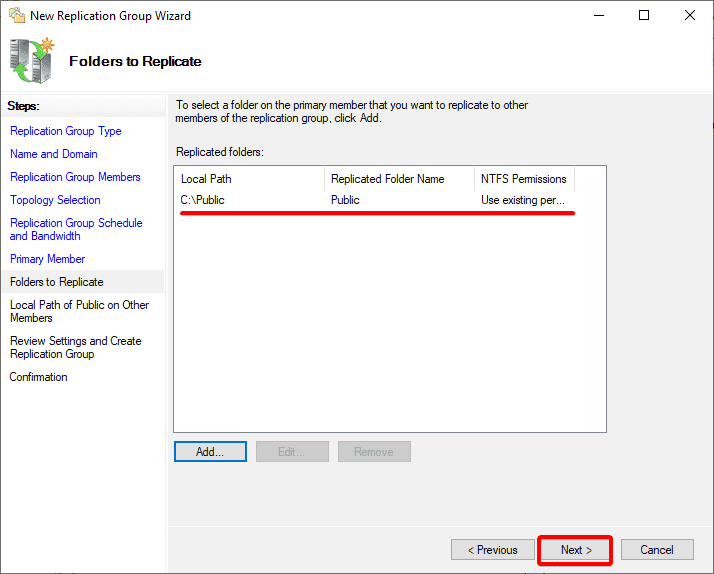
10. After adding the folder to replicate, click on Next.
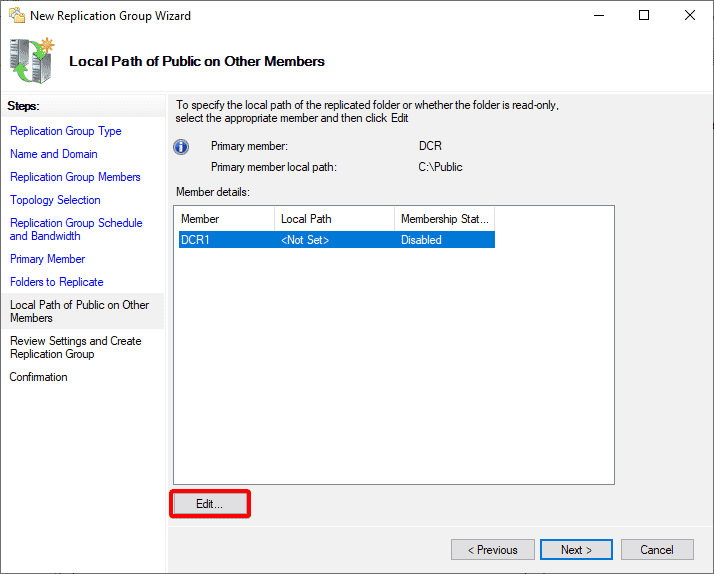
11. Now, click on Edit, which opens a window where you can specify the location to store the replicated content in the other member server.
If you’re using the DFS Management console and configuring the setting remotely, the Local path of folder is the local path, such as C:\Public, and not a UNC.
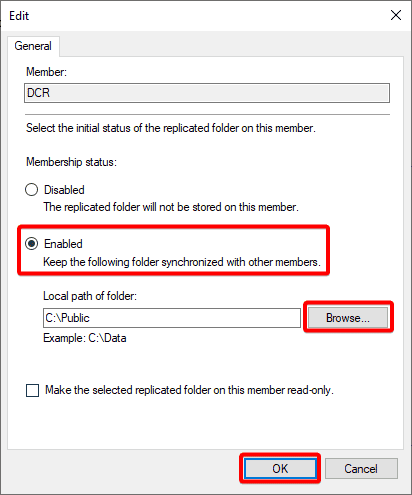
12. Edit the replication settings with the following:
- Select the Enable option to enable the replication for this server
- Click on Browse and locate the local path to store the replicated data.
- Click on OK to save the modified settings.
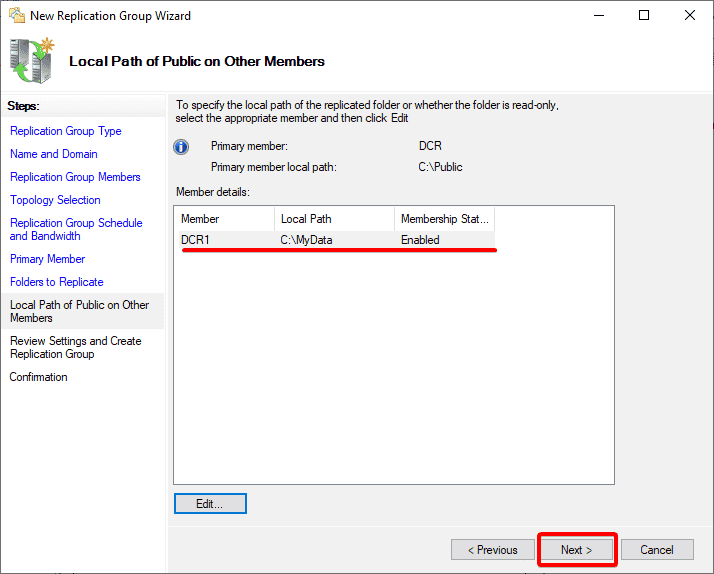
13. After setting the local path, click Next to confirm the modified settings.
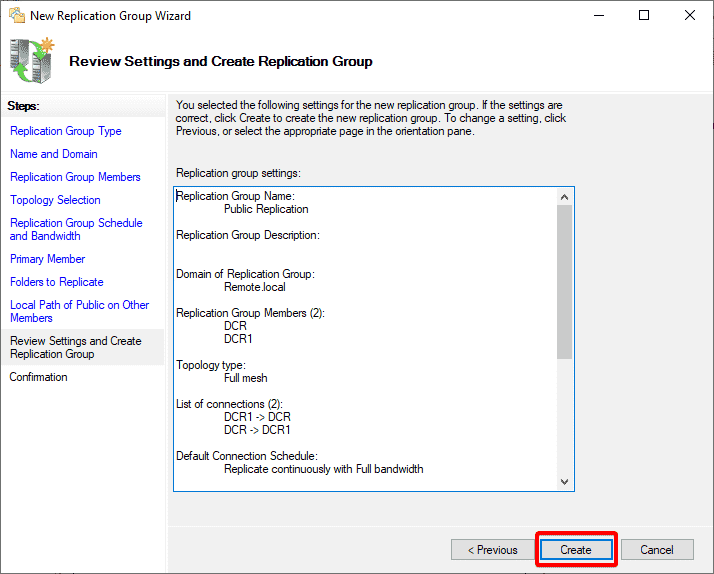
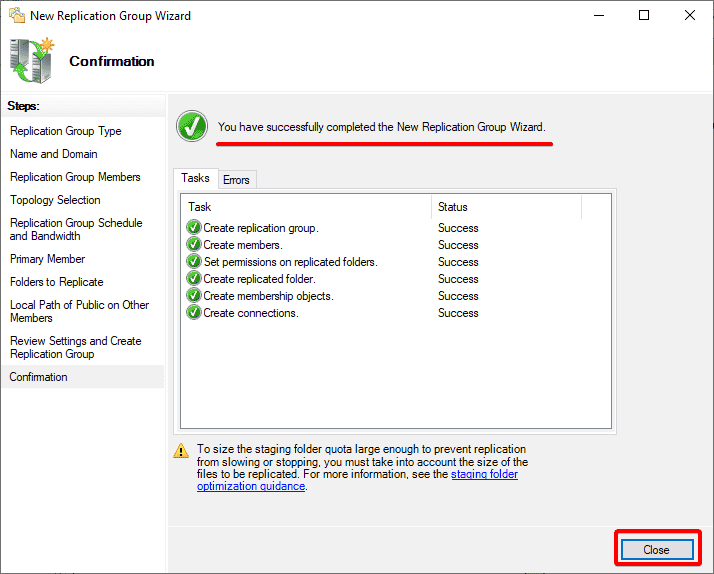
14. Review the selected settings, and click on Create to finalize creating the new replication group.
15. Finally, click on Close once the replication group is created to close the wizard.
Congratulation! You’ve successfully created your DFS Replication.
Testing the Replication
Everything has been set into place, and all that’s needed is to test the replication. How? You’ll create multiple files on different folders from different servers and see if each replicates in all servers.
To test the replication:
1. Navigate to \\Remote.local\Public in File Explorer, and you’ll see the namespace folders created all under the root.
2. Next, inside \\Remote.local\Public, create a new folder called CompanyData and place a few files inside the folder.
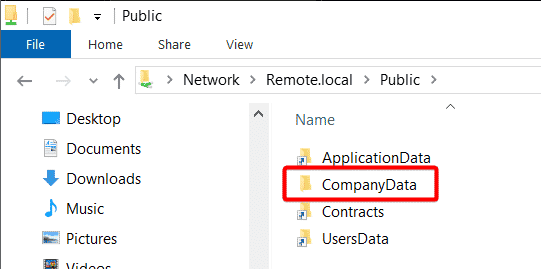
3. Lastly, navigate to C:\Public\CompanyData on each server, and you’ll see the same content on both servers.
Below, you can see the file name change replicates from one server to another almost instantly, which indicates the replication is working as expected.
Conclusion
In this tutorial, you’ve learned how to keep data high availability with DFS Replication. DFS provides a great way to help in solving common content sharing issues, including availability, scalability, and the ability to support different connectivity speeds.
Having an automatic replication system truly comes in handy. But as a fail-safe, why not backup your entire system?