Source: https://adamtheautomator.com/install-vmware-tools-ubuntu/
Running an Ubuntu virtual machine (VMs) is a great way to consolidate and share hardware resources. But without software installed on the VM, Ubuntu can’t run optimally within a VM. You need to install VMware Tools on Ubuntu.
VMware Tools is a set of utilities and drivers that enhances your guest operating systems’ performance and communication between guests and host operating systems. VMware Tools provides dozens of benefits, such as enhanced graphics on virtual machines, supports sound systems and auto-resize virtual machines, etc.
In this tutorial, you will learn how to increase your Ubuntu VM’s performance by installing VMware Tools on your VMware Ubuntu VM.
Let’s get it on!
Prerequisites
After powering up your VM, make sure to check out VMware vSphere to ease management and enhance your VMs capabilities. Next, tightly integrate local VM operating system integration with VMware Workstation PRO & Player!
This post will be a step-by-step tutorial. If you’d like to follow along, be sure you have the following:
- A VMware VM running Ubuntu 14.04.4 LTS or greater. VMs running with v12+ of VMware Workstation Player, VMware Workstation, or ESXi will work fine. This tutorial will use Ubuntu 18.04.5 LTS.
Related:How to Install Ubuntu 20.04 [Step-by-Step]
Installing VMware Tools on Ubuntu (Command Line)
When installing VMware Tools on VMware VMs, you have two options; remotely via SSH or directly on the Ubuntu VM console via Ubuntu terminal. Let’s start this tutorial by connecting to the VM over SSH and using the command line.
Before you get too far, check to see if you already have VMware Tools installed. It comes installed by default on some Linux distributions. Check to see if it’s installed by connecting via SSH or opening a terminal in Ubuntu and running
vmware-toolbox-cmd -v. It should display the version of VMware Tools installed.
If you don’t already have VMware Tools installed on your Ubuntu VM:
1. SSH into the your Ubuntu VM using your favorite SSH client.
2. Run the apt update command shown below to ensure Ubuntu has all of the latest package sources available. VMware distributes VMware Tools as an apt package which you’ll download and install in the next step.
# Updating the package repositories
 sudo apt update
Copy

Now, install the open-vm-tools package by running apt install. This package contains everything you need to install VMware Tools on Ubuntu.
If you intend to connect to the Ubuntu VM console, you can also install the
open-vm-tools-desktoppackage which will install additional libraries to make working with the console a better experience.
# Installing the open-VM-tools package for the ubuntu server
 sudo apt install open-vm-tools

# Installing the open-VM-tools package for ubuntu-desktop
 sudo apt install open-vm-tools-desktop
Copy

Install VMware Tools on Ubuntu (VM Console)
Suppose the command line isn’t your thing, no problem. You can always install VMware Tools via the VMware VM console.
Related:How to Set up the VMware Remote Console (Windows and Linux)
1. Open VMware Workstation, VMware Player or the vSphere client on your local machine.
2. Open your Ubuntu VM’s console.
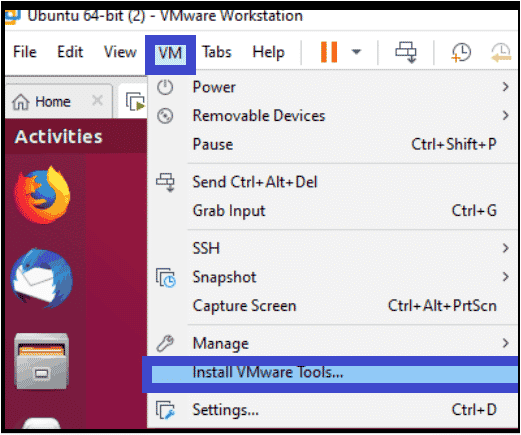
3. Click on the VM menu at the top of the window and select Install VMware Tools, as shown below.
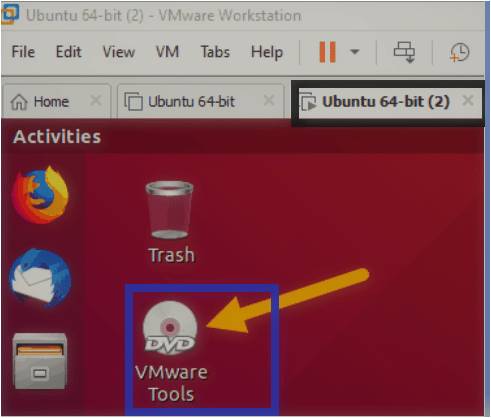
Soon after you click on Install VMware Tools, you’ll see a new archive appear on the desktop titled VMware Tools, as shown below.
4. Next, extract the archive by double-clicking on it. After Ubuntu extracts the files, you should see the following files inside the VMware Tools folder.
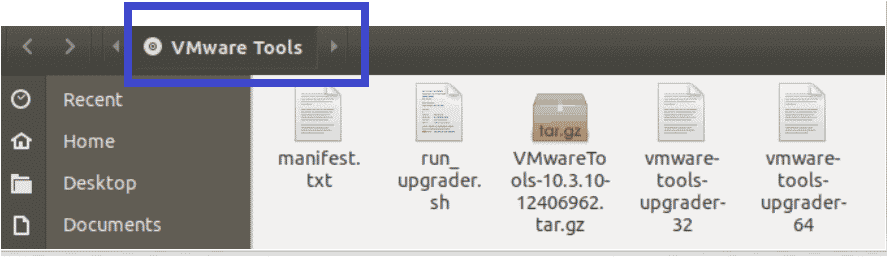
5. Right click on the compressed VMwareTool-10.3.10-12406962.tar.gz file and click Extract To to extract the compressed file. This tutorial will extract the files onto the current user desktop.

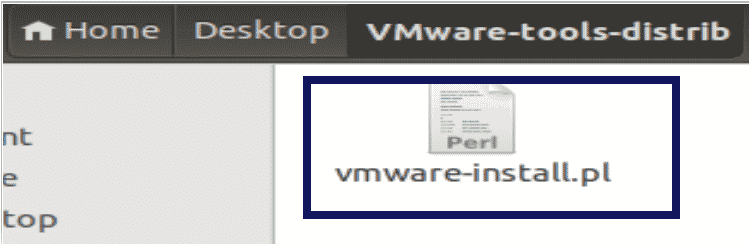
6. Once the compressed installer package has been extracted, you will notice a folder called VMWare-tools-distrib on the current user desktop. Open that folder, and you’ll see a Perl script called vmware-install.pl, as shown below.

7. Now, execute the vmware-install.pl Perl script file inside the VMware-tools-distrib folder by running the following command.
# Running the script on ubuntu-desktop
 sudo ./vmware-install.pl
Copy
After you run the command, the script will start to install VMware Tools on Ubuntu.
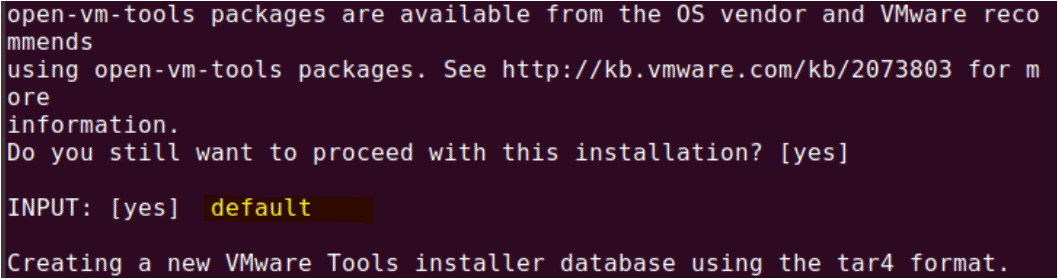
8. When prompted, confirm all default values.
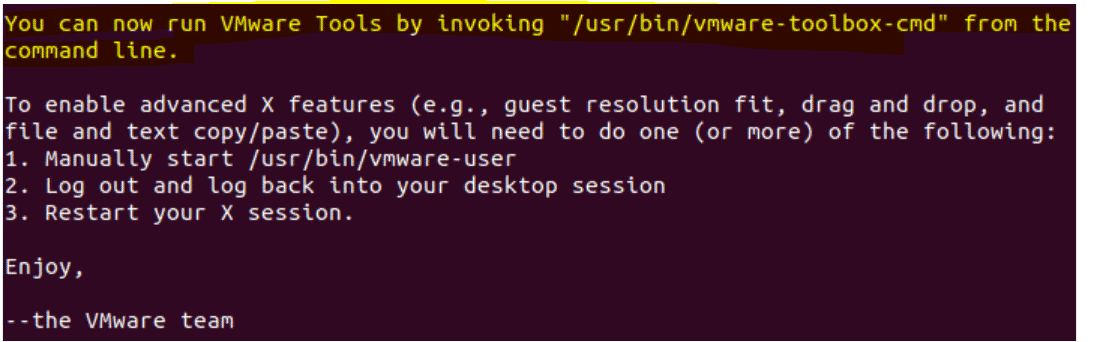
Once the script finishes, you will see a message like below, which confirms that VMware Tools is successfully installed on the machine.
9. Finally, reboot Ubuntu for the changes to take effect.command.
# Rebooting the ubuntu Machine
 sudo reboot
Copy
Conclusion
After powering up your VM, make sure to check out VMware vSphere to ease management and enhance your VMs capabilities. Next, tightly integrate local VM operating system integration with VMware Workstation PRO & Player!
In this tutorial, you learned how to install VMware tools on Ubuntu. VMware Tools is a great software tool that improves the performance and management of guest host operating systems like copy-paste, drag-drop, and the ability to take multiple snapshots simultaneously.
VMware Tools enhance the performance of the guest operating systems and simplify the work of system administrators. But, are you going to install it on every ubuntu machine which you manage?