Scenario: Customer needs to receive email alerts from various alerting systems outside of their email system and go to multiple people that are not members of their company email system. The emails also do not need to be retained in a central location.
Solution: There are several ways to set up a similar scenario, but in this case, we recommend creating a simple Distribution Group (DG). However, in Microsoft 365 external users are not able to be added to Groups. To accomplish this, you must create a Contact for the external user, then add the Contact to the Distribution Group.
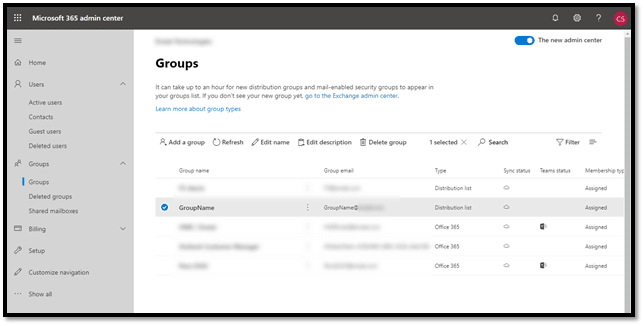
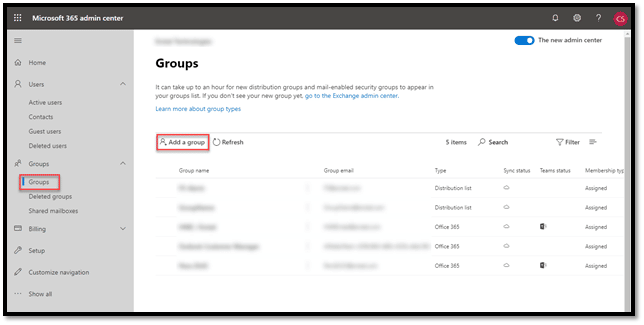
Create New Distribution Group:
- In the Microsoft 365 admin center, navigate to Groups and Add a Group.
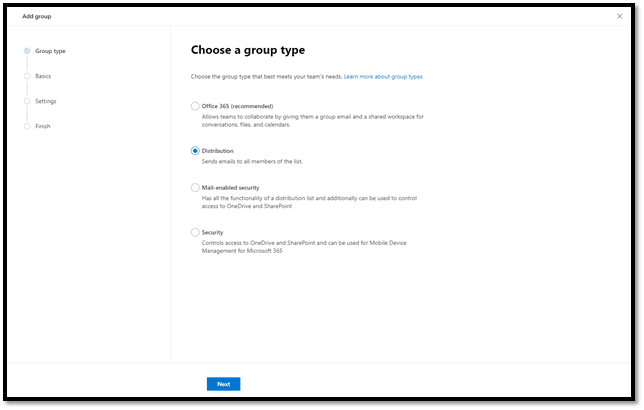
- On the Add group window, under Choose a group type select Distribution. Click Next.
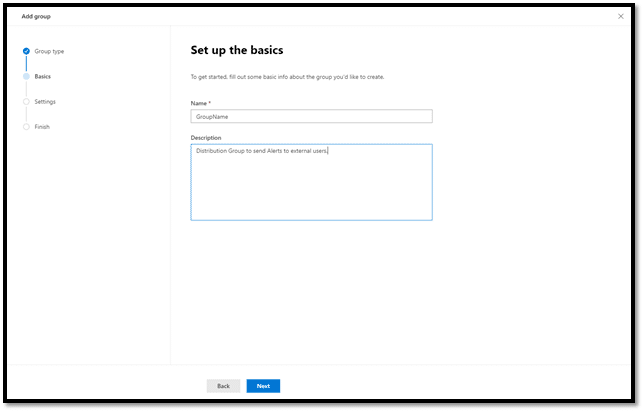
- On the Set up the basics page, enter a Name, and Description if you choose. Click Next.
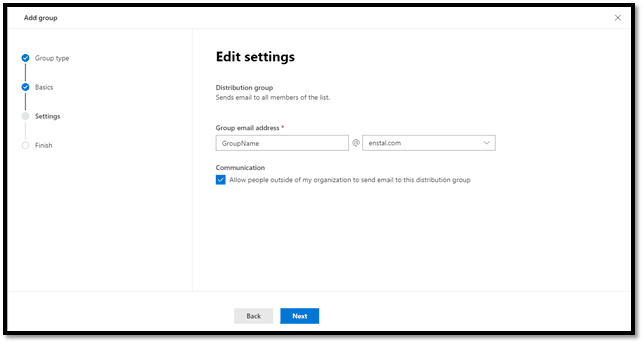
- On the Edit settings page, check the box to Allow people outside of my organization to send email to this distribution group. Click Next.
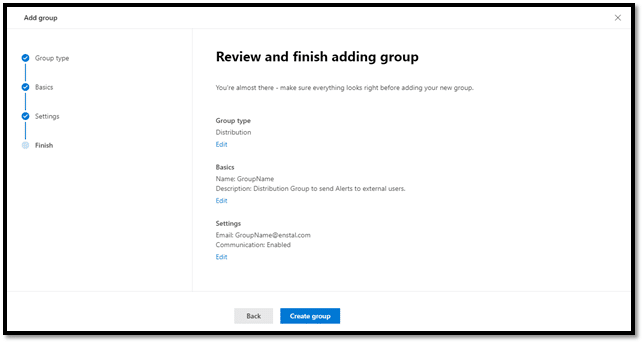
- On the Review and finish adding group, review the information and click Create group.
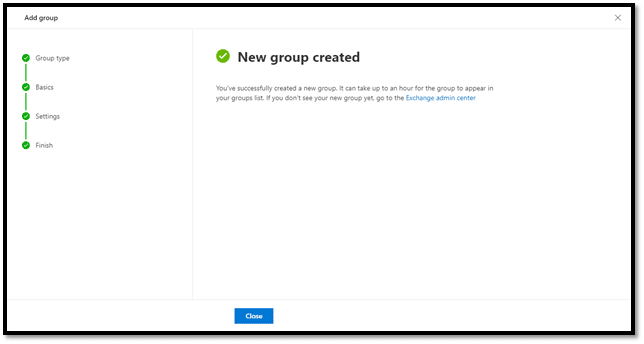
- Once your New group (is) created, click Close.
Create Contact for External Users:
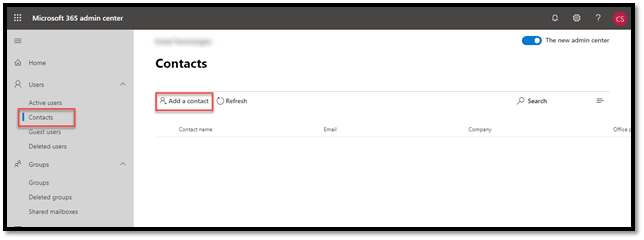
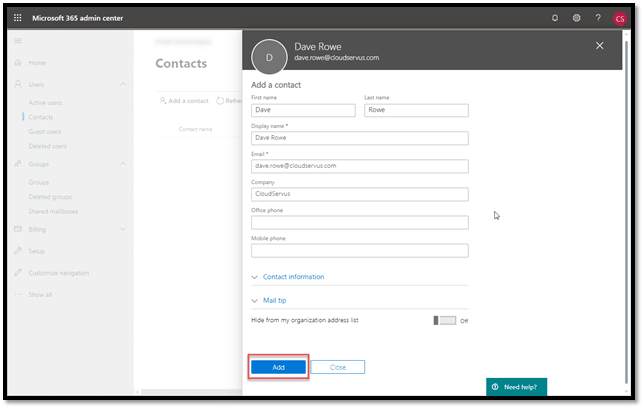
- In the Microsoft 365 admin center, navigate to Contacts. Then Add a contact.
- On the Add a contact window, enter the required information and click Add.
- Close the Add a contact window.
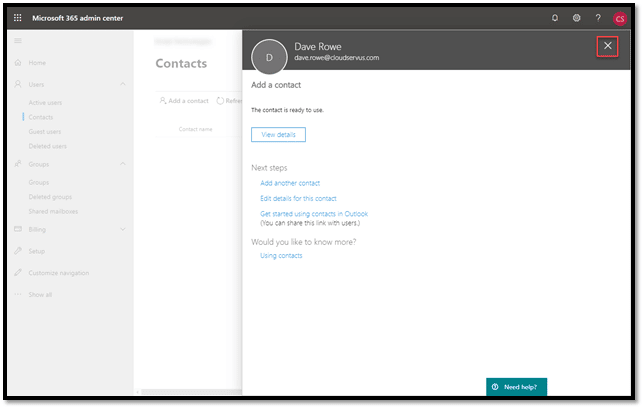
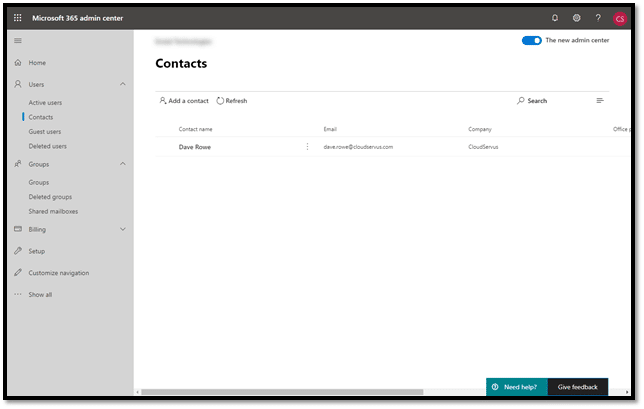
- Verify that your contact was created.
Add Contact to Group
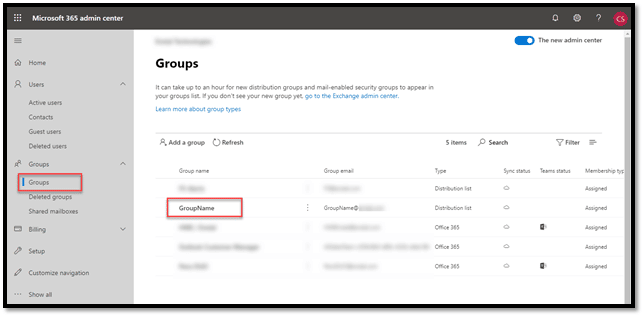
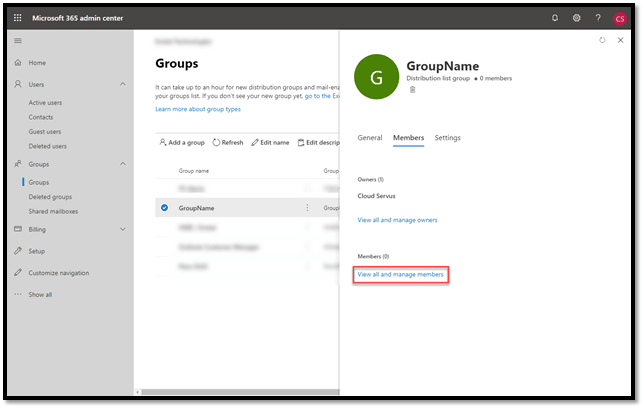
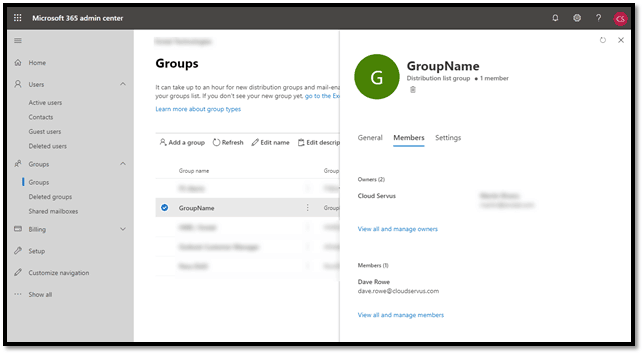
- In the Microsoft 365 admin center, navigate to Groups. Double-click to open the group.
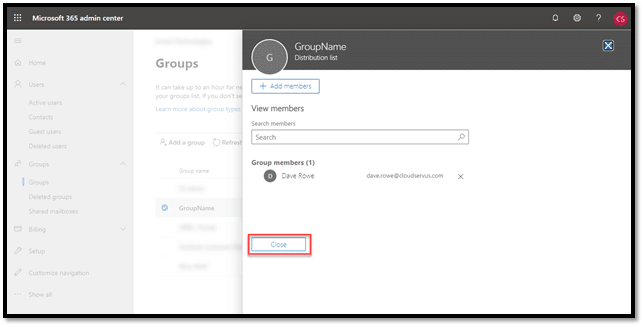
- In the Group details window, on the Members tab, click View all and manage members.
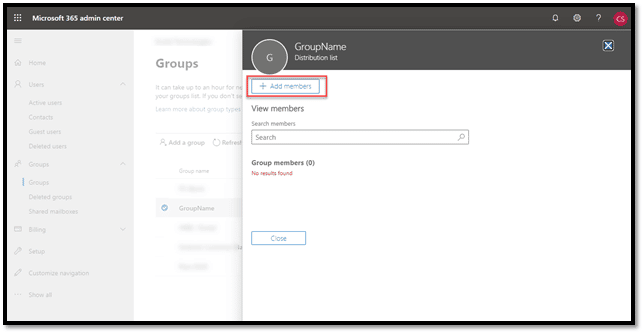
- Click Add members.
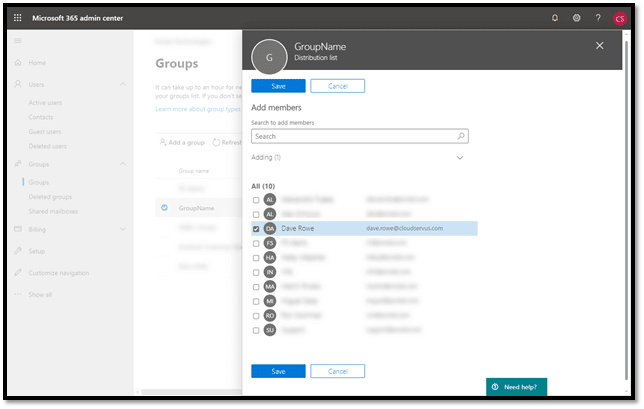
- In the Add members list, select the Contacts you created. Click Save.
- Once Group members were added, click Close.
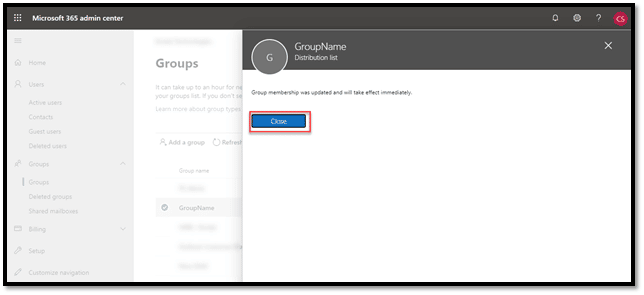
- Click Close.
- Click Close once again.
- Your Distribution Group with external Contacts has been created and ready for use.