Source: https://lazyadmin.nl/office-365/office-365-assign-license-to-group/
I like to automate as much as possible, and one of those repeating tasks is license assignment in Microsoft 365. You can automate the creation of users. It’s even possible to assign an Office 365 license with PowerShell. But most of the time it’s still a manual process, one that is prone to mistakes.
The problem, especially with medium or larger organizations, is that you create the users in the on-premise Active Directory. New users need to be synced to Azure AD (which we can force), after which we can assign a license.
But what if you are out of licenses? You will first need to increase the number of licenses or even order extra through your MSP or finance department. That takes time.
And when the news licenses are added, you will need to log back into the Admin Center to assign the license (which happens to be the part that I forget sometimes..)
The solution? Assign licenses to a group in Office 365.
Getting started
To get started with Office 365 group-based licensing, we first need to create groups to which we can assign the license too. You can create the (security) group in your local AD or in Azure Active Directory. It’s also possible to use existing groups, like department groups that you maybe already have.
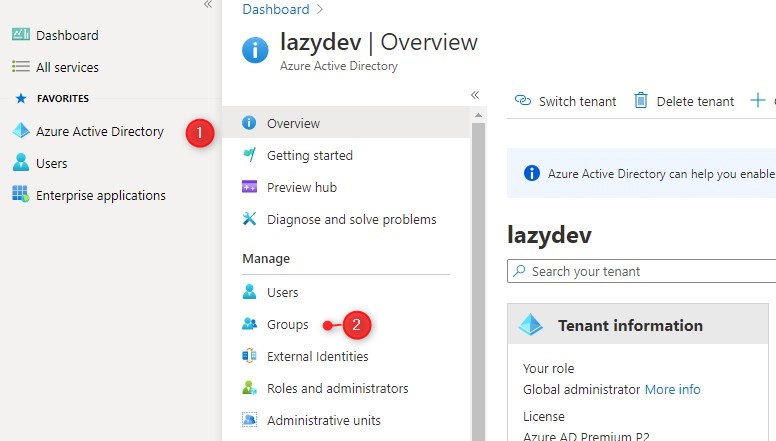
For Azure AD you will need to login into Azure AD Admin Center.
- Select Azure Active Directory on the left side
- Choose Groups
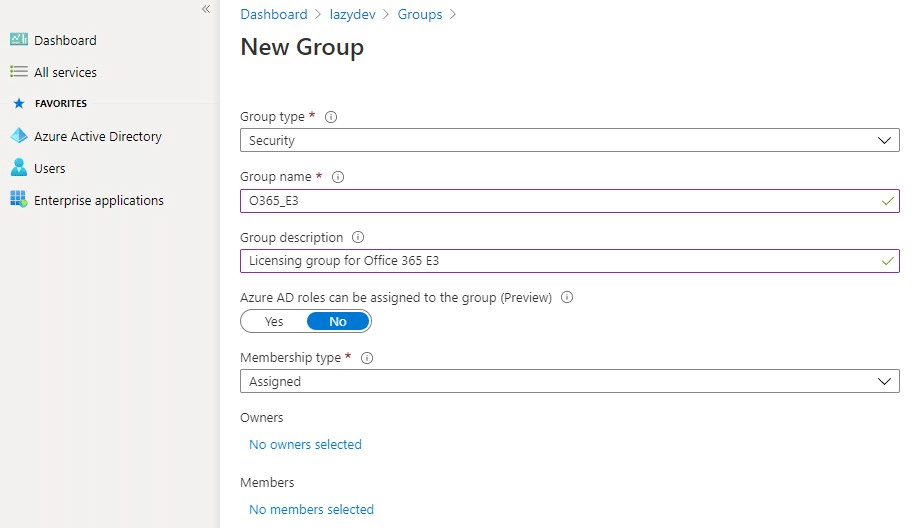
- Click New group
- Set the Group type to Security
- Give the Group a name, for example, O365_E3
- Click on Create
Adding users to the Group
I already had Office 365 E3 licenses directly assigned to the users. So what I have done is used a small PowerShell script to get all the users with an E3 license and added them to the new security group.
You will need to have the Microsoft Online Service module installed for PowerShell. We are first going to get the AccountSkuId for the license that we want to assign.
# Connect to Microsoft Online Service
connect-MsolService
# Get all AccountSkuIds
Get-MsolAccountSku

The AccountSkuId is buildup with your tenant name and an ID of the product. For Office 365 it’s ENTERPRISEPACK and for E5 ENTERPRISEPREMIUM
The next step is to get all users with the E3 license and add them to our new group. When you are using an on-premise Active Directory, then use the script below:
$msolUsers = Get-MsolUser -EnabledFilter EnabledOnly | Where-Object {($_.licenses).AccountSkuId -eq ‘lazydev:enterprisepack’}
ForEach ($user in $msolUsers) {
try {
$ADUser = Get-ADUser -filter {UserPrincipalName -eq $user.UserPrincipalName} -ErrorAction stop
Add-ADGroupMember -Identity O365_E3 -Members $ADUser -ErrorAction stop
[PSCustomObject]@{
UserPrincipalName = $user.UserPrincipalName
Migrate = $true
}
}
catch {
[PSCustomObject]@{
UserPrincipalName = $user.UserPrincipalName
Migrate = $false
}
}
}
If you are using only Azure Active Directory then you can use the following script:
# Get all users with the Office 365 E3 license
$msolUsers = Get-MsolUser -EnabledFilter EnabledOnly | Where-Object {($_.licenses).AccountSkuId -eq ‘lazydev:enterprisepack’} | Select DisplayName,UserPrincipalName,ObjectId
# Get the Group Id of your new Group. Change searchString to your new group name
$groupId = Get-MsolGroup -SearchString O365_E3 | select ObjectId
ForEach ($user in $msolUsers) {
try {
# Try to add the user to the new group
Add-MsolGroupMember -GroupObjectId $groupId.ObjectId -GroupMemberType User -GroupMemberObjectId $user.ObjectId -ErrorAction stop
[PSCustomObject]@{
UserPrincipalName = $user.UserPrincipalName
Migrated = $true
}
}
catch {
[PSCustomObject]@{
UserPrincipalName = $user.UserPrincipalName
Migrated = $false
}
}
}
Office 365 Group-Based Licensing
With the new group created and the users copied (or manually added) to the new group, we can now start with assigning the Office 365 license to the Group.
- Login to Azure AD Admin Centerhttp://portal.azure.com
- Open GroupsYou can find it under Azure Active Directory on the left side and then Groups
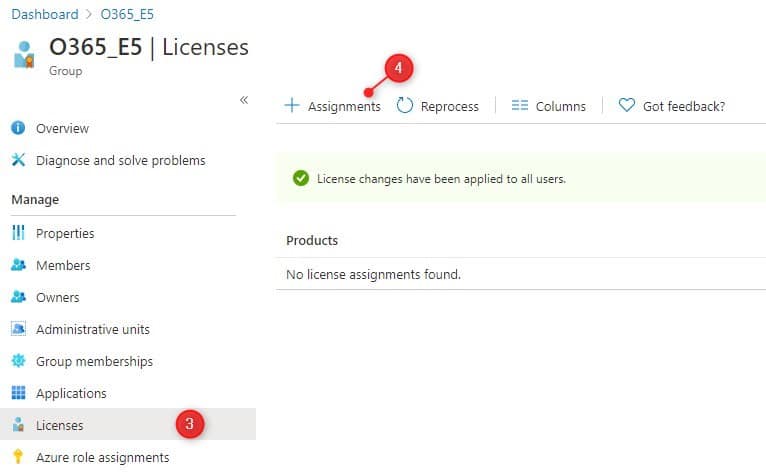
- Open your new Group and select LicensesFind the new group that we have created and select licenses on the left side
- Select Assignments to assign a new license
- Select the license you want to assign to the GroupYou can change the license services if you want. For example, remove Yammer or Sway if you don’t want to use it.
Click on Save and close the license screen when done.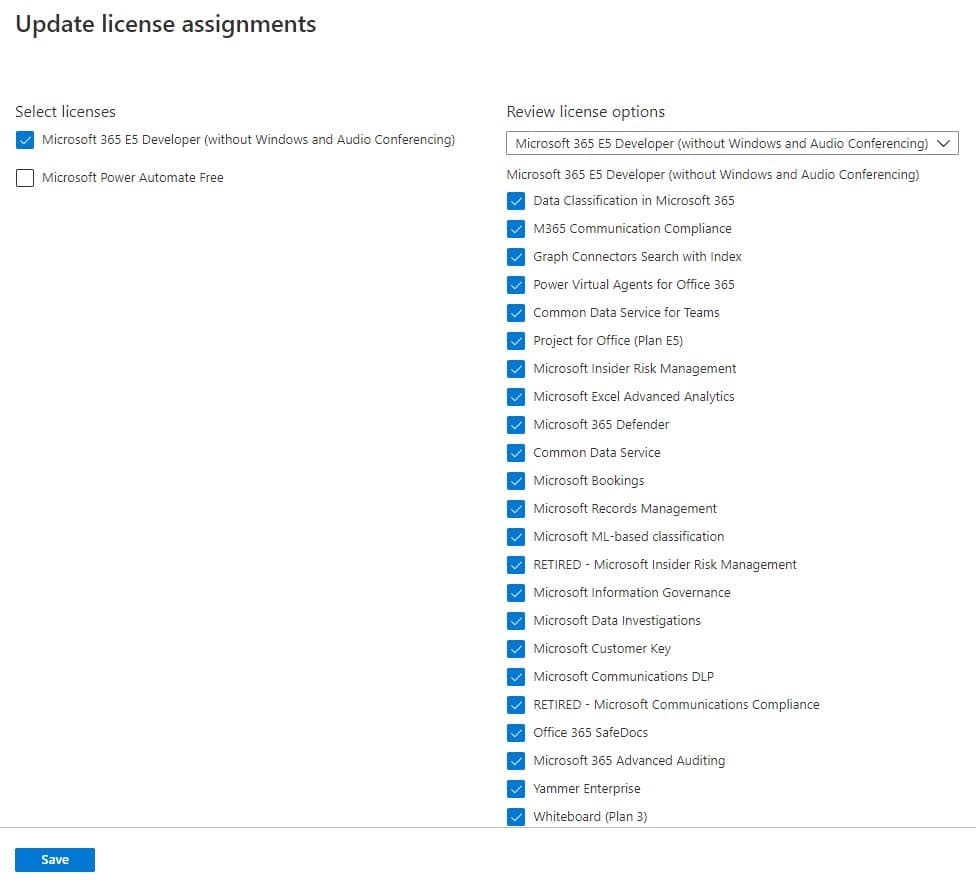
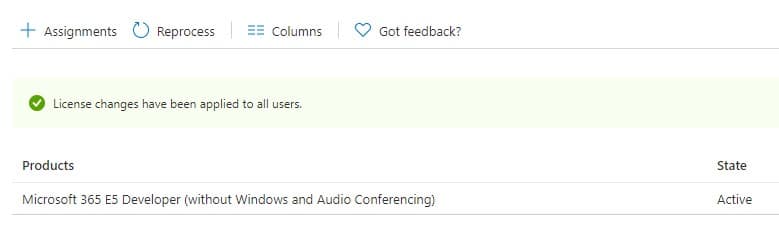
- License are assignedIt can take a couple of minutes until all the users are processed. If you refresh the screen after a couple of minutes you will see that the license changes have been applied
Inherited vs Direct licenses
Users can have directly assigned licenses and inherited licenses. Directly assigned are the licenses that you have manually assigned to the users. The inherited are the licenses that the users gets based on the group membership.
If you already had manually assigned licenses to the users, then you will need to remove the directly assigned license. Not because they now have two licenses, but if you remove them from the group later, they will still have the directly assigned license.
- Open the Azure Active Directory in Azure AD Admin Center.
- Select Licenses
- All Products
- Open the license that you just have assigned to the group.

You will now see a list of all licensed users. In the column Assignment Paths, you will see how the user has gotten the license, Direct, or Inherited. Behind inherited you will also see from which group the user has inherited the license.
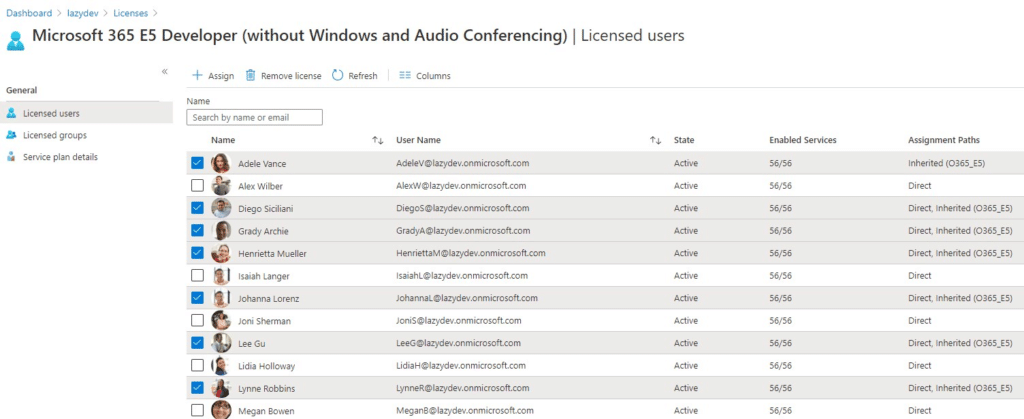
Select the users with the direct and inherited licenses and click Remove License to remove the direct license.
The users won’t notice anything from the removal as long as you keep the license and services the same. Otherwise, test it first with a small group of users.
Wrapping Up
You can assign users to multiple groups, so you could create a base group with Office 365 E3 for example and a separate group with PowerBI Pro. Using multiple groups, and each group for one license, gives you more flexibility when it comes to assigning licenses to the user in Microsoft 365.
Using Office 365 Group Based Licensing is easy to set up and takes way another manual step in creating and managing your users.