Source: https://msendpointmgr.com/2019/10/04/wim-witch-a-gui-driven-solution-for-image-customization/
WIM Witch is a utility that can be used to update and modify WIM files for Windows deployment scenarios. It allows the WIM to be patched, drivers to be applied, in-box applications to be removed, and .Net 3.5 binaries to be injected. It also supports the ability to inject an Autopilot configuration file into the WIM file to support “Autopilot For Existing Device” deployments. It accomplishes this by providing the user with a GUI to setup the desired configuration. Once the parameters have been configured, the image can be created, or the configuration saved for use with command line functionality.
Installing WIM Witch
WIM Witch can now be installed from the PowerShell gallery. Use the following command to get it:
save-script -name wimwitch -path [your download folder] -force
To get started, simply run the script with Administrative rights. WIM Witch will start a pre-flight check to see if its folders exist in the folder that the script was run. If it doesn’t detect any of its folders, it will start the installation routine.
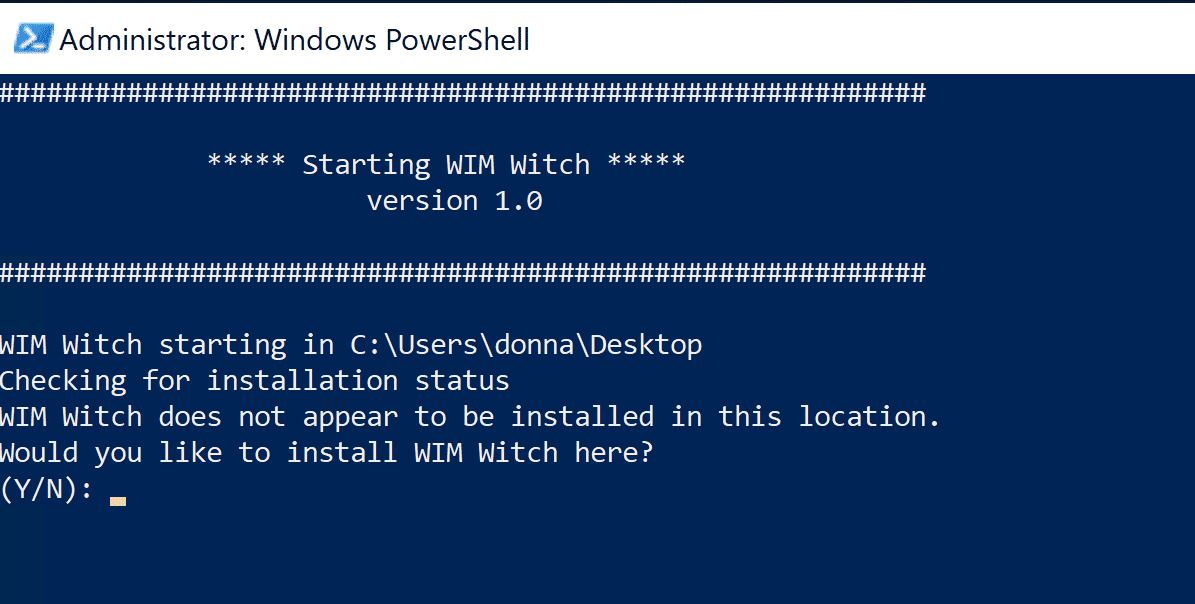
At the prompt, select “Y” for “yes” or “N” for “no”. If “N” is selected, WIM Witch will then ask for the folder that it should install to.
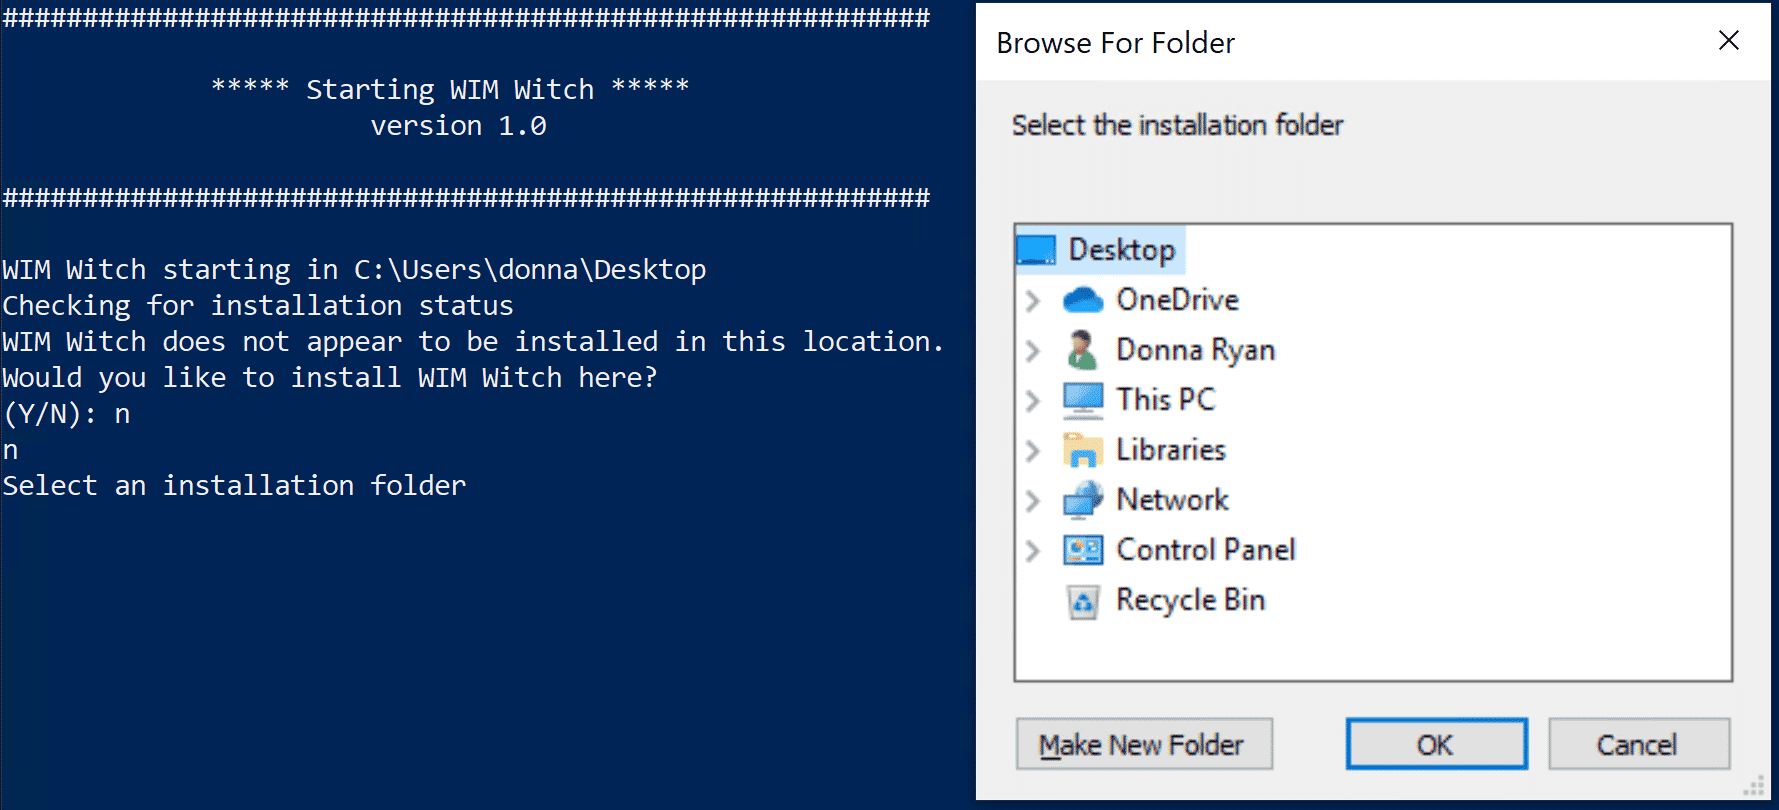
- Sometimes the browse window loses the focus and becomes “hidden” behind active screens. If the window doesn’t spawn, minimize all windows to find it.
Select the folder to continue.
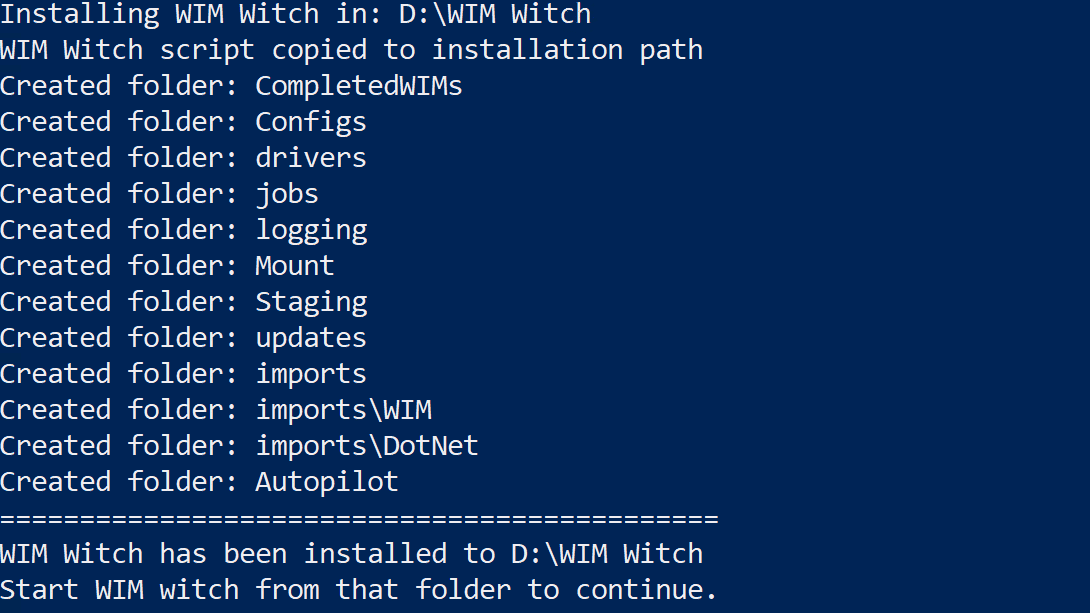
WIM Witch will create several folders and will copy itself to the path specified. Once this operation is complete, WIM Witch will exit. Please then run WIM Witch from the newly installed location.
Upon starting, WIM Witch will always check to see if its folder structure is present and will replace any folder that is missing.

If this is the first time WIM Witch is being run on the computer, it may prompt to install NuGet. This is required to check the latest version of OSDUpdate and OSDSUS, which are the core of the update mechanism. If prompted, please allow it.
Importing Content into WIM Witch
WIM Witch provides a mechanism to import Install.wim and .Net 3.5 files into its folder structure. When applying .Net 3.5 to an image, prior importation will be required as WIM Witch cannot download the .Net files Microsoft directly. Importing Install.wim files is optional, but may be beneficial.
To import, start on the “Import Tab”
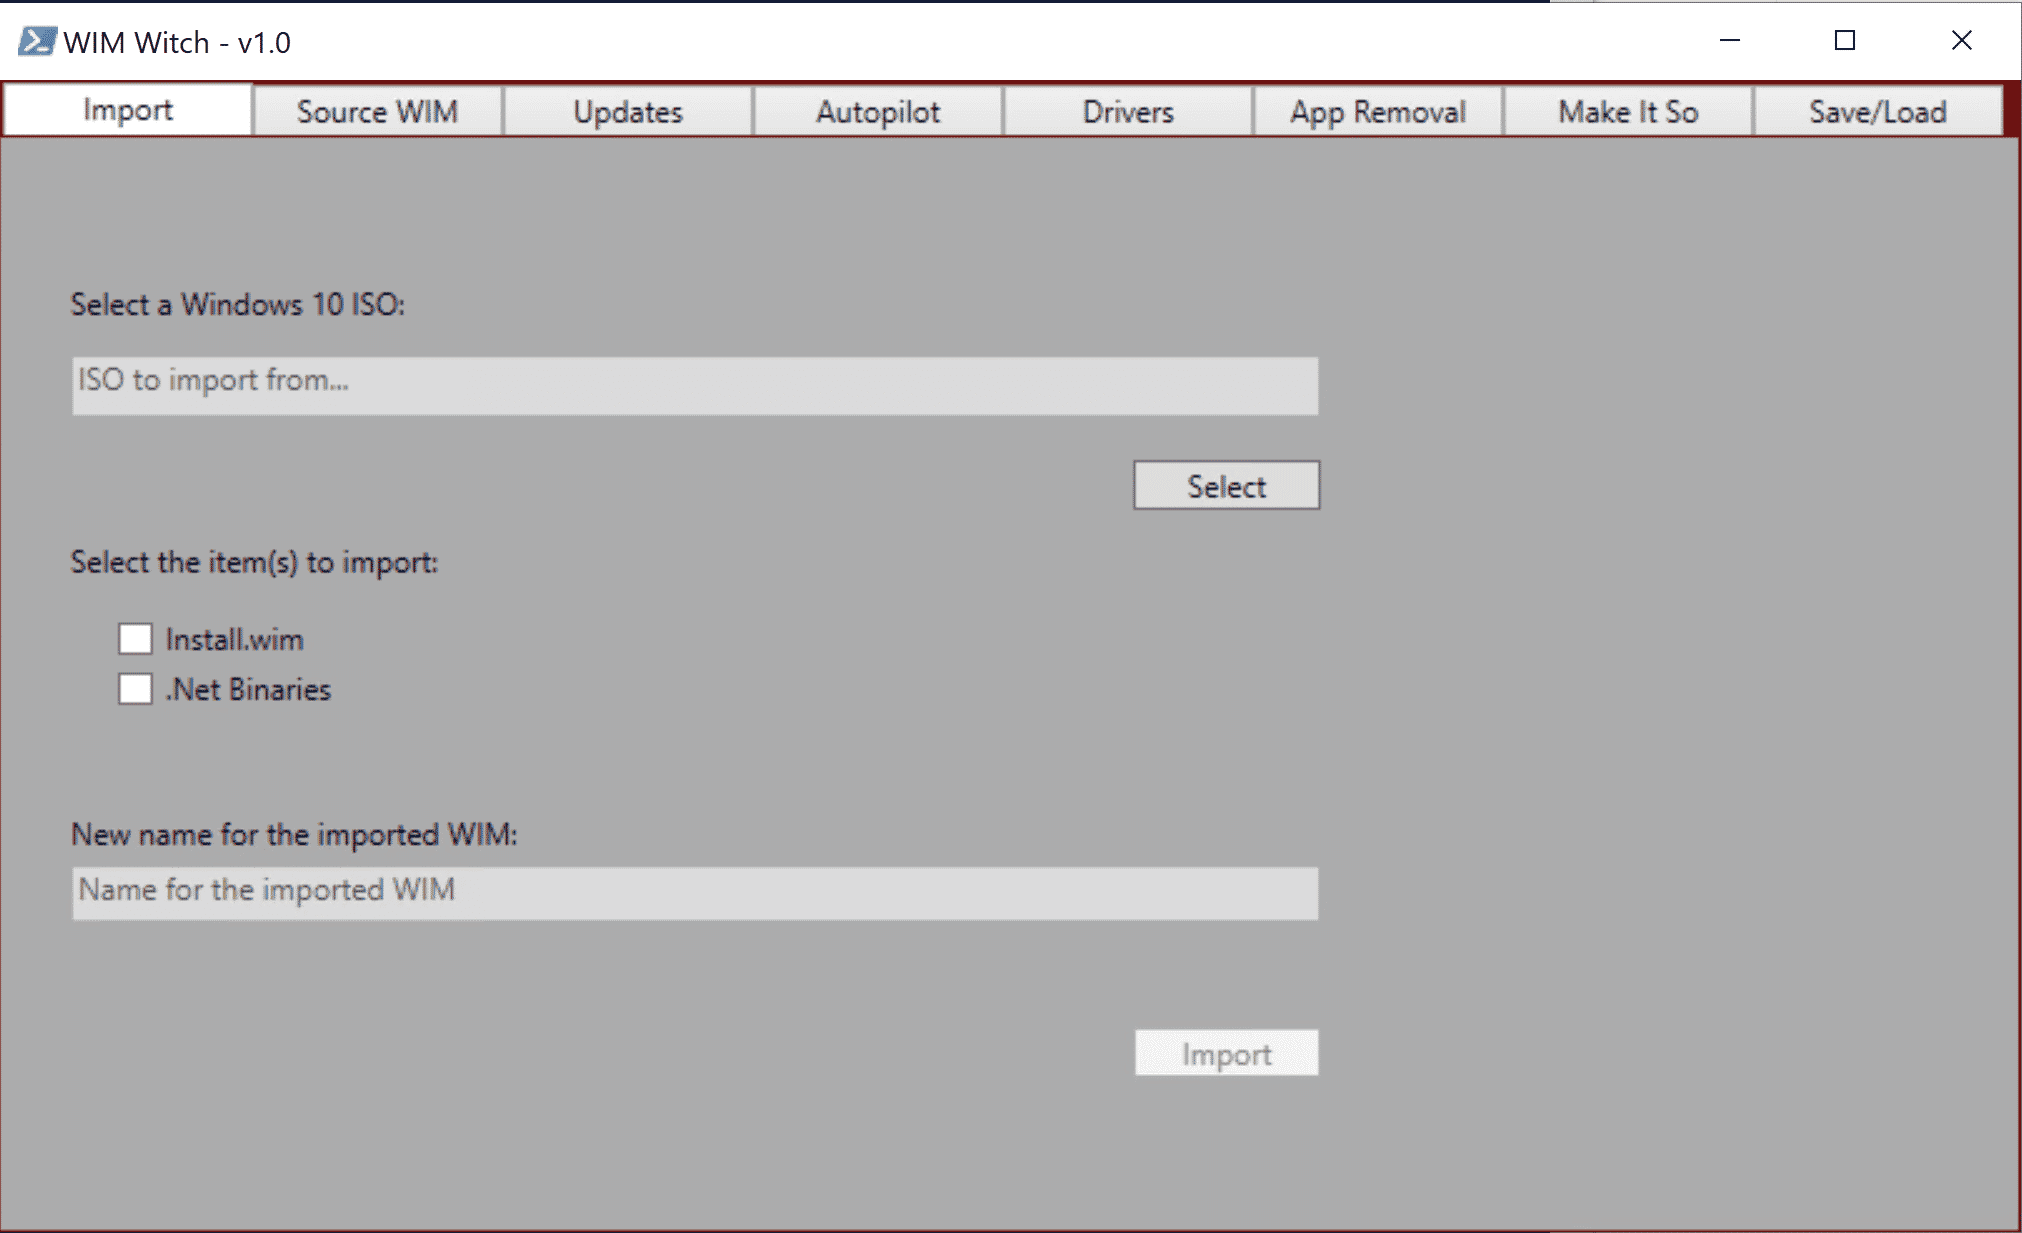
Press the “Select” button and browse to the ISO file that contains the files that should be imported. It should be noted that WIM Witch cannot import from an already mounted image; only ISOs. Once the ISO file is selected, check the box for the items that should be imported. If “Install.wim” is checked, the field to supply the name for the imported “Install.wim” file will now be accessible. Provide a unique name for the file. .Net 3.5 Binaries do not require any additional configuration.
Once the proper check boxes and fields have been completed, click “Import” to start the process.
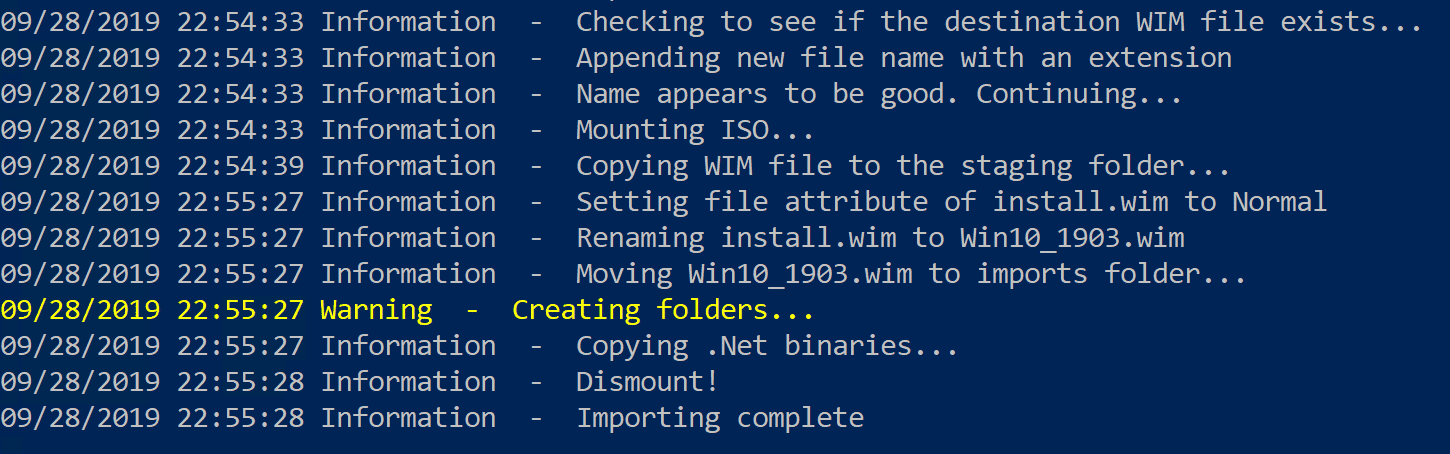
During the importation of the .Net binaries, if the required subfolders do not exist, WIM Witch will create them automatically.
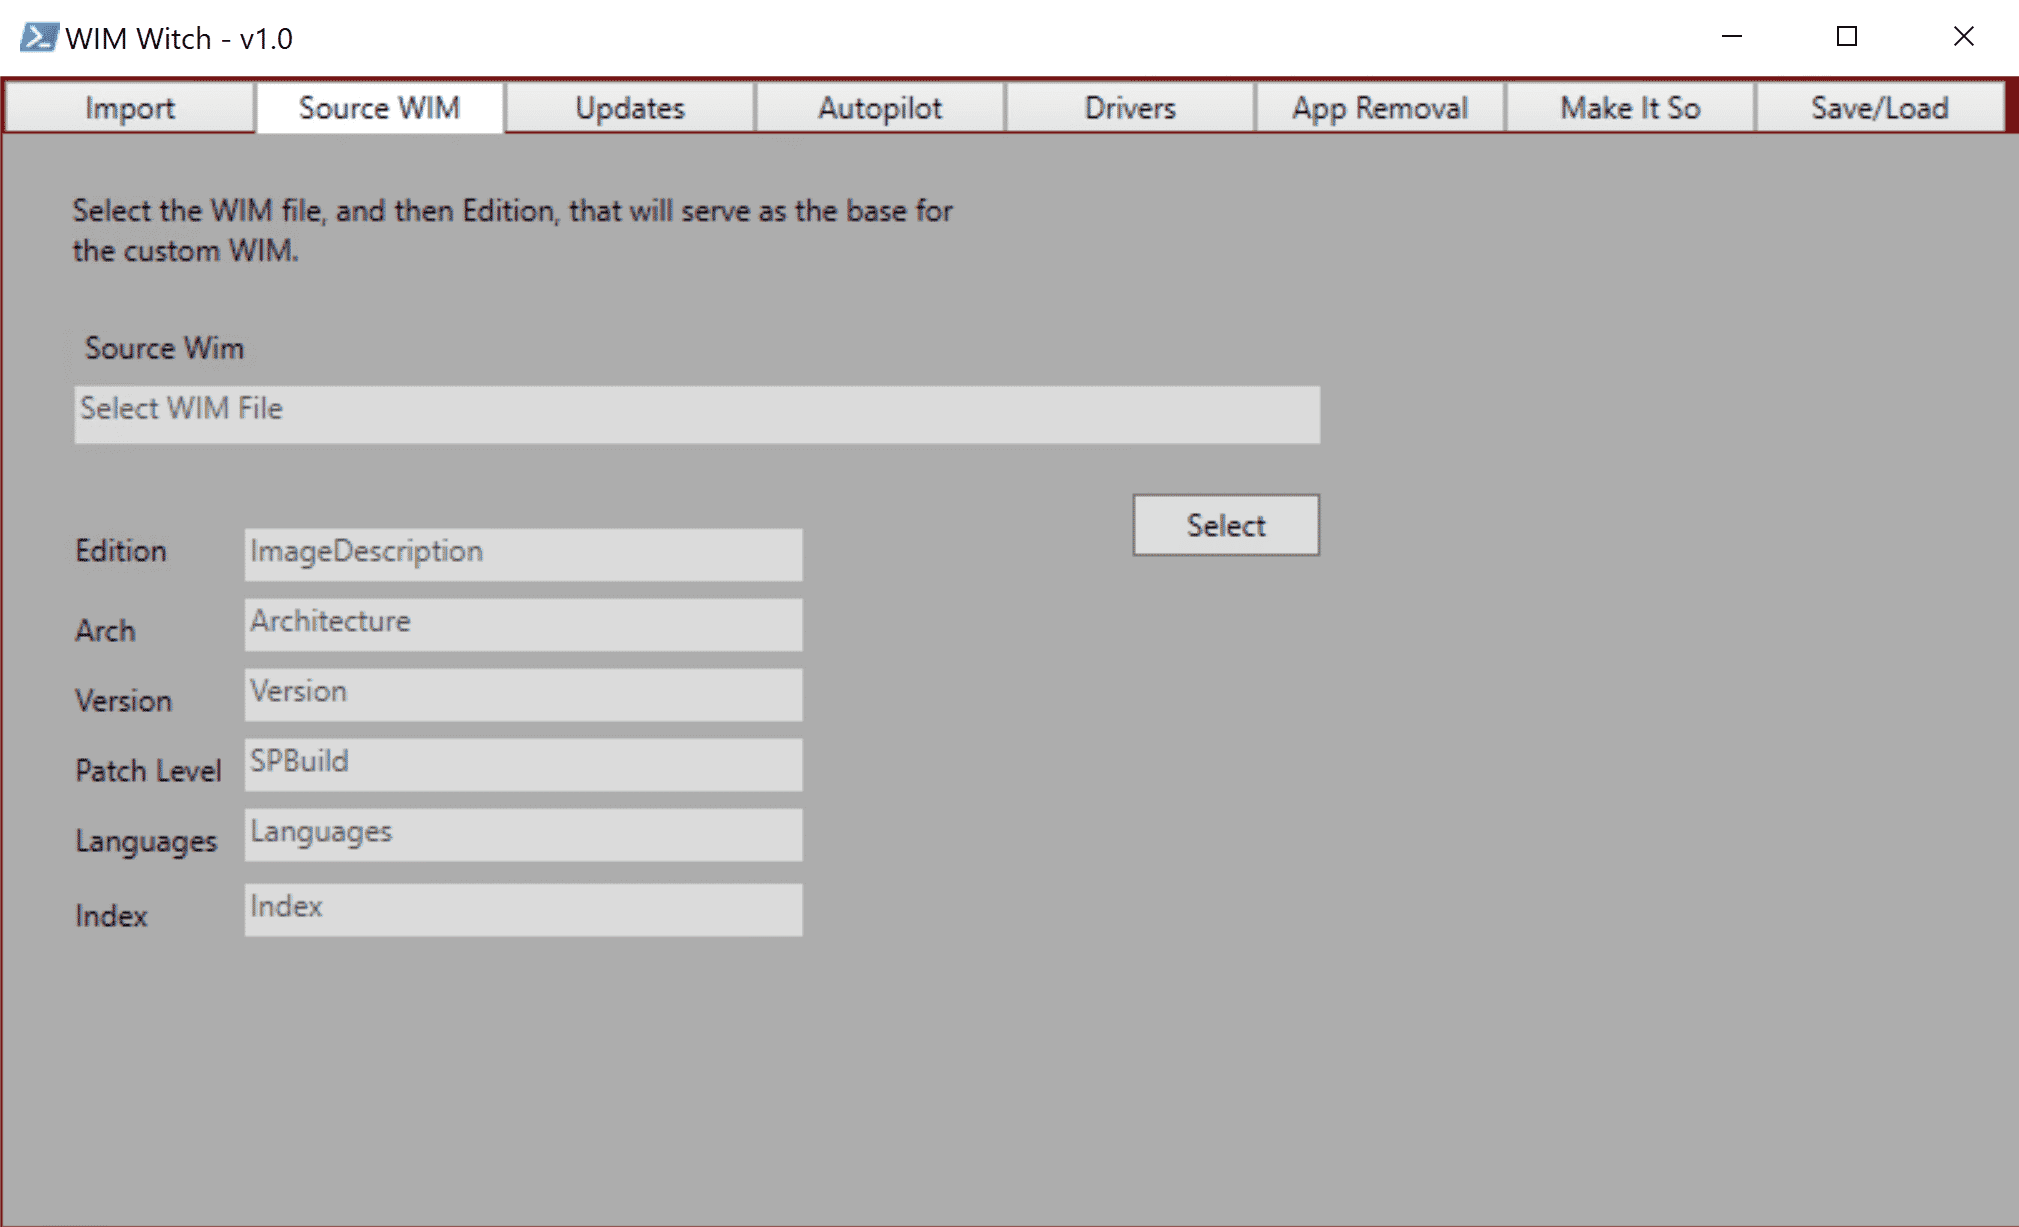
Selecting a WIM file for Customization
Starting at the “Source WIM” tab, click the “Select” button. Browse to the WIM file that will serve as the base for the image build.
After selecting the WIM file, a Grid View window should appear:
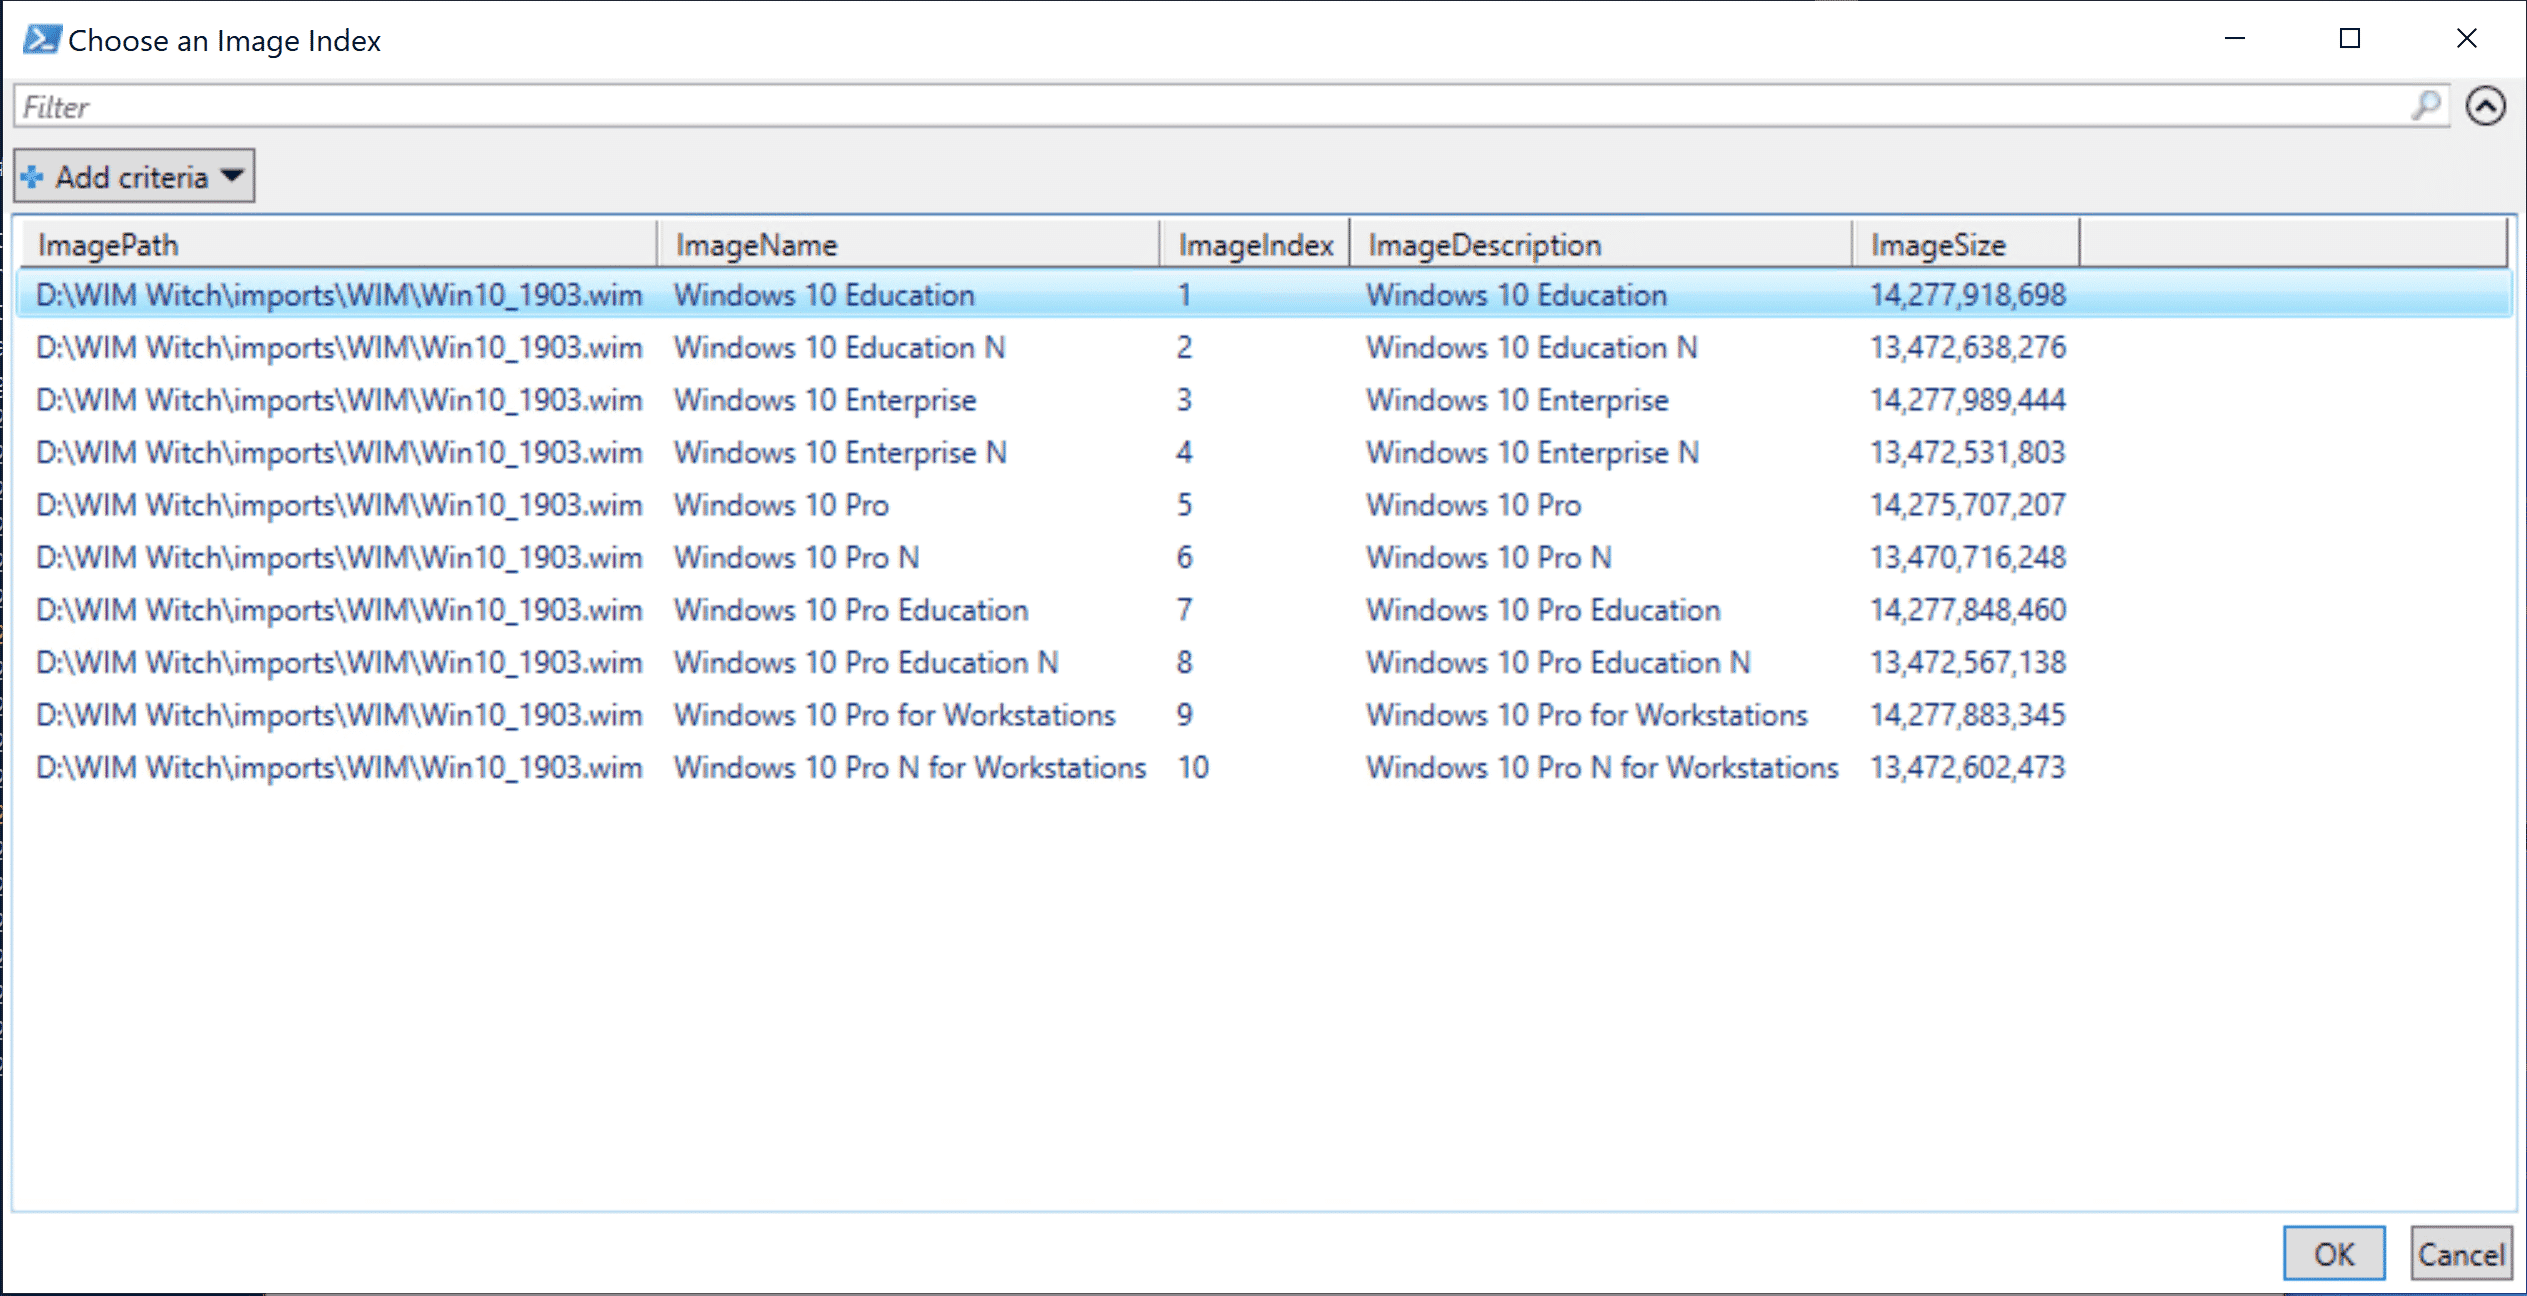
Select the edition / index of Windows 10 that will be used. Click “OK”.
WIM Witch will take a small amount of time to analyze the selection and extract relevant information. When the processing is complete, the fields will be populated.

Applying Updates
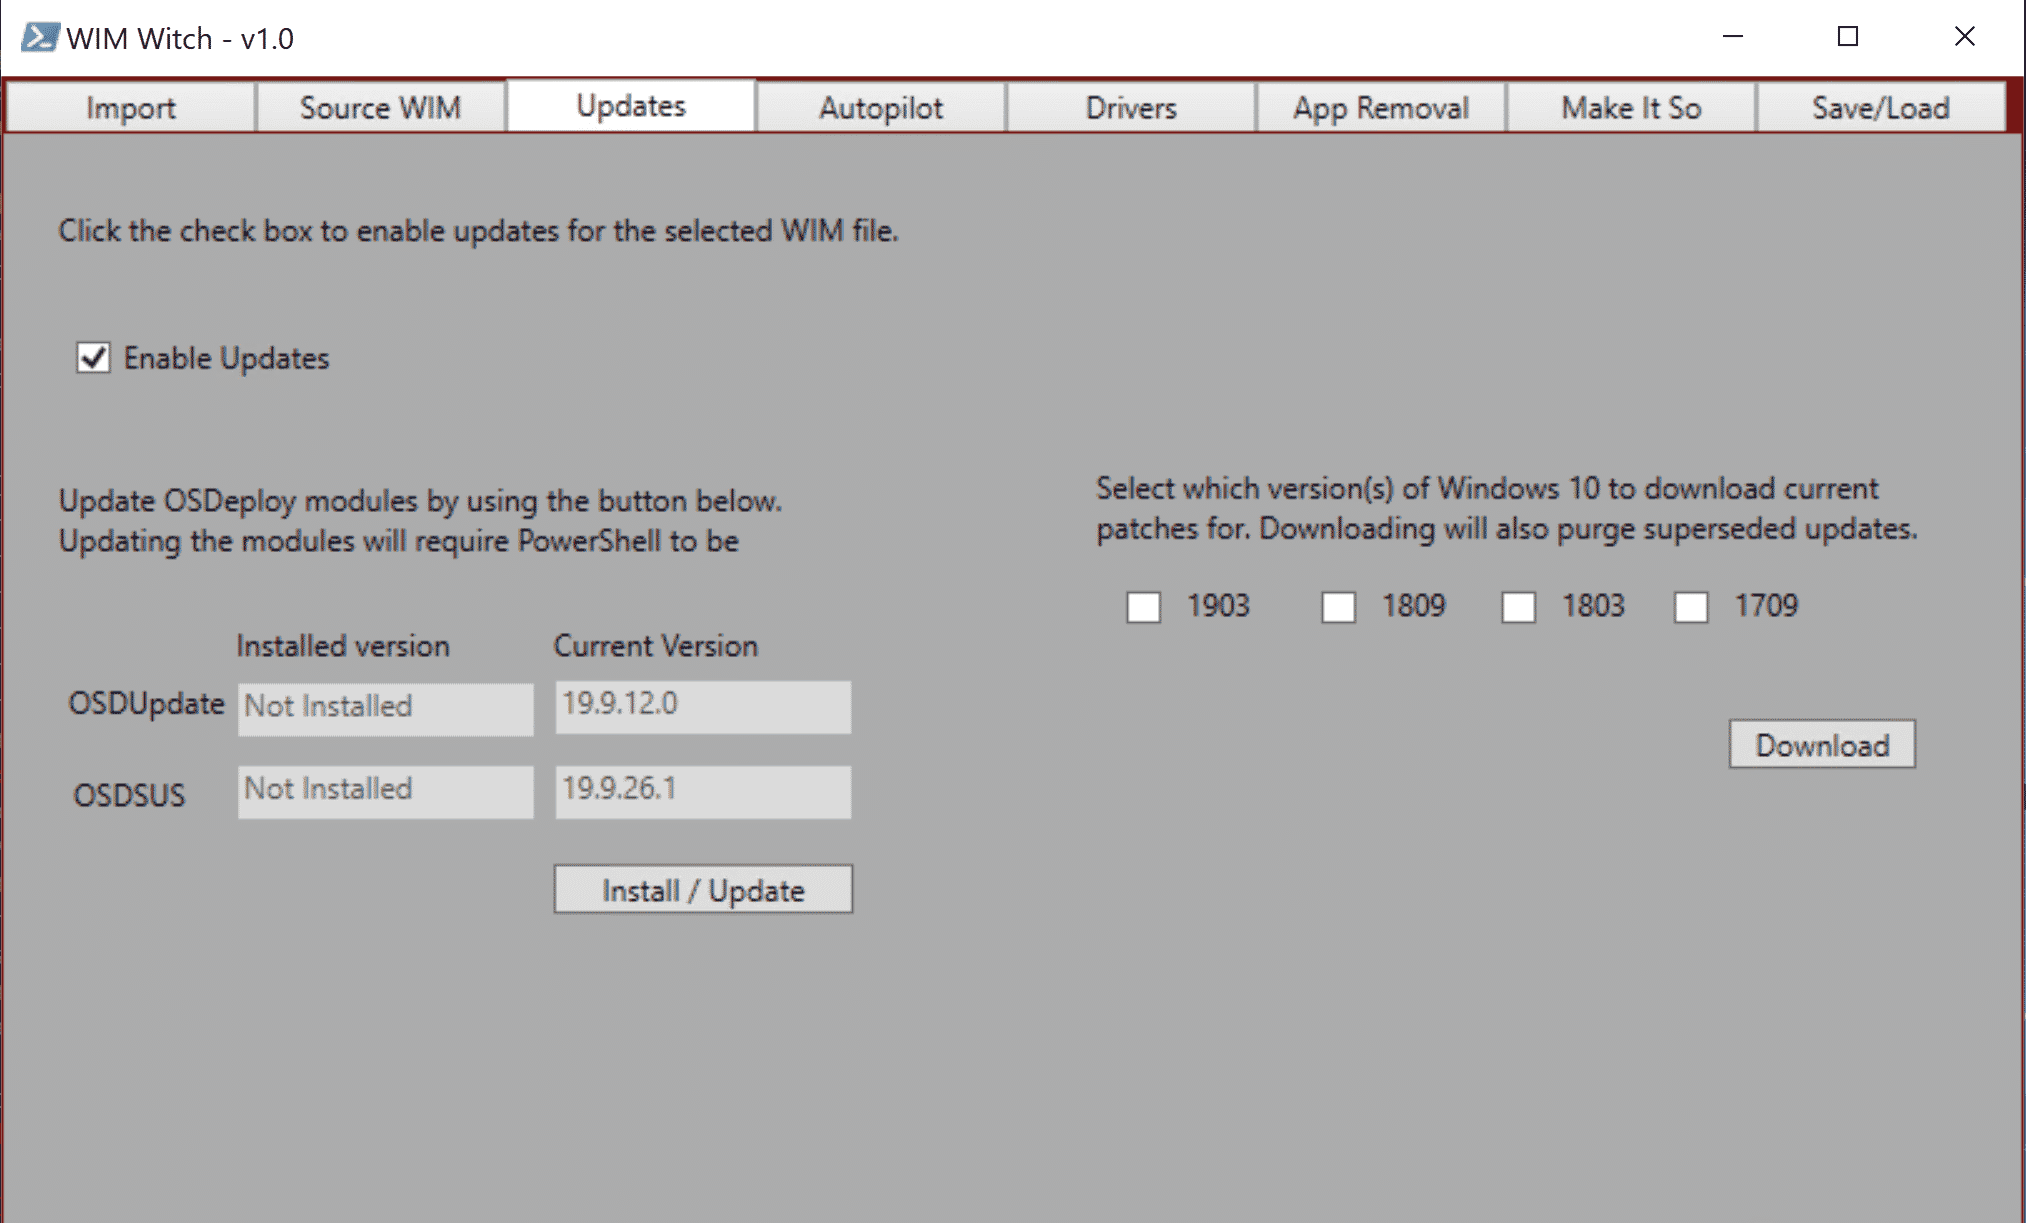
If the WIM file should have updates applied, on the Updates tab, tick the checkbox for “Enable Updates”:
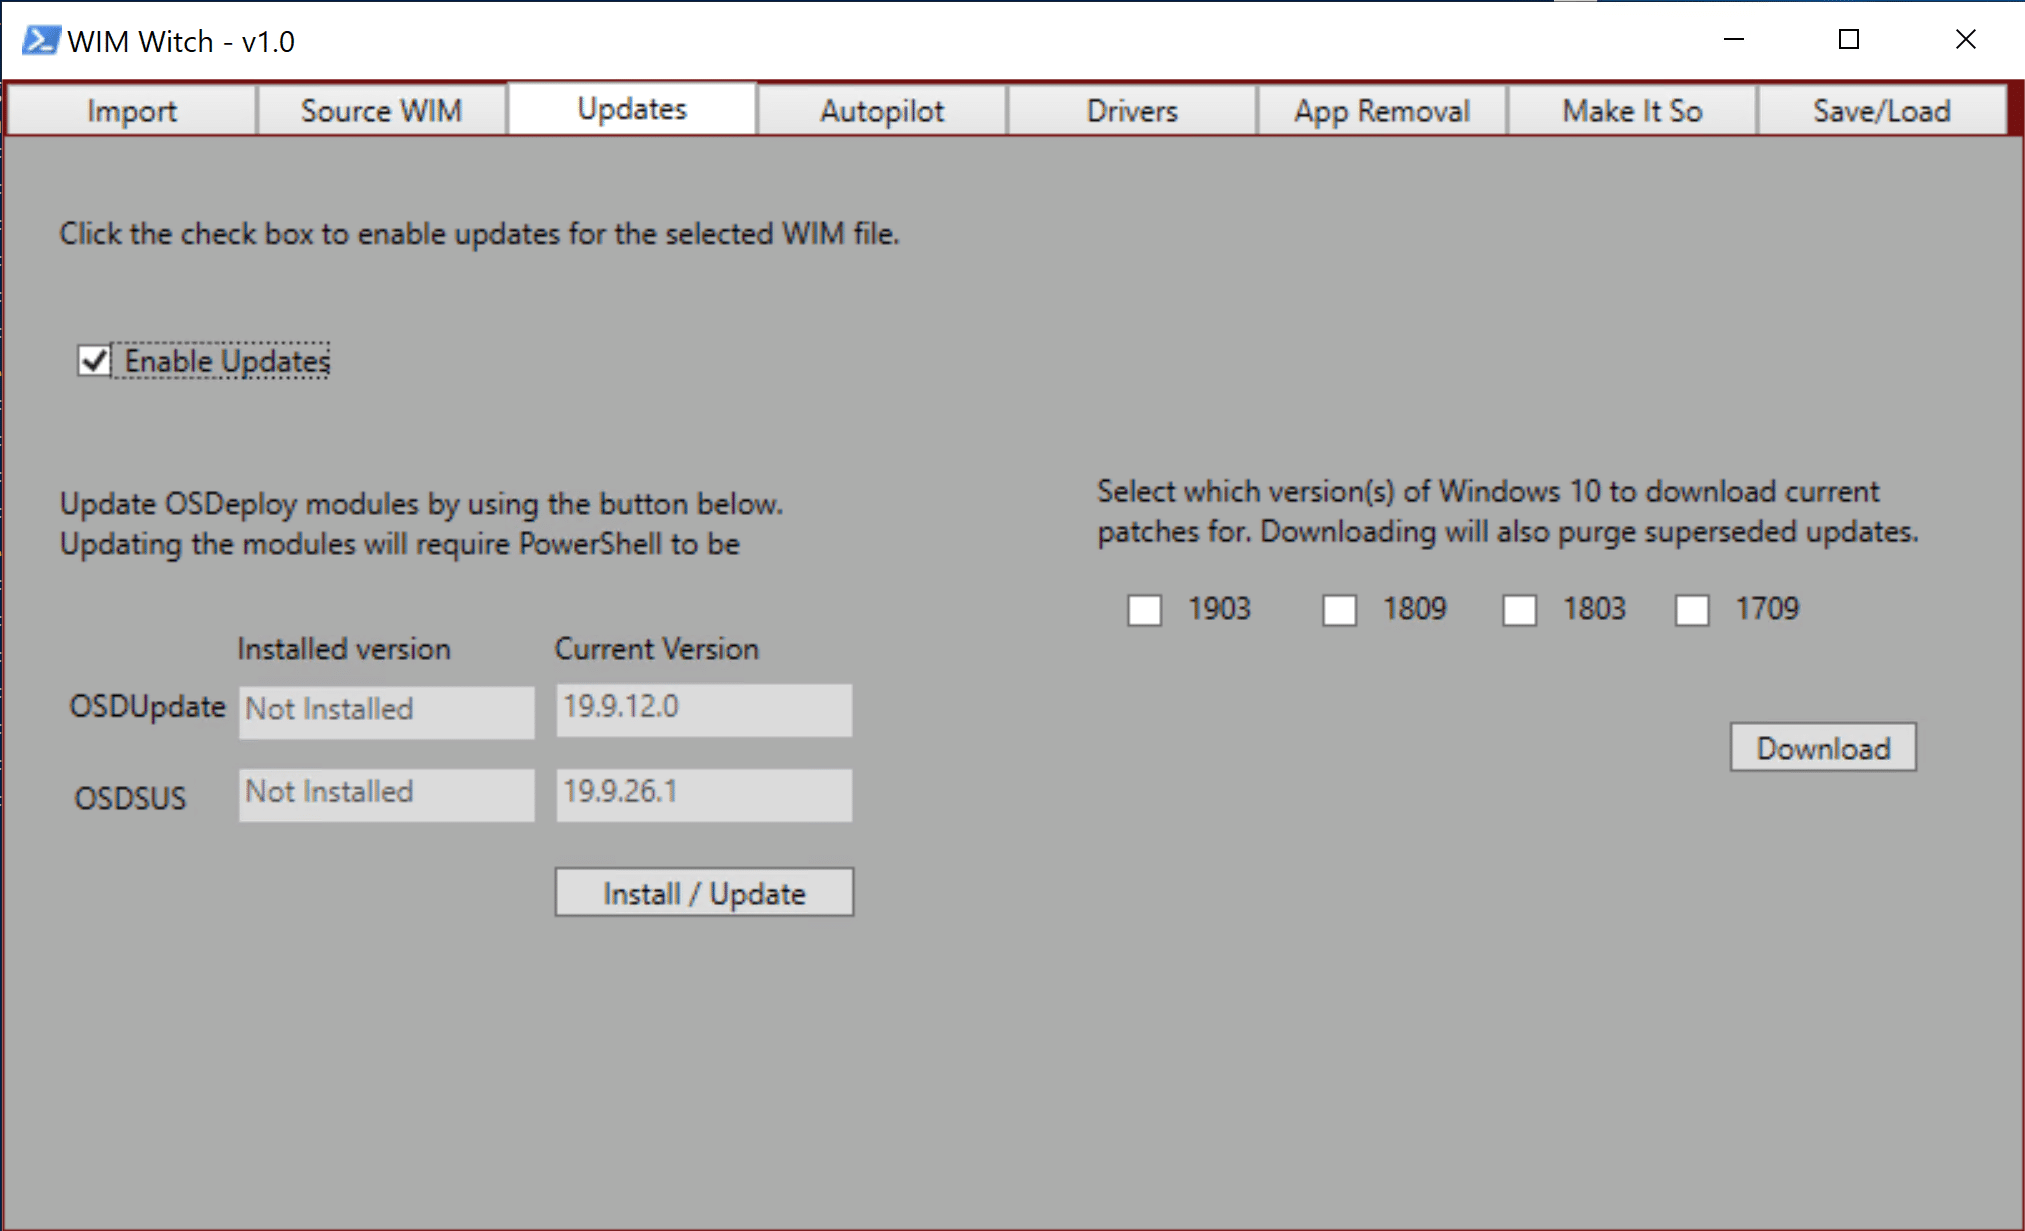
- The other options on this tab, including software update maintenance, will be discussed later in the documentation.
Applying Autopilot Profile
To apply an Autopilot configuration file for use in an “Autopilot for Existing Devices” deployment, check the checkbox “Enable Autopilot”
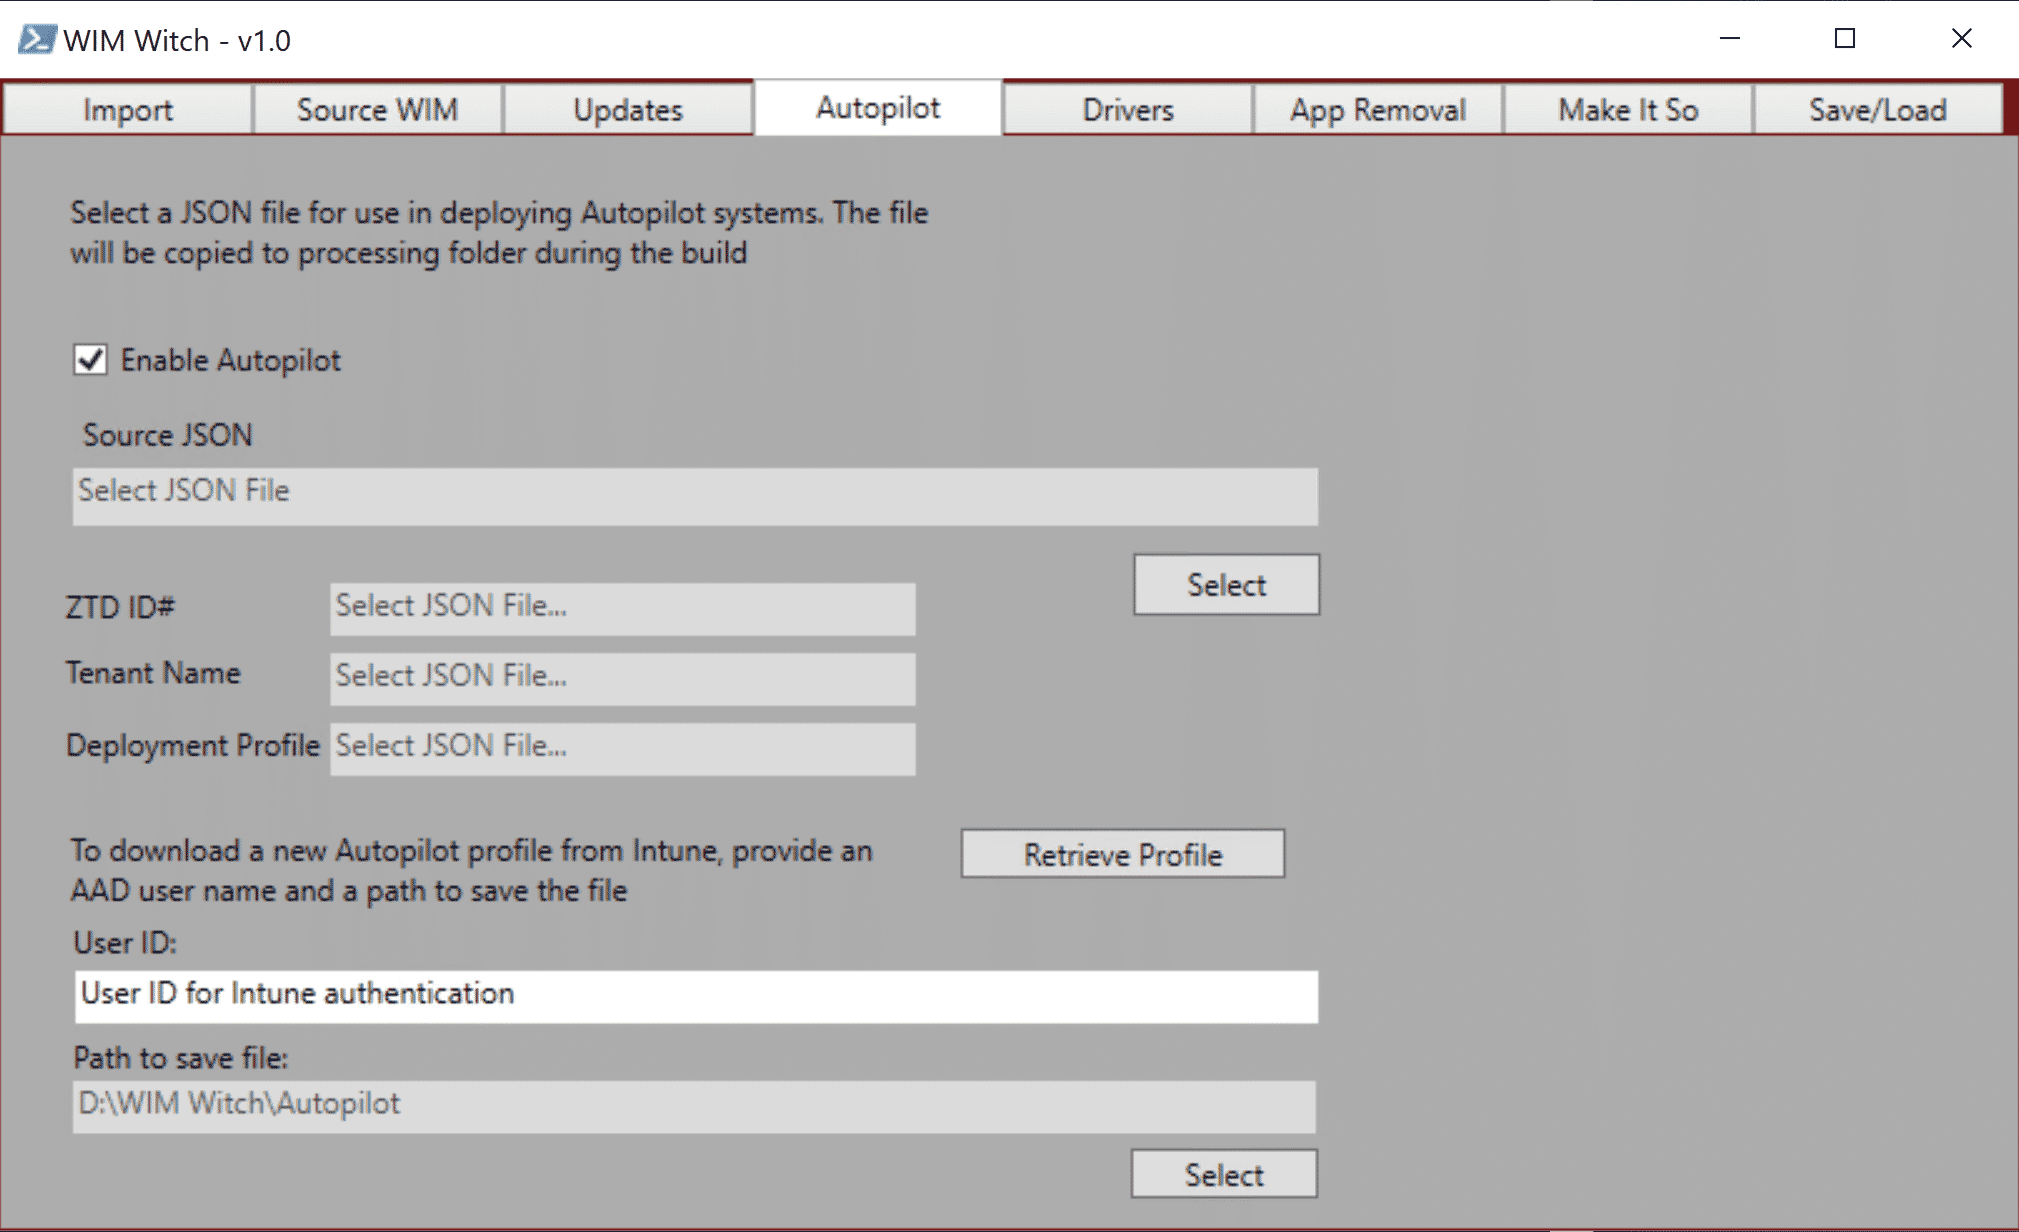
Once selected, click the “Select Button” under “Source JSON” file. This will allow the desired configuration file to be browsed to and selected. Once the process has been completed, the ZTD ID#, Tenant Name, and Deployment Profile fields will be populated.
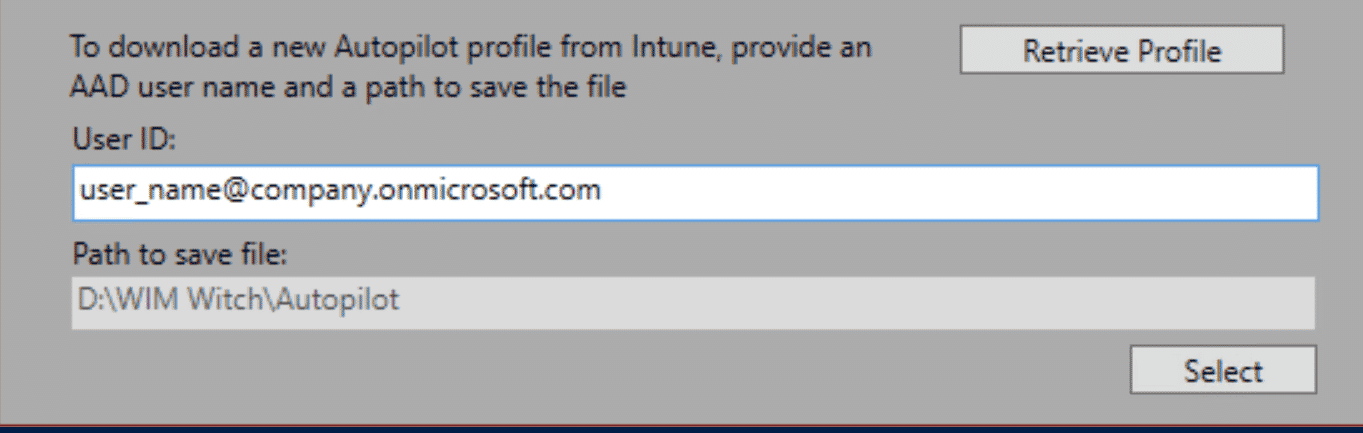
If a new file needs to be downloaded from the cloud, simply enter the Azure AD User ID name into the User ID field, and then select a path to save the file to. Once completed, click the “Retrieve Profile” button.
WIM Witch will check to see if the required PowerShell modules are installed in order to connect to Intune and will install them if they are missing. Once all of the prerequisites have been installed, you will be prompted to provide a password.

Once authentication is complete, a screen will display a list of Autopilot deployment profiles. Select the one that is required. Click OK. The file will be created in the folder specified.
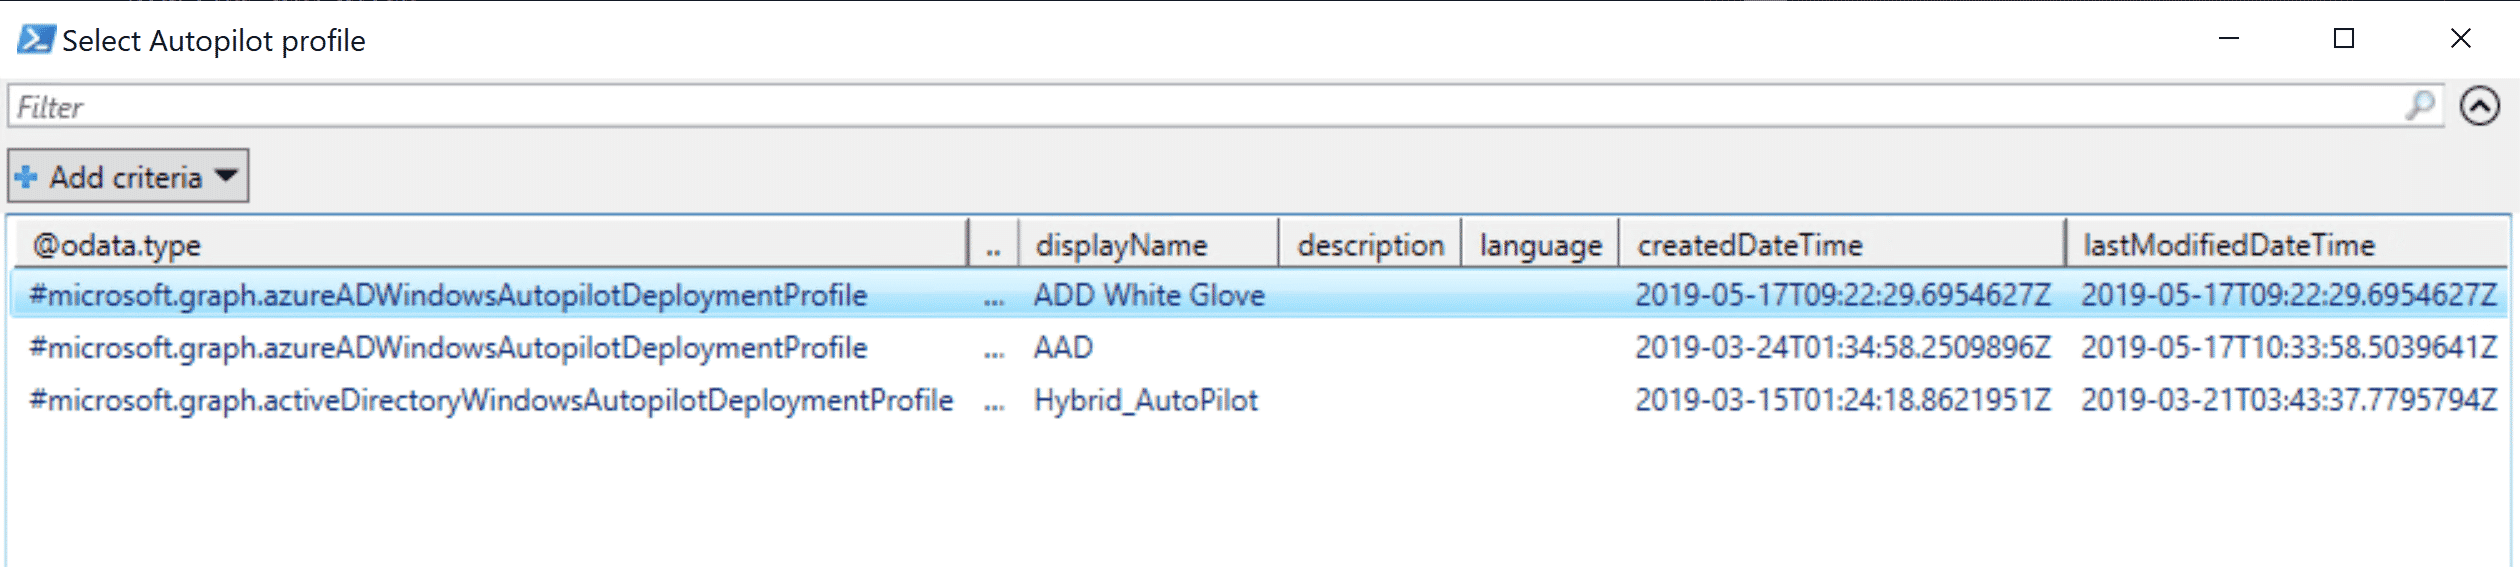
The file will be created in the folder specified and now can be selected in WIM Witch for injection.
Driver Injection
To select drivers for injection, check the box “Enable Driver Injection”.
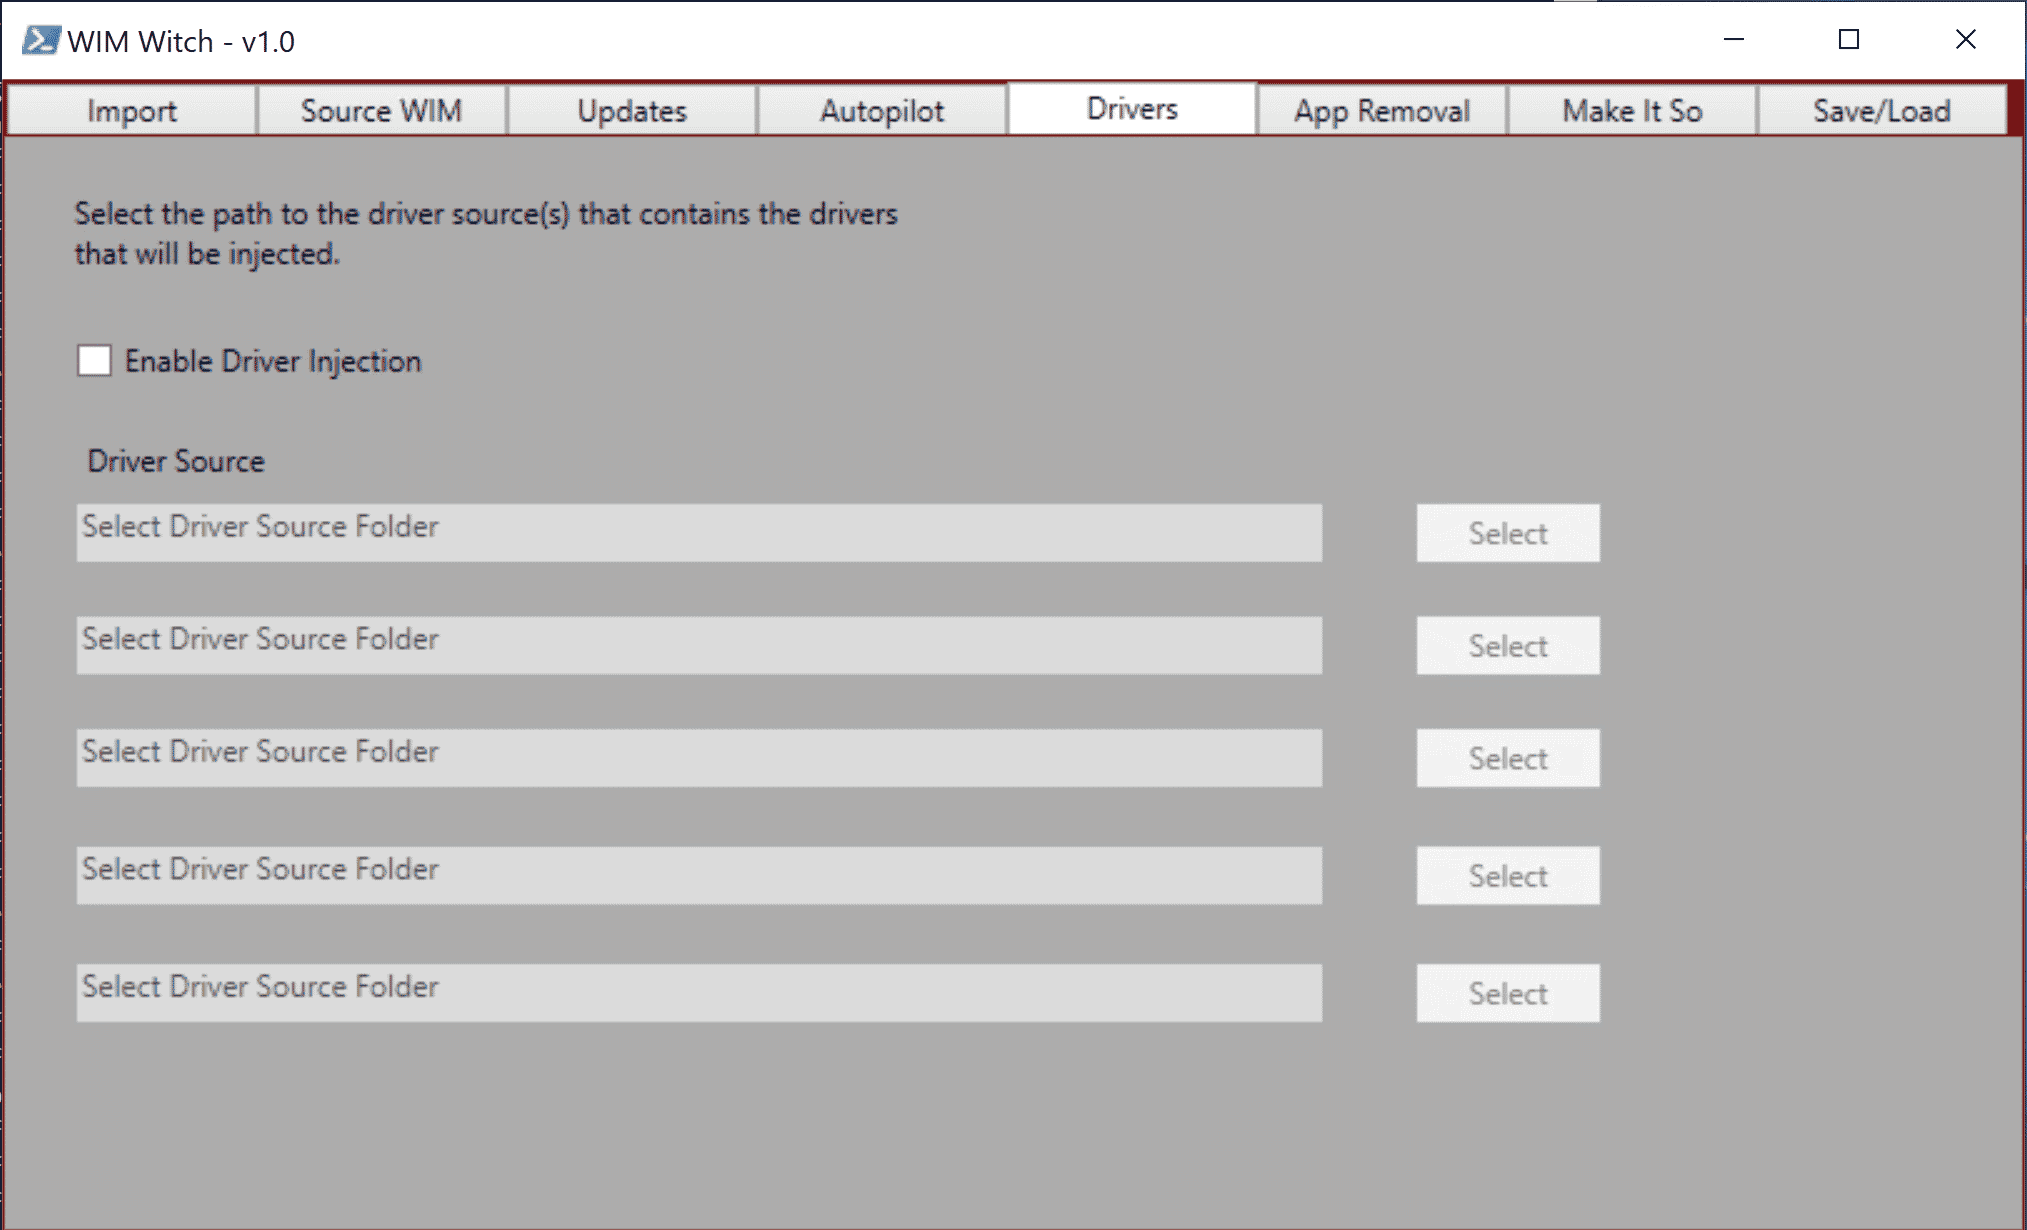
WIM Witch provides five paths that can be searched recursively for drivers. Not all fields are required to be populated as this just provides the ability to supply multiple folders if needed. Simply click the “Select” button at the end of each line and browse to the required folder.
Removing In-Box (Pre-Provisioned) Apps
To enable removing the pre-provisioned apps (store apps) from the WIM, on the App Removal tab, check the box “Enable app removal”.
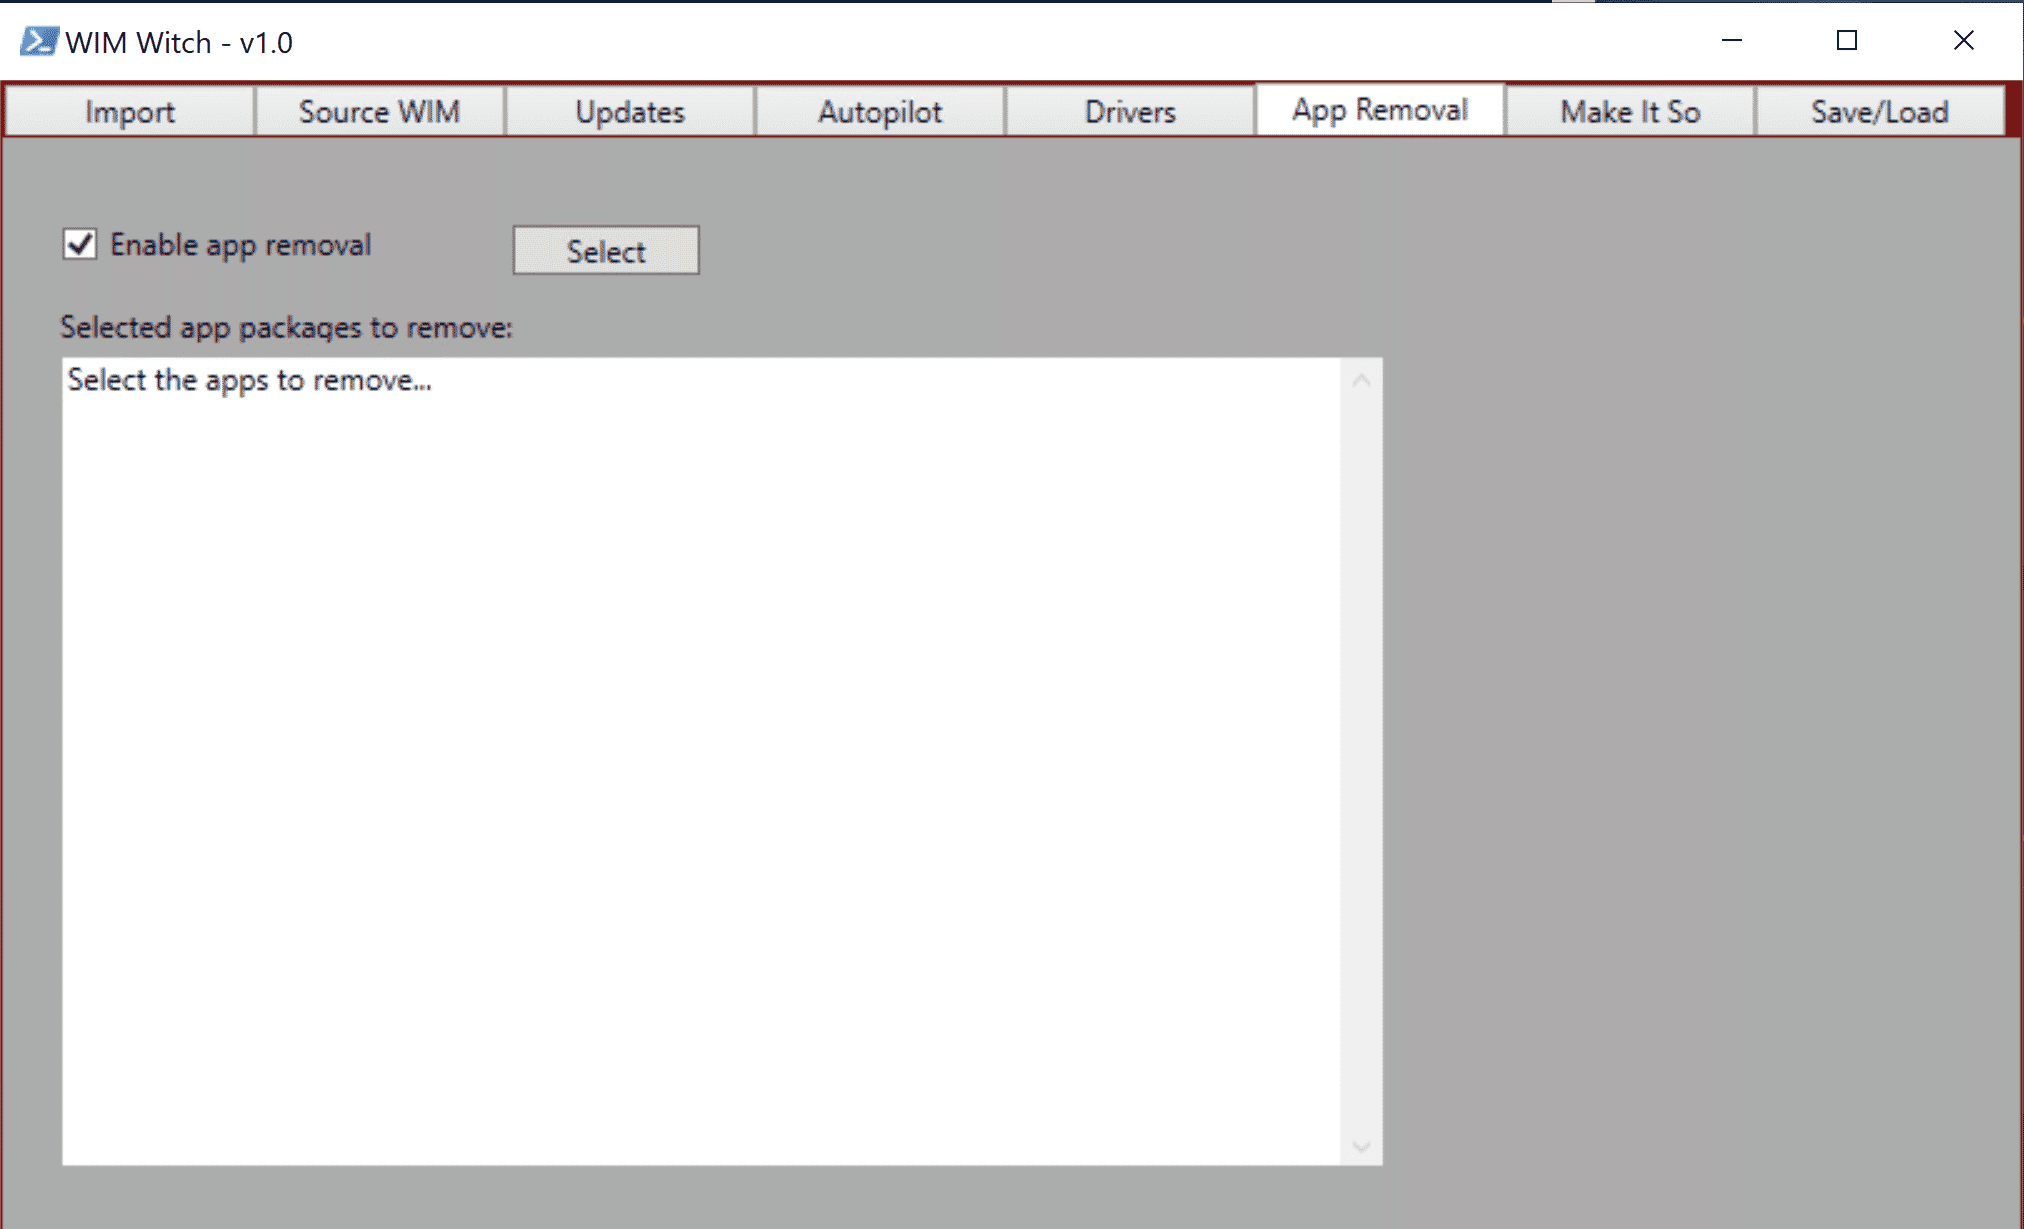
Next, click the Select button. Ensure that a WIM file has been selected in the Source WIM tab or this function will not work. WIM Witch requires a WIM to be selected as each version of Windows 10 has different apps and it needs to know which version is being modified so it can display the proper app list.
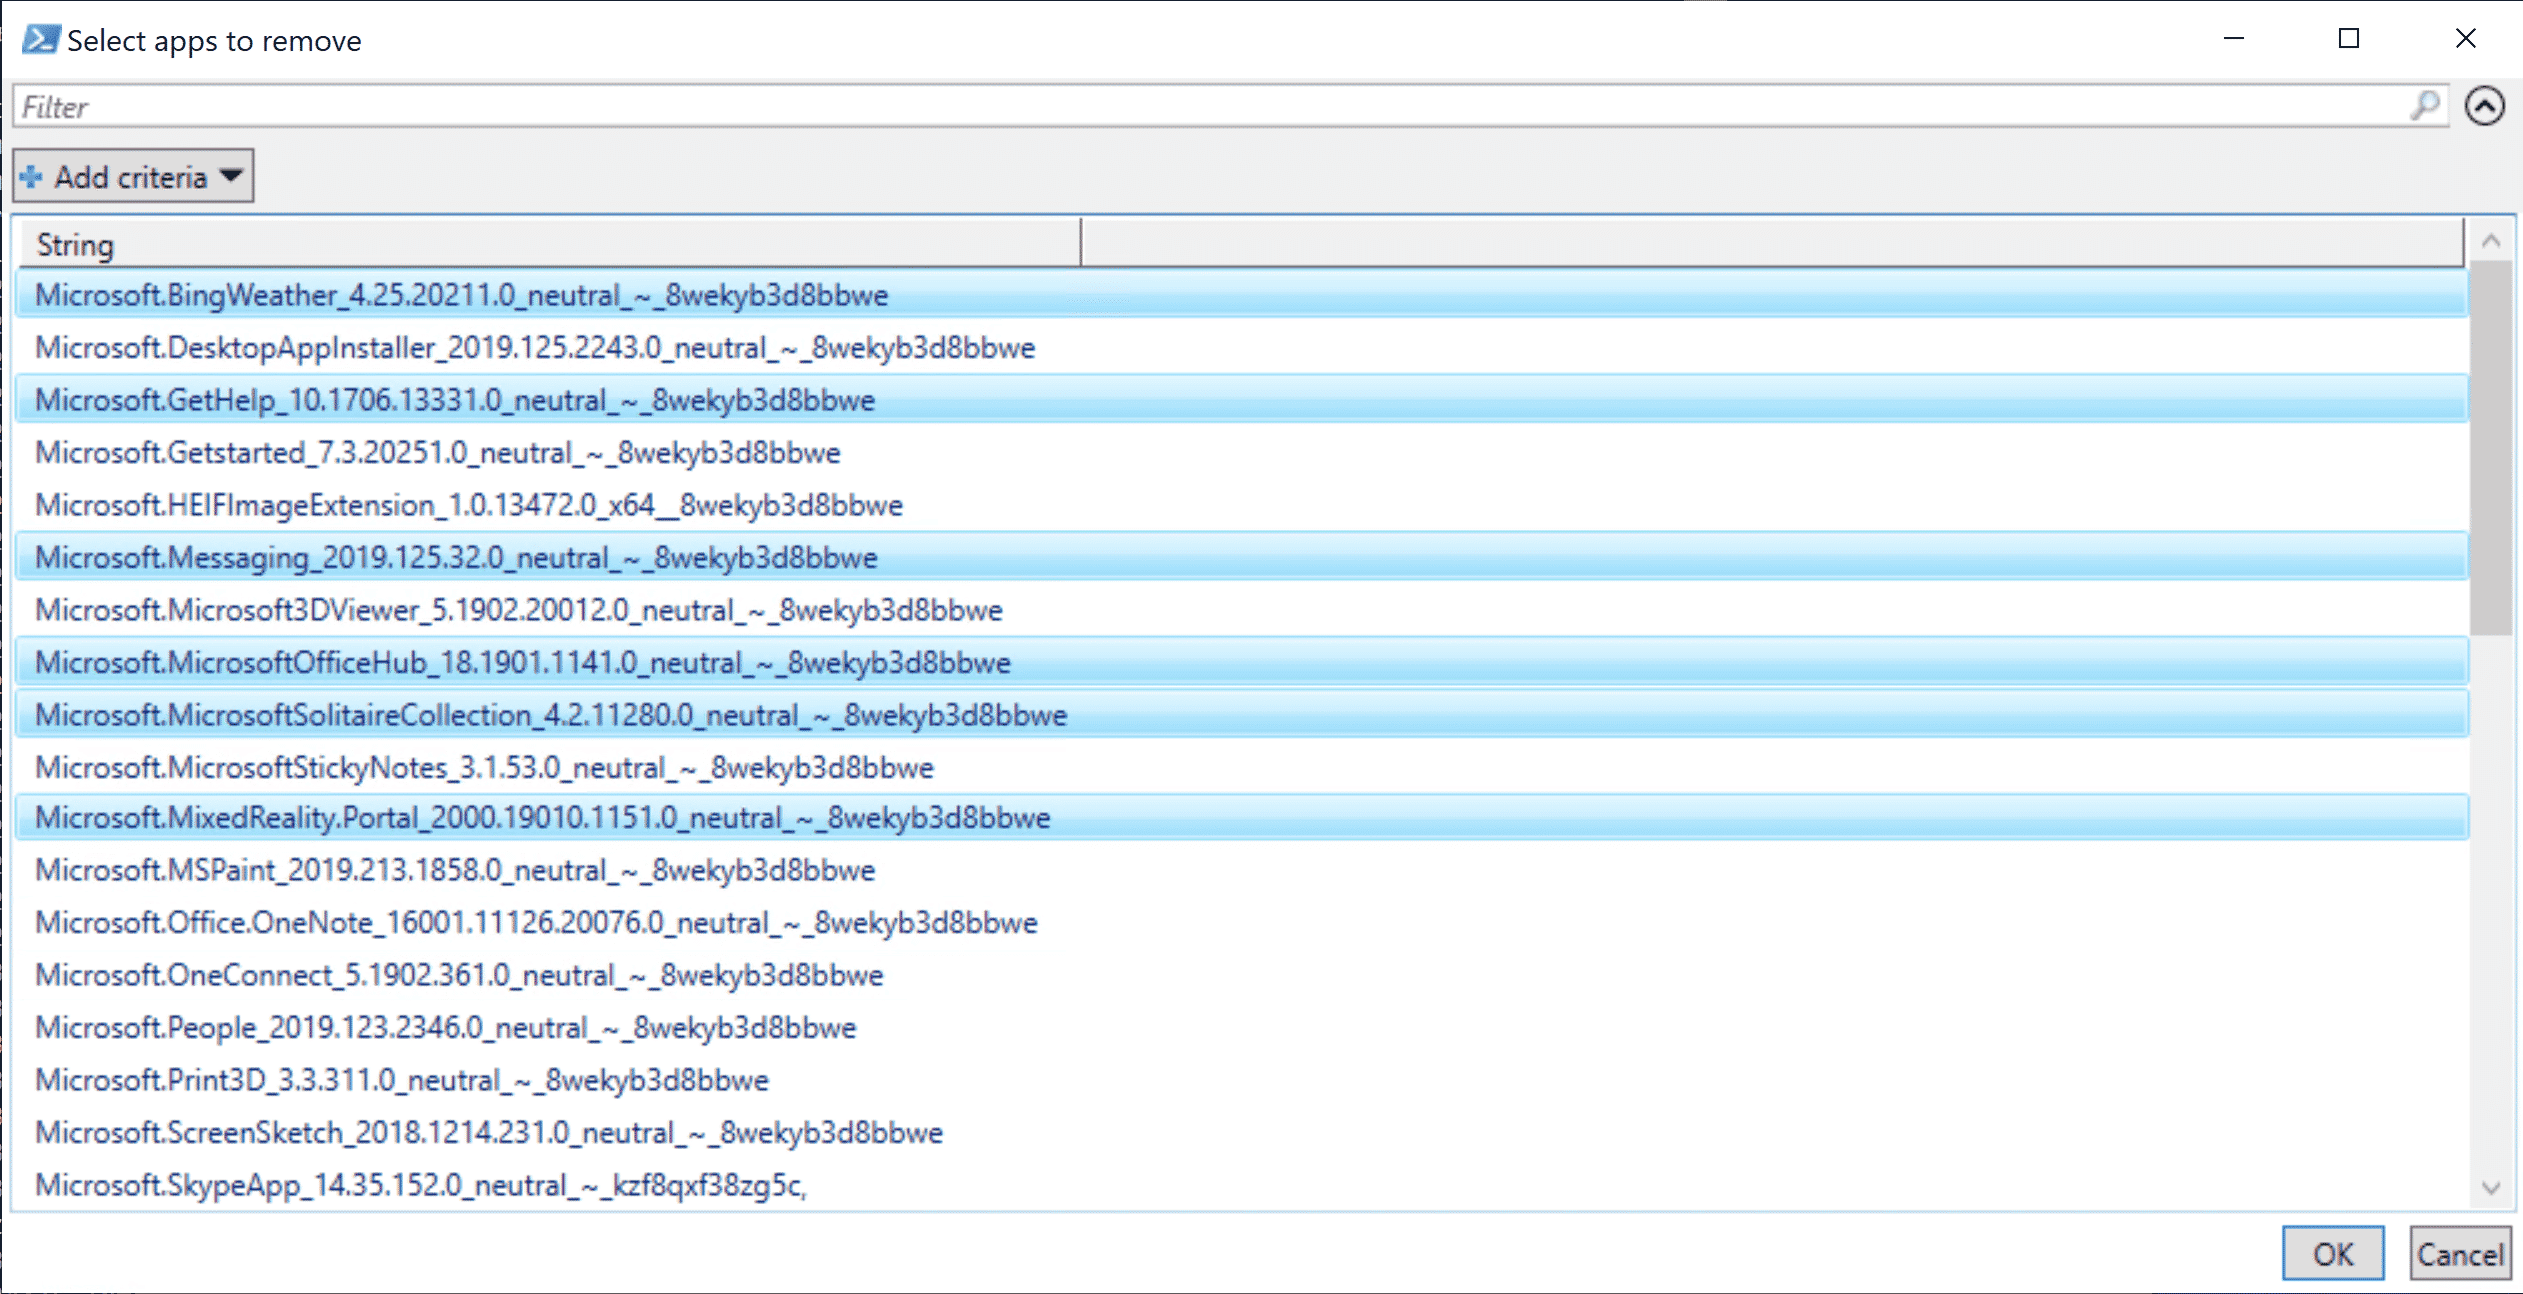
Select the apps that will be removed, then click “OK”.
Upon completion, the pane in the App Removal tab should display the apps that were selected.
Starting the build (Make it So)
Select the Make it So tab to provide the final required information for the build.
Provide a name for the new WIM file in the field labeled “Enter Target WIM Name”. By default, WIM Witch provides a path to the CompletedWIMs folder in the WIM Witch installation directory. This path can be changed by clicking the “Select” button below the path.
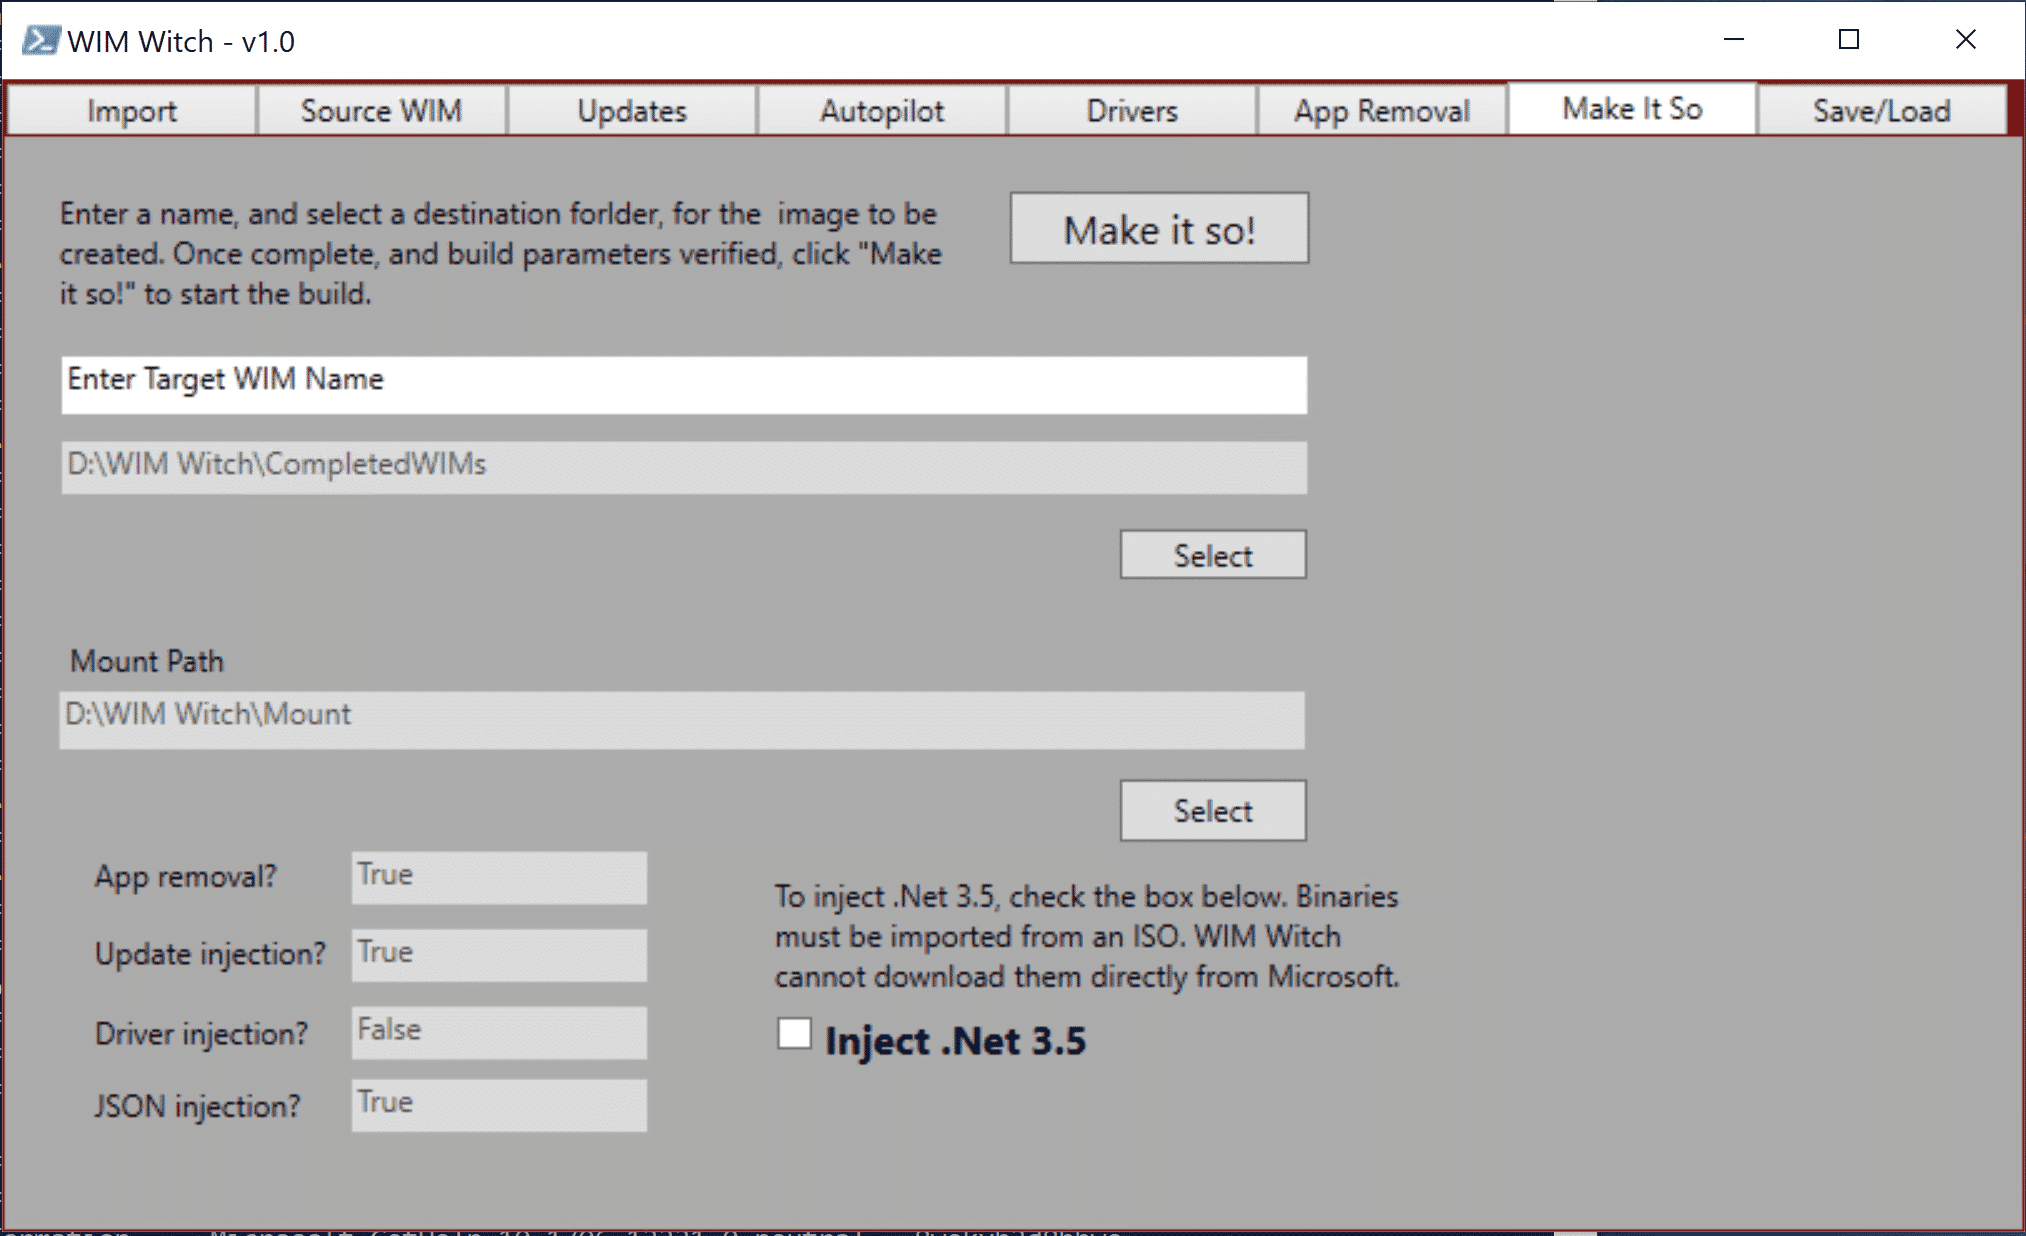
The Mount Path is also populated to a default directory under the WIM Witch installation path. This can be changed as well by clicking the “Select” button. During a preflight check, the mount path will be checked to see if it contains files and if it is an active mount point. WIM Witch will attempt to purge any files and discard any mounted image if it determines that either of those cases are true. If this remediation step is unsuccessful, select a new path or manually clean the path.
The App removal, driver, update, and json injection fields in the bottom left portion of the screen provide a confirmation of what optimizations were selected for the build and are not interact-able.
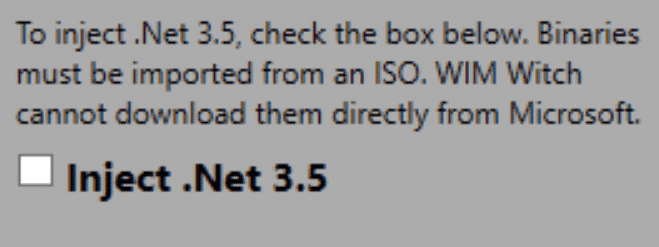
.Net 3.5 Injection (Make It So Tab)
Enabling .Net 3.5 is as simple as checking the checkbox labeled “Inject .Net 3.5”. In order for this function to work, the binaries must have already been imported. WIM Witch will detect which version of Windows has been selected and will check the “imports\WIM” folder for the required content.
Once all fields have been populated correctly, simply click “Make It So” to start the build process. Depending on the customization selected, as well the resources available to WIM Witch, the build process can take some time to complete. Once it has completed successfully, “Job’s Done” should be stated in the PowerShell window.

Saving configurations
To save a configuration that can be loaded later, configure the WIM Witch build with the required source WIM and configurations. Do not click “Make It So”. Once complete, select the “Save/Load” tab and enter a name in the “Saved Configuration” field. Then click “Save”.
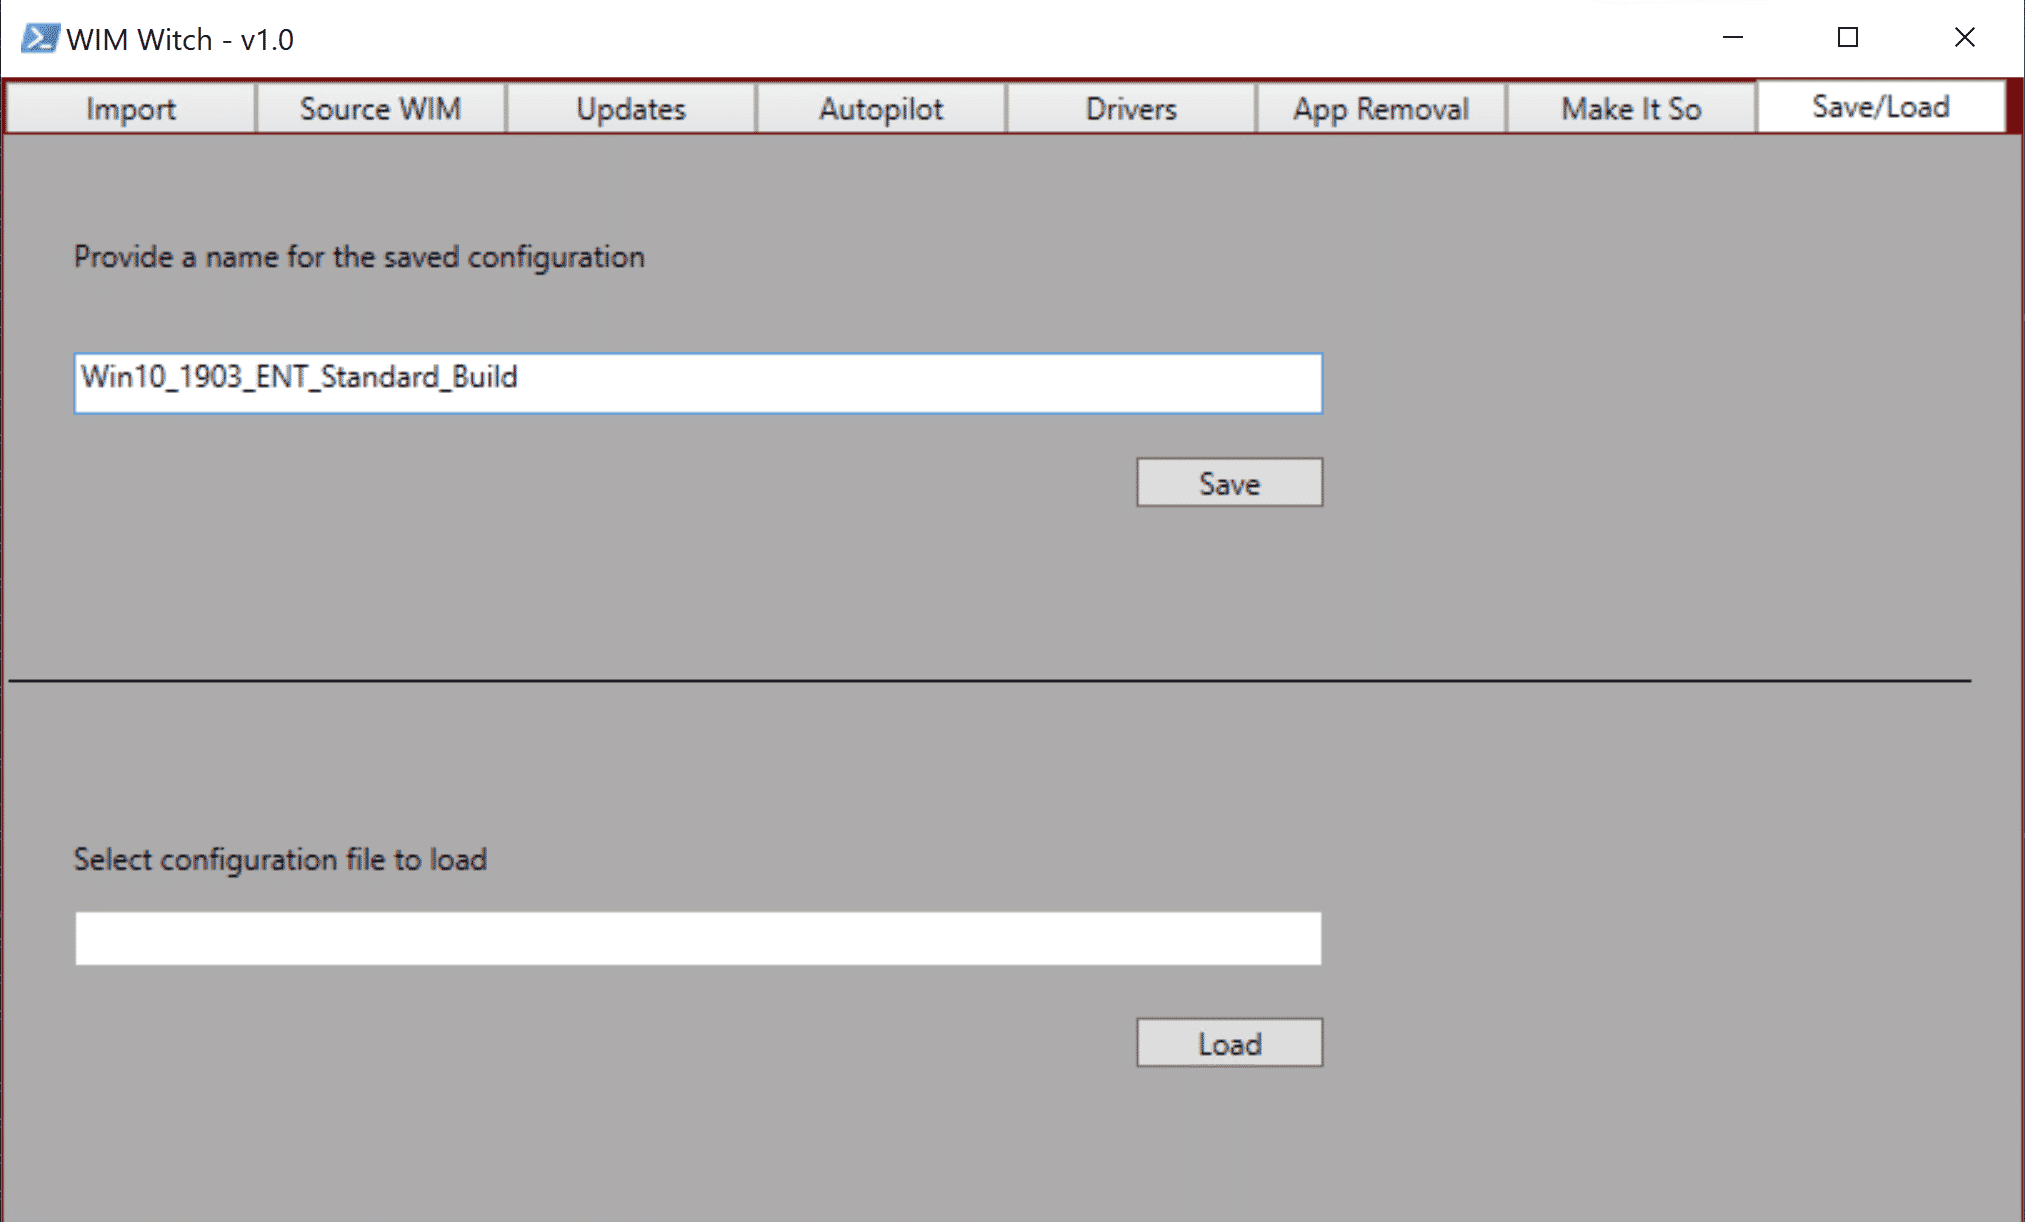
This will place a file in the “Configs” folder in the WIM Witch installation path.
Loading configurations – GUI
To load a configuration, select the “Save/Load” tab, then click “Load” under Load configurations. This will bring up a window to find the config file to be loaded.
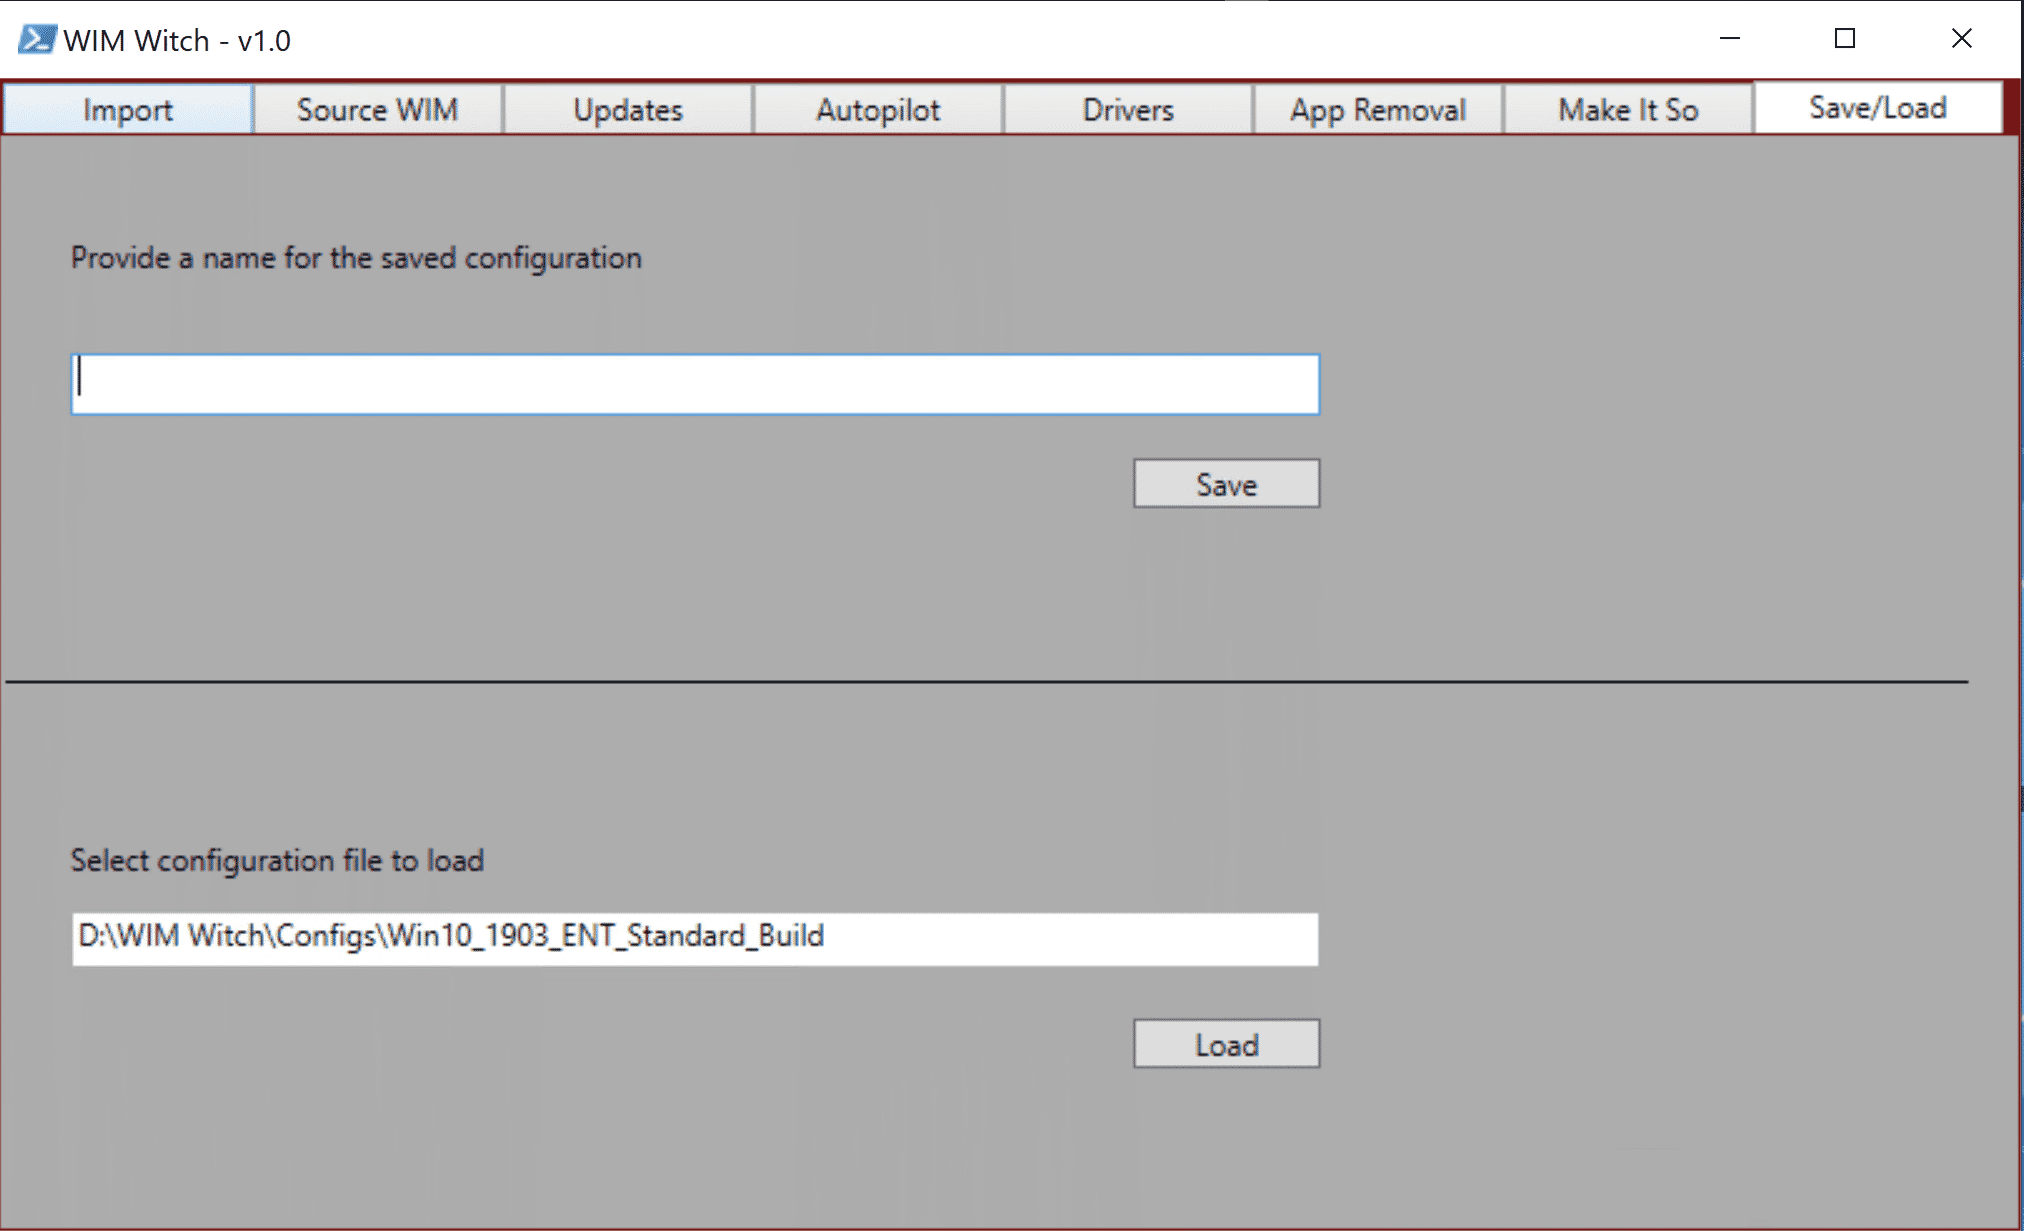
Once selected, WIM Witch will process the config file.

Once the Config file has been loaded successfully, select the “Make It So” tab, then click the “Make It So” button to start building the WIM file.
Loading configurations – Command Line
From the PowerShell terminal, type in the following:
- .\WIMWitch.ps1 -auto yes -autofile [path to and name of config file]
The “-autofile” parameter should be the path and file name of the config file that should be run.
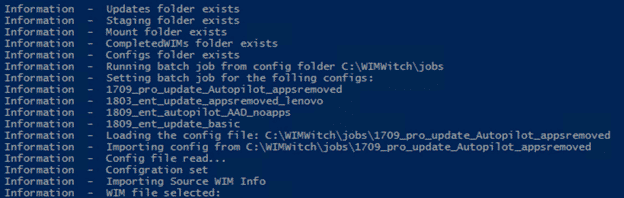
Loading multiple configurations
If the user would like to run a series of config files in a batch job, WIM Witch supports this functionality. Enter the following command:
- .\WIMWitch.ps1 -auto yes -autopath C:\WIMWitch\jobs
Replace the parameter after “-autopath” to a folder that contains all the config files that should be run. These config files will need to be manually copied to the “job” folder from the “configs” folder.
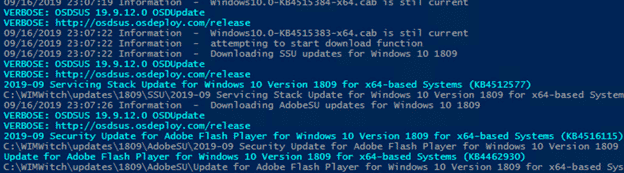
The PowerShell window will output each file found before starting the first build:
Downloading and Maintaining the software update catalog – GUI
If this is the first time WIM Witch has been run, WIM Witch may detect that OSDUpdate and OSDSUS have not been installed. It will also check to see what the latest version available is.
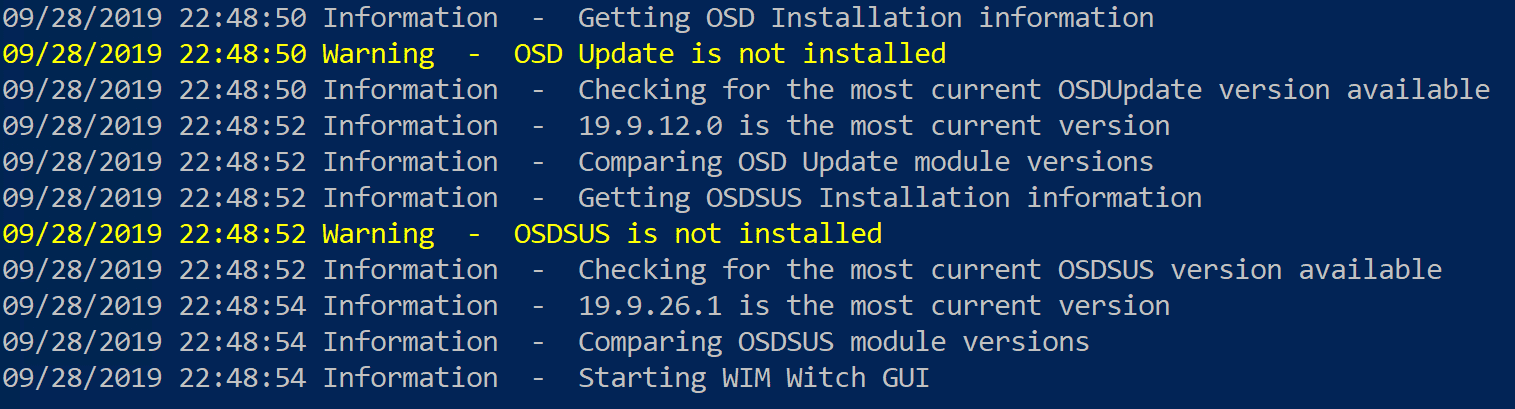
WIM Witch uses David Segura’s OSDUpdate and OSDSUS modules to handle updates downloading and superseding. These modules will need to be kept up to date to ensure access to new software updates.
Once WIM Witch’s GUI loads, click on the “Updates” tab. If the modules have not been installed previously, “Not Installed” should be in the “Installed Version” fields.
Click “Install / Update” to install the OSDUpdate and OSDSUS modules from the PowerShell Gallery.
The following should display in the PowerShell window:

The same message will also display in the Updates tab of the GUI. Do as it asks and close it all, then reopen.
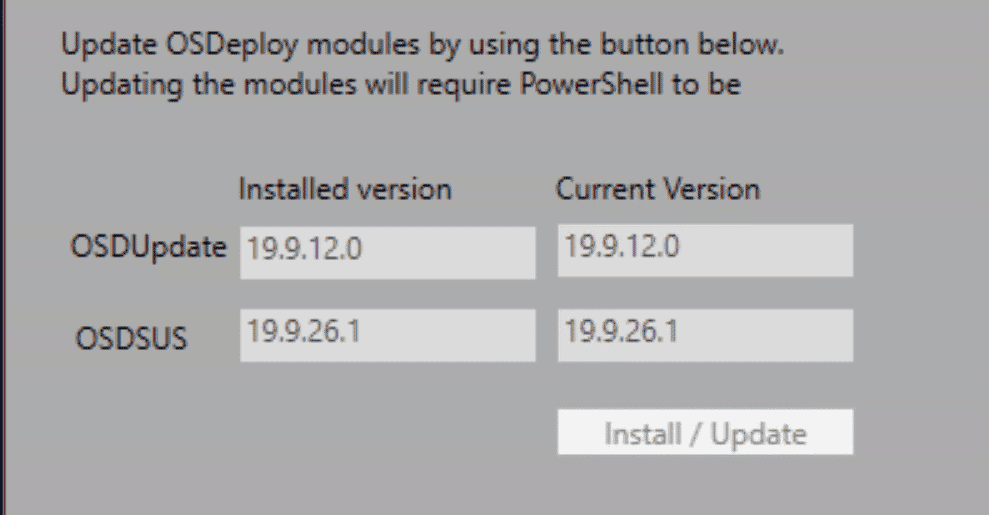
When WIM Witch starts, it will see the installed version and list it as current.
To download updates, select the “Updates” tab and select the checkbox “Enable Updates”.
On the right side of the pane, select which version of Windows 10 to download updates for. Once checked, click the “Update” button.
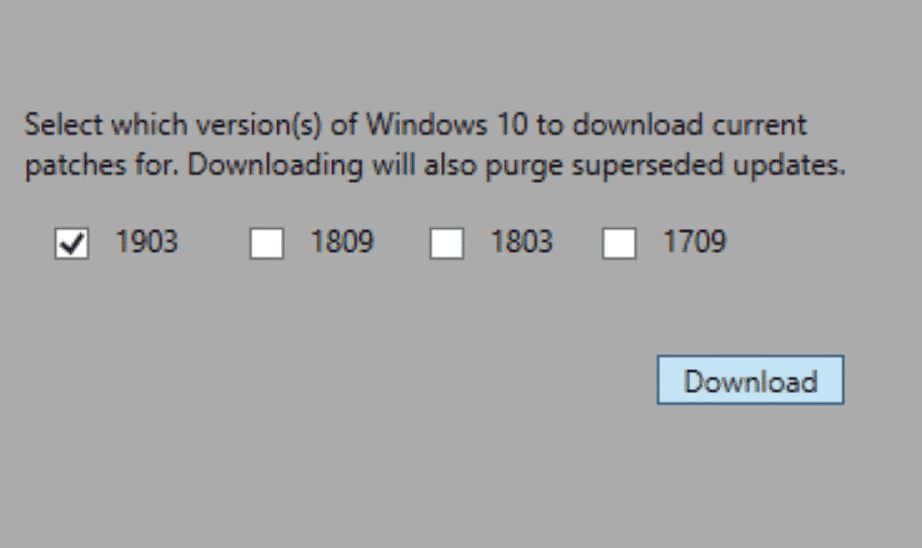
- The Update process will evaluate all downloaded updates to see if they have been superseded. Any update evaluated to be superseded will be deleted from the local store.


*NOTE* This functionality will be modified for simplicity in future versions of WIM Witch
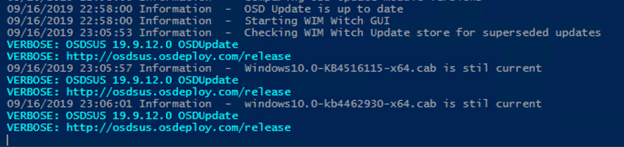
Once the download process has completed, the version of Windows selected will have the most current updates.
It is important to update the source regularly, ideally after any update to OSDUpdate or OSDSUS has occurred because that is indicative of new patches being released.
Downloading and Maintaining the software update catalog – Command Line
The following arguments can be passed to the script from command line in order to maintain the WIM Witch software update catalog.
- Example: .\WIMWitch.ps1 -updates yes -OSDSUS update -Superseded delete -DownUpdates all
“-updates”
Parameter accepted: “yes”
When set, it allows the other parameters to function
“-OSDSUS”
Parameter accepted: “update”
This allows the OSD Update module to be updated if it is detected to be obsolete
“-Superseded”
Parameters accepted:
“audit” – This checks for superseded updates but takes no action against them
“delete” – This checks for superseded updates and deletes them if found
“-DownUpdates”
Parameters accepted: 1709, 1803, 1809, 1903, all (these are the windows version that should be downloaded)
(61590)